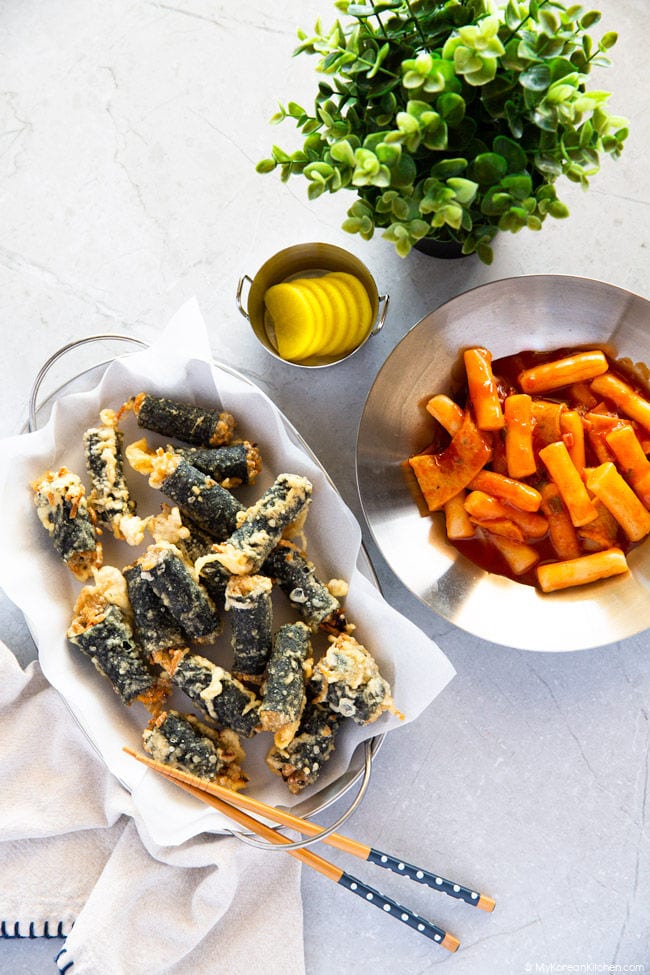
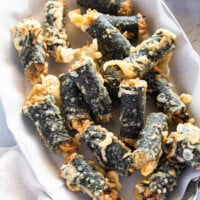
Gimmari is a delicious and popular Korean street food, and I’m here to show you how to make it at home! This easy-to-follow recipe will have you deep frying seaweed rolls to perfection in no time. Serve with Korean spicy rice cakes (tteokbokki) for a delicious and authentic meal!
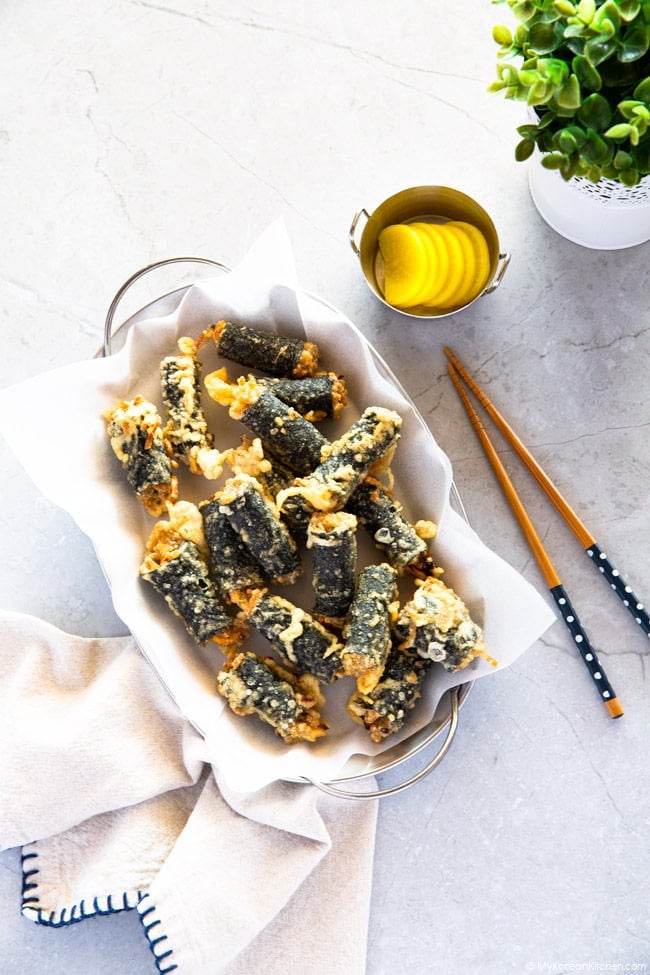
What is Gimmari
Koreans love seaweed rolls called “gimmari”. Some foreigners might also pronounce it as gimari, kimari, or kimmari.
Gimmari (김말이) is a type of food that is made with dried seaweed (known as gim or nori), glass noodles (dangmyeon) and optional vegetable ingredients (e.g. garlic chives or carrots).
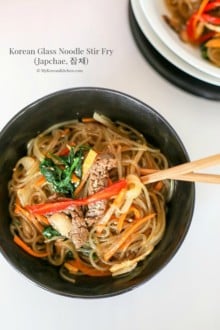
To make this dish, a simple version of Korean japchae noodles are rolled up in a dried seaweed sheet. It is then coated with frying batter and deep-fried. If you have some leftover Korean japchae, gimmari is a great way to use it up.
Gimmari is crispy on the outside and slightly chewy on the inside, and it goes wonderfully well with spicy rice cakes called tteokbokki. I actually like these seaweed rolls even more than tteokbokki. So if you love tteokbokki, you have to try this dish. You won’t regret it!
Gimmari is often available at a tteokbokki special shop or at a mini-van or cart that sells Korean street food.
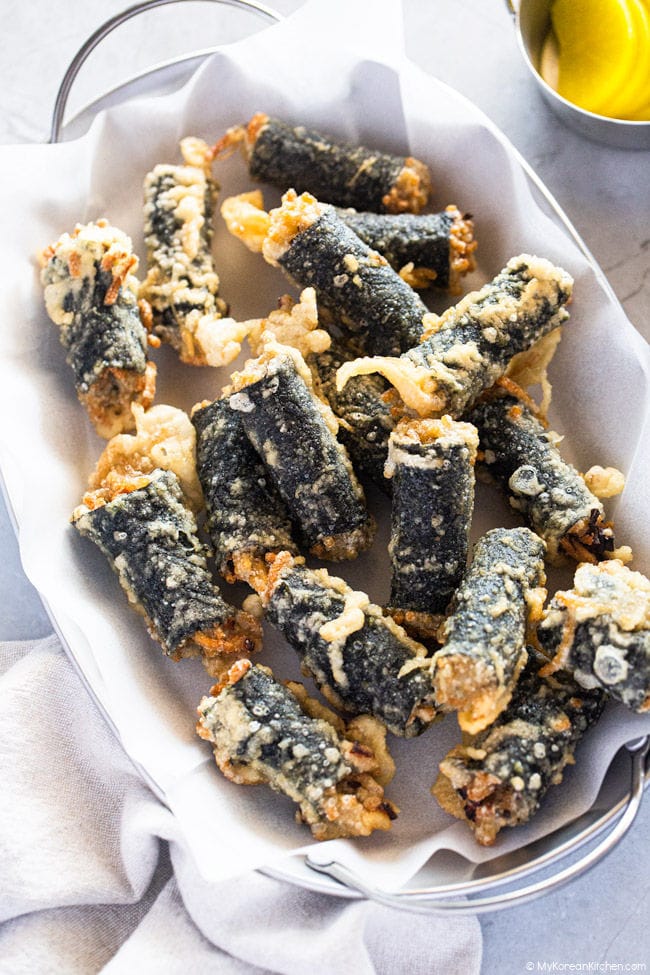
My Best Tips
Here are some tips I want to share to help you succeed in making gimmari.
- Make sure to thoroughly drain the glass noodles; if they’re too wet, they’ll make the dried seaweed soggy. If you drain them for long enough, they’ll become sticky and a bit glue-like, but that’s okay since we’ll be cutting them into small pieces before mixing with the seasoning.
- It’s always a good idea to have extra dried seaweed sheets on hand in case your seaweed rolls fall apart. This can happen if you expose the seaweed rolls to air for too long before deep frying them. So, have some extra seaweed ready in case you need to repair some of them. Also, try to reduce the time between rolling and frying them to prevent this from happening.
- This is more of an idea for an extra lazy home cook who just wants to try gimmari without the hard work. Frozen gimmari is also available to purchase from your local Korean grocer or Costco. They’re easy to reheat – I use my air fryer for this, and this is also a good way to keep the food crispy.
How to Serve
Gimmari is delicious whether you eat them as is or serve them with soy dipping sauce or mix them with tteokbokki sauce. Personally, I prefer the latter option because the combination of deep-fried seaweed and tteokbokki sauce is so tasty and delightful.
Other Korean Snacks You Might Like
If you have a taste for Korean street food, you must try these delicious Korean recipes!
- Tteokbokki (Spicy Rice Cakes)
- Korean Fish Cake Soup
- Korean Popcorn Chicken
- Korean Corn Dog
- Bungeoppang (Korean Fish Shaped Pastry)
If you want more ideas, check out my Korean street food list!
Ingredients for Gimmari
Main
- 3 dried seaweed sheets, cut in halves (longways)
- 115g / 4 ounces Korean glass noodles
- (optional) 45g / 1.5 ounces carrots, finely diced
- (optional) 10g / 0.35 ounces garlic chives, finely chopped
- Some vegetable oil for deep frying (I used canola oil.)
Glass Noodle Sauce
- 1 Tbsp soy sauce, regular (I used kikkoman brand.)
- 1 tsp fine sea salt
- 1/4 tsp sesame oil
- A few sprinkles ground black pepper
Batter
- 1 cup potato starch (or cornstarch)
- 3/4 cup water
- 1 Tbsp cooking oil
- 1 egg white
How to Make Gimmari
1. Soak the glass noodles in a large bowl for 10 minutes to soften them, then boil for 5 minutes on medium high heat. Drain the noodles and wash with cold water, then set aside for 5 to 10 minutes to let the water drain off. Transfer the noodles into a medium-sized bowl and cut the noodles into little finger-sized pieces. Set aside.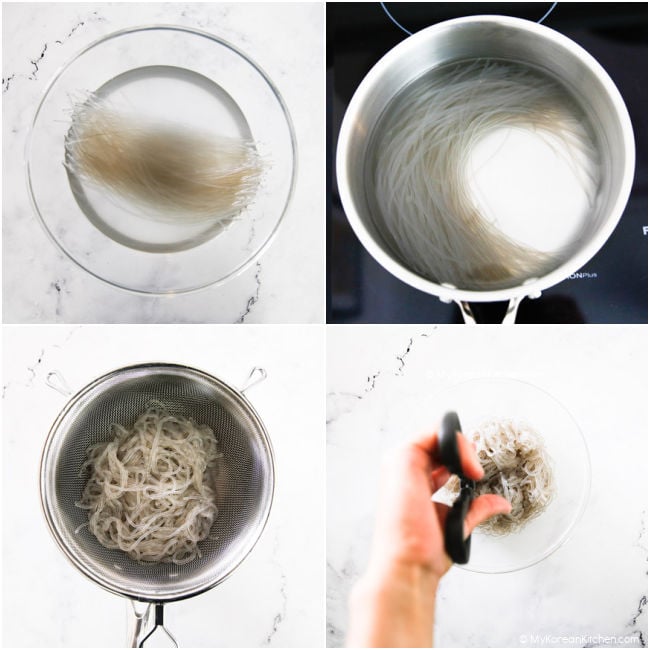
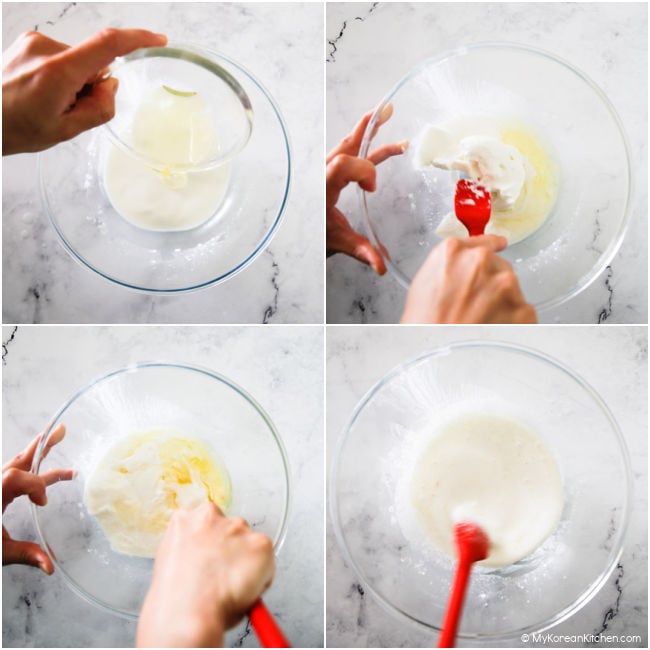
2. Prepare a medium size bowl and add the potato starch and water to make the batter for frying. Once you have added these ingredients, use a spatula to gently flatten the starch. It is important that you do not mix or whisk at this time. Instead, leave it on the kitchen bench while you prepare the other ingredients. This will allow the water and starch to separate, which will take approximately 10 to 20 minutes.
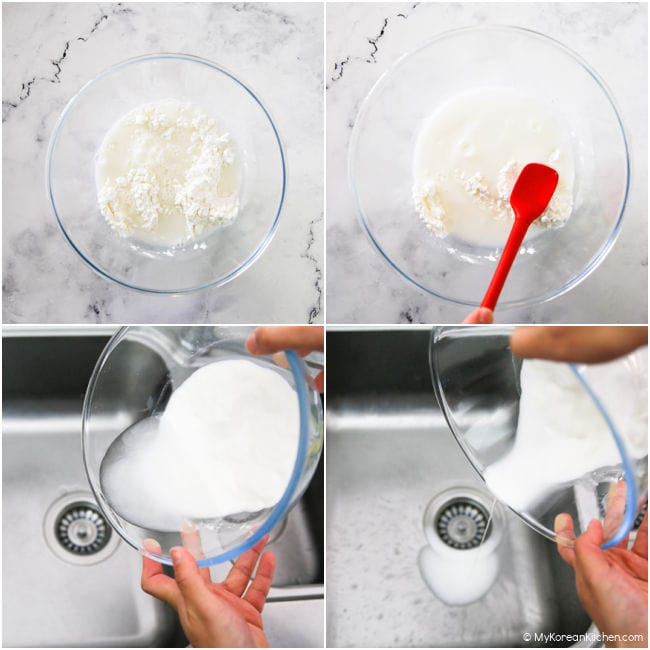
3. Once the starch and water have been separated, get rid of the water (the last part of the water includes a bit of starch but it’s okay to discard it). Combine the starch sediment with the cooking oil and egg whites. Mix them well until the texture is smooth (It will be stiff at first, so you might need to use a fork or equivalent tool to mix.). Set it aside.
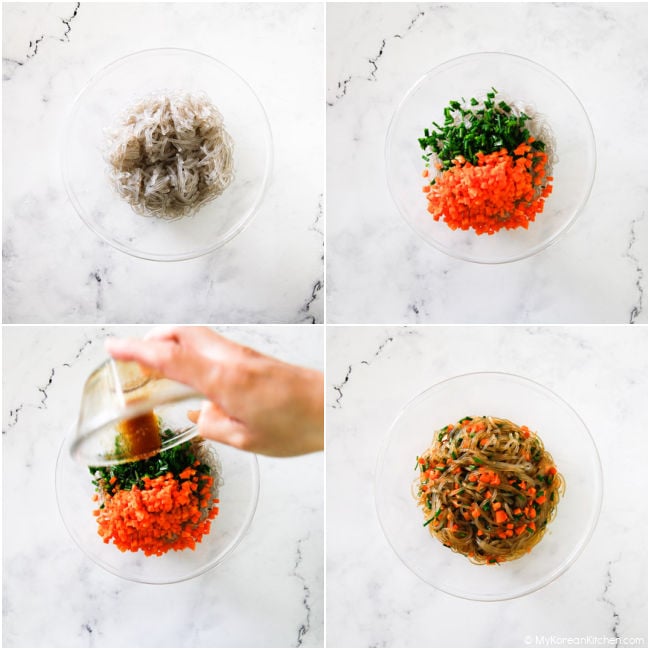
4. Combine the sauce ingredients in a small bowl and mix well. Add carrots, garlic chives and the sauce into the noodle bowl (from step 1). Mix them well with your hands.
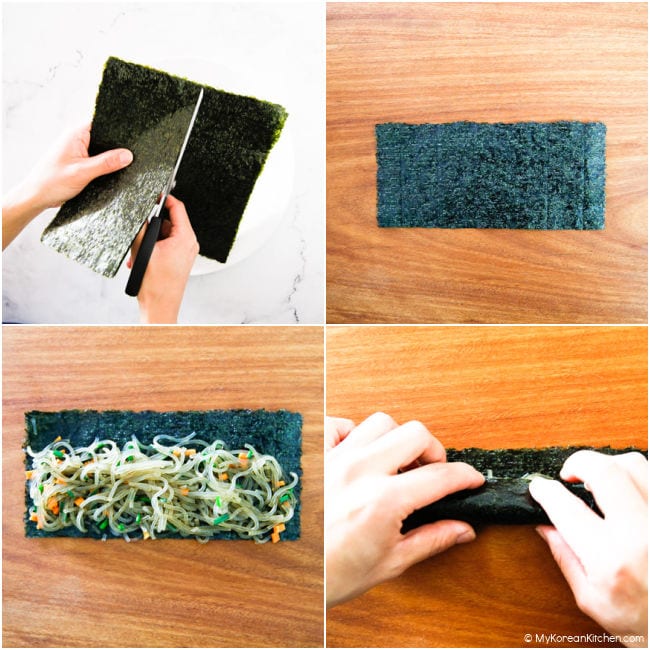
5. To make seaweed rolls, first halve the seaweed sheet. Then, place a small amount of glass noodle and vegetable mixture onto the seaweed sheet, covering about two-thirds of the sheet. Next, roll the seaweed up. If needed, wet the top of the seaweed with some water to glue it down. Set aside. Repeat this process with the remaining ingredients.
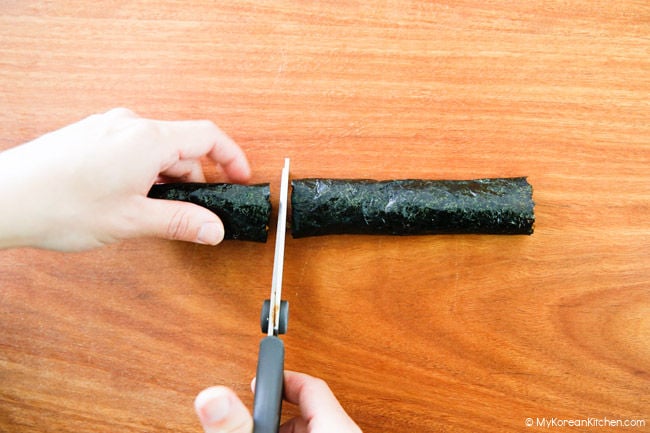
6. Cut the rolled seaweed with the scissors into 3 even sized pieces.
7. Fill a fryer or deep wok with a generous amount oil and bring it to a boil. The oil is ready when it reaches 175 degrees Celsius or 350 degrees Fahrenheit. It should take about five minutes for the oil to reach this temperature. Before using the batter from step 3, give it a good stir. Then, one at a time, coat the seaweed rolls in the batter bowl then add the battered seaweed rolls into a fryer. Fry them until they’re fully cooked (1-2 minutes).
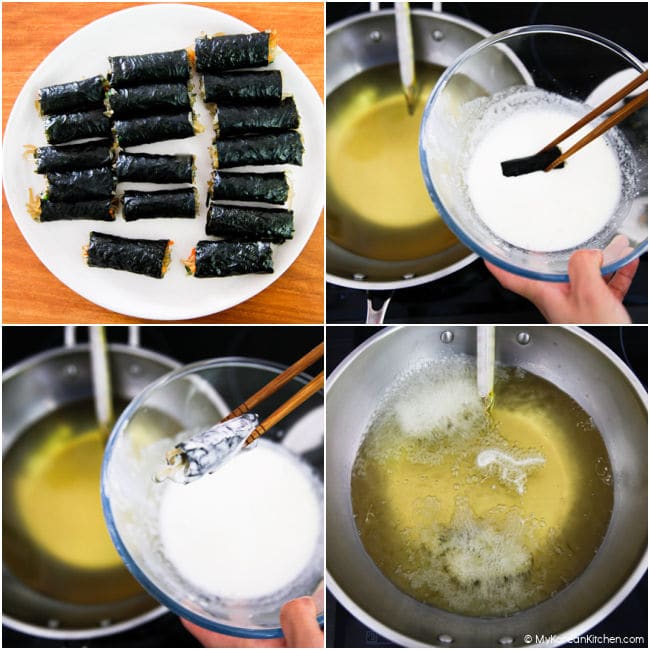
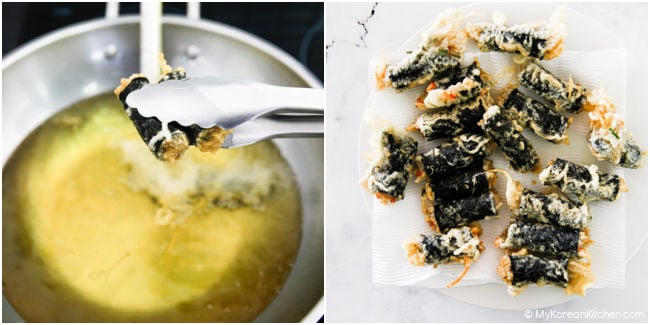
Do not crowd the fryer while frying – this will make it more difficult to monitor the cooking process. Also, batter coated seaweed rolls tend to stick while floating around in the hot oil, so carefully separate them with a pair of deep fryer chopsticks. Take the fried seaweed rolls out and put them onto a kitchen paper towel to soak off any excess oil. Repeat this process until all seaweed rolls are fried.
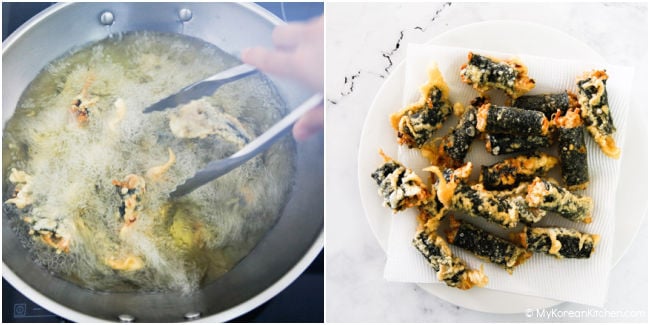
8. For extra crispiness, fry the seaweed rolls a second time for 30 seconds to 1 minute. Set aside.
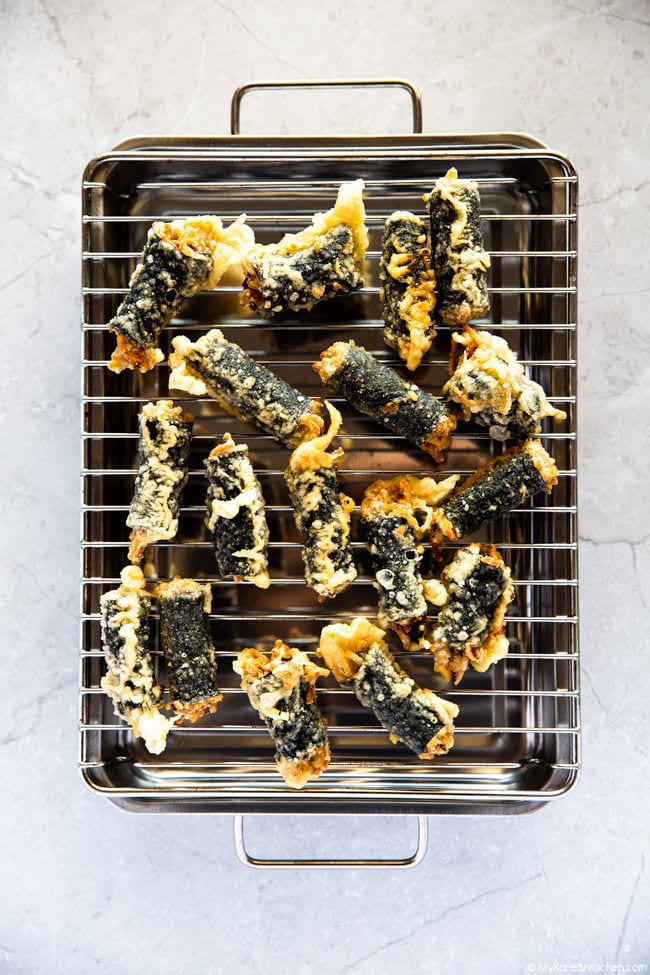
9. Serve. (These fried seaweed rolls can be enjoyed on their own or as part of a Tteokbokki or Rabokki dish.) They can also be paired with a Korean soy dipping sauce.
Love Korean food? Browse lots more Korean recipes from my easy Korean recipe collections. And subscribe to my newsletter for all of the latest updates including new recipes, what MKK communities are cooking and K-Dramas!
Gimmari (Fried Seaweed Roll)
Ingredients
MAIN
- 3 dried seaweed sheets , cut in halves (longways)
- 115 g Korean glass noodles (4 ounces)
- 45 g carrot (1.5 ounces), finely diced, (optional)
- 10 g garlic chives (0.35 ounces), finely diced, (optional)
- some cooking oil for deep frying (I used canola oil)
SAUCE
- 1 Tbsp soy sauce , regular (I used kikkoman brand.)
- 1 tsp fine sea salt
- 1/4 tsp sesame oil
- A few sprinkles ground black pepper
BATTER
- 1 cup potato starch (or cornstarch)
- 3/4 cup water
- 1 Tbsp cooking oil or corn starch, sifted
- 1 egg white , sifted
Instructions
- Soak the glass noodles in a large bowl for 10 minutes to soften them, then boil for 5 minutes on medium high heat. Drain the noodles and wash with cold water, then set aside for 5 to 10 minutes to let the water drain off. Transfer the noodles into a medium-sized bowl and cut the noodles into little finger-sized pieces. Set aside.
- Prepare a medium size bowl and add the potato starch and water to make the batter for frying. Once you have added these ingredients, use a spatula to gently flatten the starch. It is important that you do not mix or whisk at this time. Instead, leave it on the kitchen bench while you prepare the other ingredients. This will allow the water and starch to separate, which will take approximately 10 to 20 minutes.
- Once the starch and water have been separated, get rid of the water (the last part of the water includes a bit of starch but it’s okay to discard it). Combine the starch sediment with the cooking oil and egg whites. Mix them well until the texture is smooth (It will be stiff at first, so you might need to use a fork or equivalent tool to mix.). Set it aside.
- Combine the sauce ingredients in a small bowl and mix well. Add carrots, garlic chives and the sauce into the noodle bowl (from step 1). Mix them well with your hands.
- To make seaweed rolls, first halve the seaweed sheet. Then, place a small amount of glass noodle and vegetable mixture onto the seaweed sheet, covering about two-thirds of the sheet. Next, roll the seaweed up. If needed, wet the top of the seaweed with some water to glue it down. Set aside. Repeat this process with the remaining ingredients.
- Cut the rolled seaweed with the scissors into 3 even sized pieces.
- Fill a fryer or deep wok with a generous amount oil and bring it to a boil. The oil is ready when it reaches 175 degrees Celsius or 350 degrees Fahrenheit. It should take about five minutes for the oil to reach this temperature. Before using the batter from step 3, give it a good stir. Then, one at a time, coat the seaweed rolls in the batter bowl then add the battered seaweed rolls into a fryer. Fry them until they’re fully cooked (1-2 minutes).Do not crowd the fryer while frying – this will make it more difficult to monitor the cooking process. Also, batter coated seaweed rolls tend to stick while floating around in the hot oil, so carefully separate them with a pair of deep fryer chopsticks. Take the fried seaweed rolls out and put them onto a kitchen paper towel to soak off any excess oil. Repeat this process until all seaweed rolls are fried.
- For extra crispiness, fry the seaweed rolls a second time for 30 seconds to 1 minute. Set aside.
- Serve. (These fried seaweed rolls can be enjoyed on their own or as part of a Tteokbokki or Rabokki dish.) They can also be paired with a Korean soy dipping sauce.
Nutrition Info (per serving)
The nutrition information shown is an estimate provided by an online nutrition calculator. It should not be considered a substitute for a professional nutritionist’s advice.
