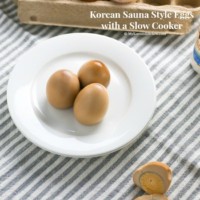
Learn how to use a slow cooker to make hard boiled eggs. It comes with the Korean sauna style egg effect!
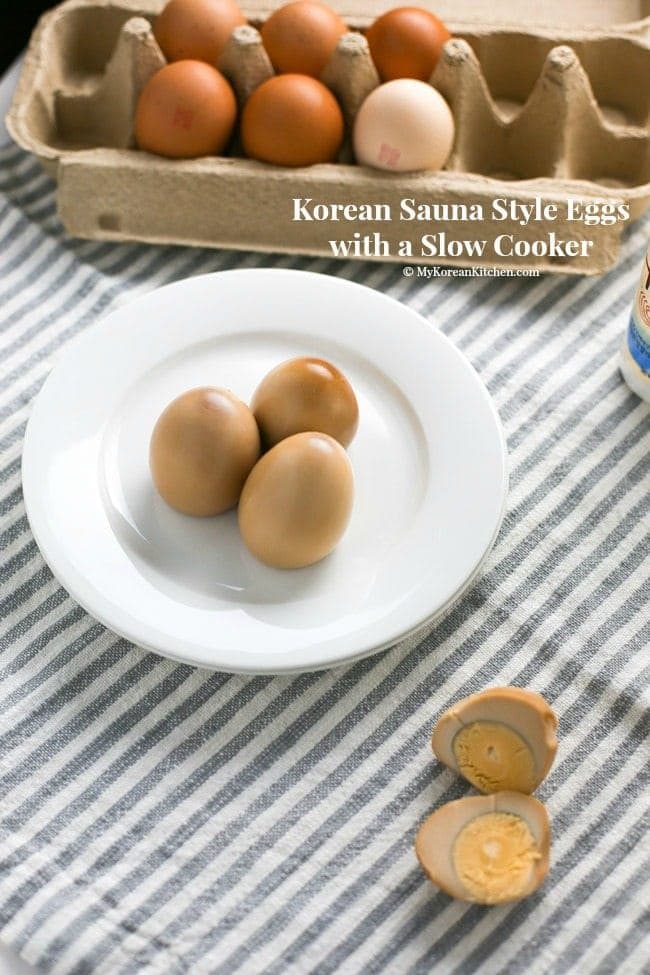
The other day I got an email from one of my readers asking me to share how to make Korean sauna style eggs with a regular rice cooker.
If you have already been through my recipe archives you probably have spotted one of my popular recipes – How to make Korean sauna style eggs in 50 mins. However unfortunately for some (maybe most of you), this recipe only works with “a high tech” Korean rice cooker (or programmable pressure cooker).
As I have been meaning to try Korean sauna style eggs with a regular rice cooker (& also with a slow cooker) for some time, I decided to undertake this experimental project immediately and this is what I found.
(Warning: This is a long post with other failed experiments along the way. If you are only after slow cooker Korean sauna style eggs recipe, scroll down to near the end of this post.)
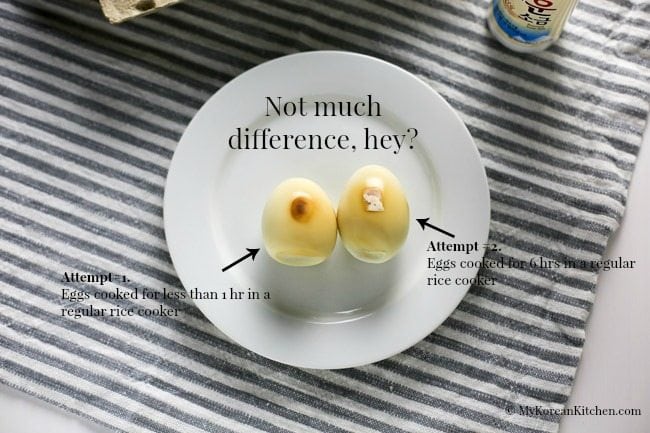
Finding #1 – Korean sauna style eggs don’t work with a regular rice cooker.
This is based on 2 sets of 8 hour experiments. You are more than welcome to try it in your own way and prove to me if I am wrong on this. If it worked for you, then please share your secret in the comment section so we can all learn from you!
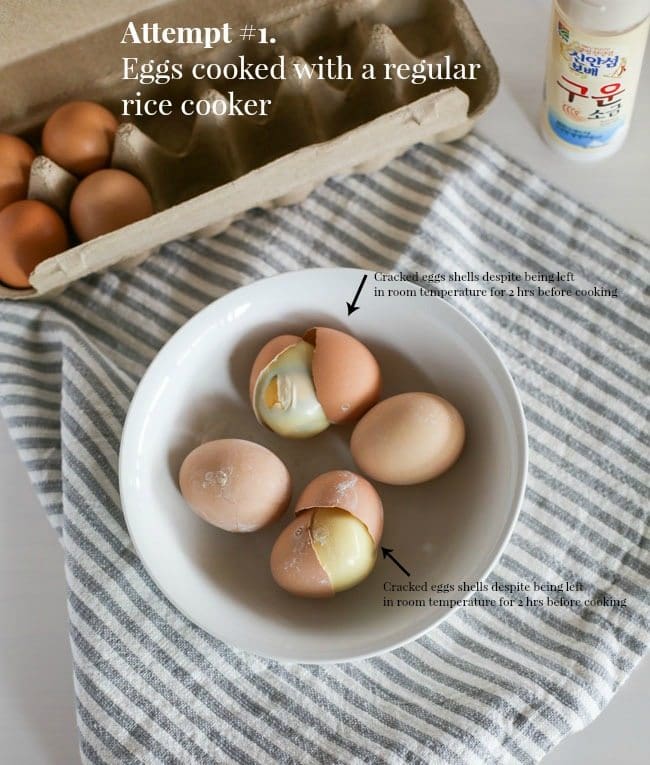
Attempt #1.
Ingredients
- 6 extra large eggs (you can use whatever size of eggs you like)
- 1/2 cup water
- 1/2 tsp fine salt
- 1/2 cup water
Steps
1. Gently clean the eggs in cold tap water (scrub a little bit if there’s any dirt on the shells) and leave the eggs out at room temperature for 2 hours. (This is to prevent the egg shell cracking during cooking.)
2. Dissolve the salt (1/2 tsp) in the water (1/2 cup).
3. After two hours, put the eggs into the rice cooker and pour the salt water (from step 2) onto the eggs. Cook the eggs (just flick the cook switch on the rice cooker) until it automatically switches off to the warm setting. Add more (1/2 cup) water then cook the eggs again (flick the cook switch on again).
Result
1) After step 3, the rice cooker automatically switched off to the warm setting in less than 5 mins. It must some how detect that the egg don’t need any more cooking. I was originally going to keep “cooking” for a total of 6 hours but I decided not to continue as I didn’t want to keep flicking the cook switch on every 5 mins.
2) All eggs were cooked when the rice cooker switched off to the warm setting the first time cooking.
3) The eggs were mostly white with some light beige patches and some darker brown spots here and there.
4) It tasted just like an average hard boiled egg.
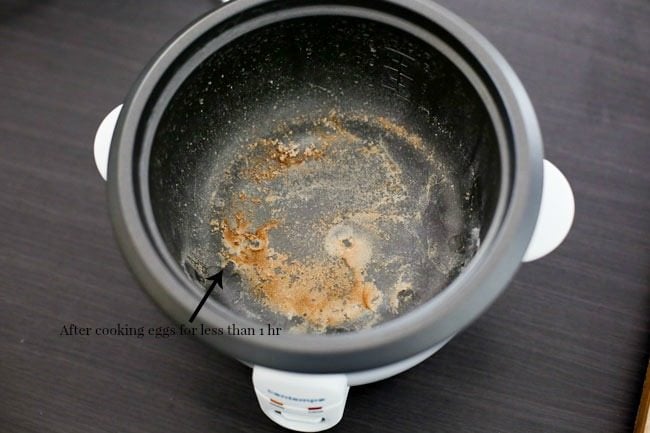
5) I didn’t want to open the lid to add more water in step 3, but after looking at the bottom of the rice cooker, I thought I should.
Attempt #2.
Ingredients
- 6 extra large eggs (you can use whatever size of eggs you like)
- 1/2 cup water
- 1/2 tsp fine salt
- 1/2 cup water
Steps
1. Gently clean the eggs in cold tap water (scrub a little bit if there’s any dirt on the shells) and leave the eggs out at room temperature for 2 hours. (This is to prevent the egg shell cracking during cooking.)
2. Dissolve the salt (1/2 tsp) in the water (1/2 cup).
3. After two hours, put the eggs into the rice cooker and pour the salt water (from step 2) onto the eggs. Cook the eggs (just flick the cook switch on the rice cooker) once then leave it on warm setting for the rest of the time. – Set a timer for 6 hrs as you start cooking the eggs. After 20 to 30 mins into the cooking, the rice cooker will automatically switch off to the warm setting. Leave it for the remainder of 6 hrs. Add more (1/2 cup) water when the timer counts down to 5 hrs remaining (1 hr since the cooking started).
4. Cool down the eggs (at room temperature or by running cold tap water on them) before serving. Serve the eggs with some salt (only if you want it).
Result
1) All the eggs were cooked when the rice cooker switched off to warm setting.
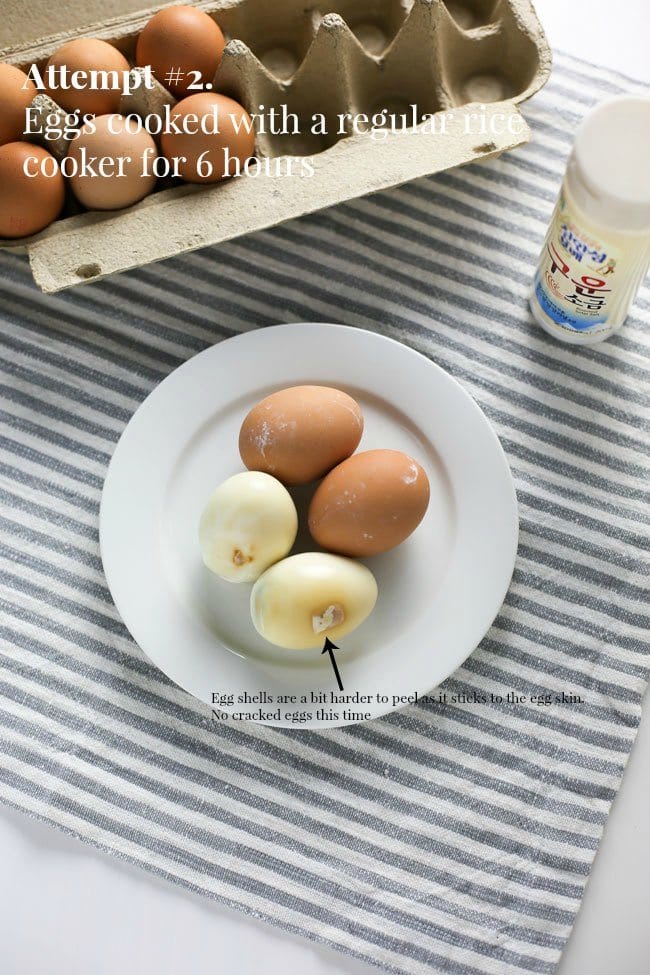
2) Even though I waited patiently for my eggs to brown up for 6 hrs, to my disappointment they didn’t turn brown. They were more of a very light beige colour and some darker brown spots here and there. Not much difference to my first attempt.
3) It tastes just like an average hard boiled egg.
4) I didn’t want to open the lid to add more water in step 3, but after looking at the bottom of the rice cooker (as shown in attempt #1), I thought I should.
Reflection
I read about some people successfully making these sauna eggs using a regular rice cooker a while ago. I’m really curious how they succeed in doing it.
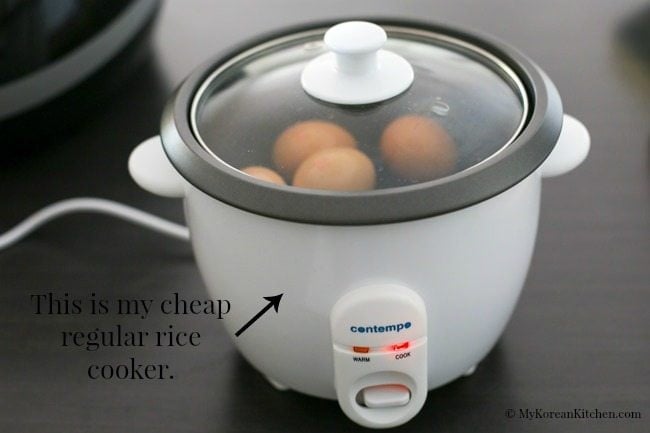
For a second, I thought maybe my rice cooker is way too low end (cheap) so it didn’t work? It was AUD $15 rice cooker I had to buy as a back up when my precious high tech rice cooker was temporarily broken because my sister dropped the inner pot! Perhaps it might work better with a mid price range regular rice cooker?
Anyway, I’ll leave this up to you whether you pursue your own experiment or not. But for now, I will say that you can’t make these eggs with a regular rice cooker.
Finding #2 – You can make Korean sauna style eggs with a slow cooker!
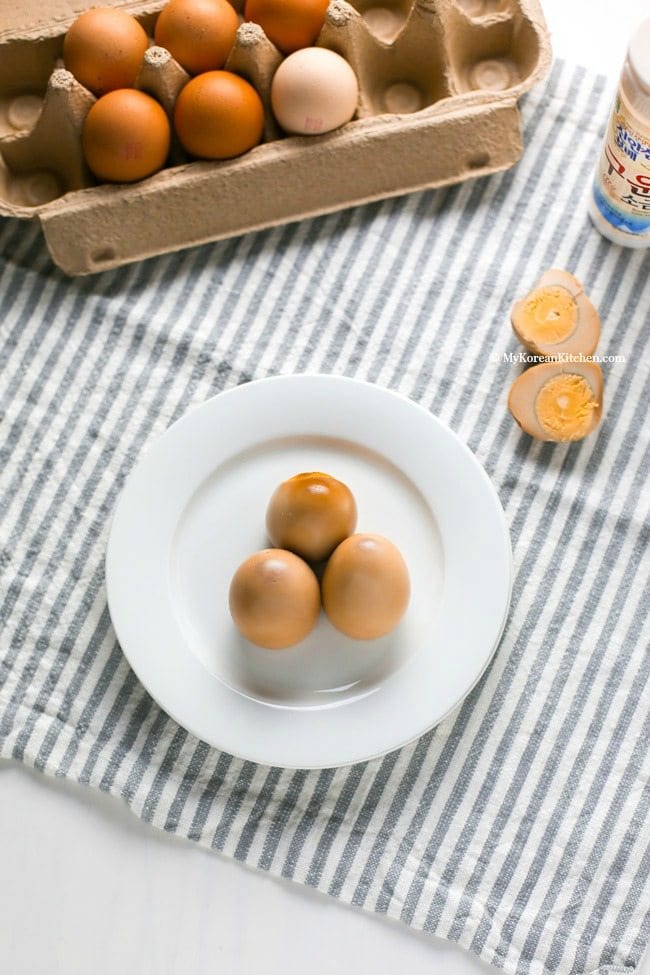
This is based on my 2 sets of 8 hour experiments. It worked well the first time but I wanted to make sure that the result was consistent – hence the second trial. I hope you enjoy my recipe and get to experience the Korean sauna style eggs at your home!
How to Make Korean Sauna Style Eggs with a Slow Cooker
Ingredients
- 6 extra large eggs (you can use whatever size of eggs you like)
- 1/2 cup water
- 1/2 tsp fine salt
*1 Tbsp = 15 ml
Steps
1. Gently clean the eggs in cold tap water (scrub a little bit if there’s any dirt on the shells) and leave the eggs out at room temperature for 2 hours. (This is to prevent egg shells cracking during cooking.)
2. Dissolve the salt (1/2 tsp) in the water (1/2 cup).
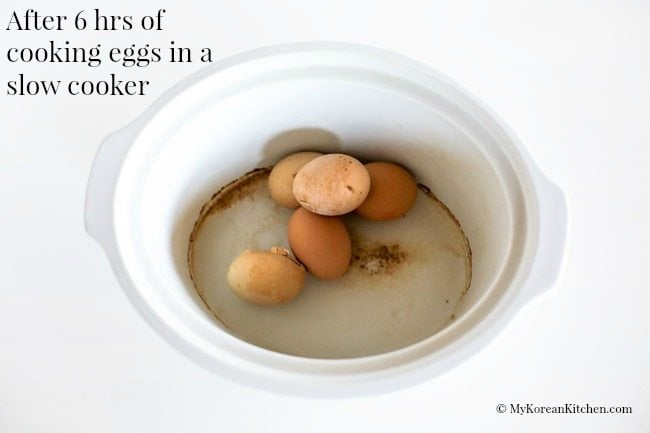
3. After two hours, put the eggs into the slow cooker and pour the salt water (from step 2) onto the eggs. Cook the eggs for 6 hours on a low heat setting. Do not open the lid.
4. Cool down the eggs (at room temperature or by running cold tap water on them) before serving. Serve the eggs with some salt (only if you want it). Enjoy!
Note
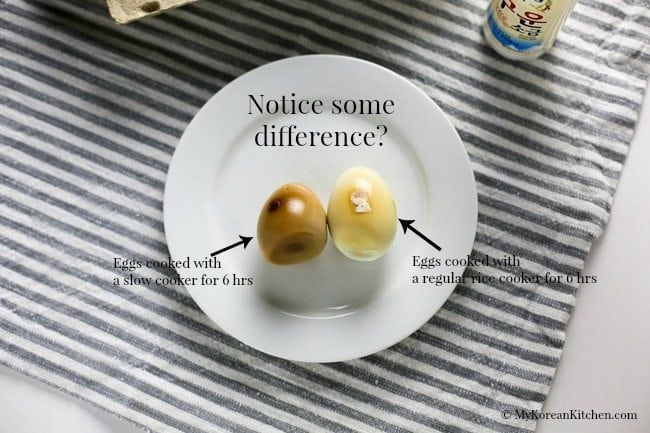
- It was great to know that you can make these sauna style eggs with a slow cooker. However, my preference is still cooking these eggs with a “high tech” Korean rice cooker. Not only does it save time but also it tastes better. I think keeping the “pressure” during the cooking is the key to time saving and also to improvement of the overall flavour and the texture as well. – In my opinion, it gives a more nutty flavour, and the soft egg yolk it gives you really melts in your mouth.
- Slow cooker cooked eggs were slightly harder to peel (than my original version), I think that is due to the lack of moisture on the shells.
- All the eggs inside seem shrunken a bit when cooked with a slow cooker. The shells stay the same. You will notice the shrunken eggs once you peel them. I don’t know why this happens. It didn’t happen when I cooked the eggs with my special rice cooker.
How to Make Korean Sauna Style Eggs with a Slow Cooker
Ingredients
- 6 extra large eggs , you can use whatever size of eggs you like
- 1/2 cup water
- 1/2 tsp fine salt
Instructions
- Gently clean the eggs in cold tap water (scrub a little bit if there’s any dirt on the shells) and leave the eggs out at room temperature for 2 hours. (This is to prevent egg shells cracking during cooking.)
- Dissolve the salt (1/2 tsp) in the water (1/2 cup).
- After two hours, put the eggs into the slow cooker and pour the salt water (from step 2) onto the eggs. Cook the eggs for 6 hours on a low heat setting. Do not open the lid.
- Cool down the eggs (at room temperature or by running cold tap water on them) before serving. Serve the eggs with some salt (only if you want it). Enjoy!
Nutrition Info (per serving)
The nutrition information shown is an estimate provided by an online nutrition calculator. It should not be considered a substitute for a professional nutritionist’s advice.
