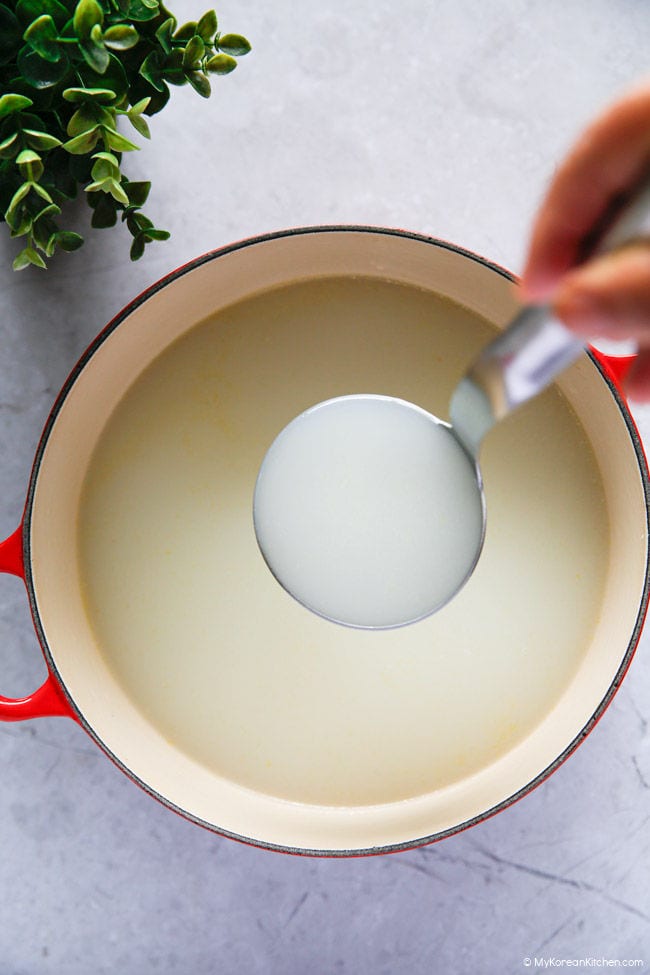
If you have ever wondered how Korean restaurants create that beautifully rich, milky white broth for their soups, this is it. This is Sagol Yuksu (사골 육수), the classic Korean beef bone broth that turns deeply savory, opaque, and comforting after hours of steady boiling.
Why This Recipe
Unlike heavily seasoned stocks, this broth relies on patience and a steady boil to build its depth of flavor. Instead of cooking the bones continuously in the same water for an extended period, this recipe uses a controlled batch-boiling approach. The bones are boiled in fresh water for each round, then the batches are combined, allowing you to better control the flavor and overall balance of the broth.
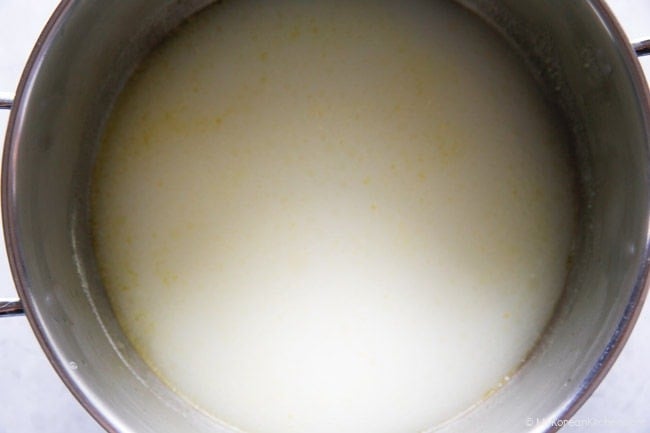
Maintaining a steady boil allows the marrow and collagen to release into the broth, giving it that signature milky white color and a rich yet clean, deeply savory flavor. There are no complicated ingredients here, just beef leg bones and water, gently transformed with time and care.
What You Can Make With It
Once you learn how to make this Korean beef bone broth at home, you can use it in many traditional dishes. It forms the foundation of seolleongtang and makes an excellent base for soups like tteokguk, adding deeper flavor and a beautiful snowy white color that complements the rice cakes. It is simple, traditional, and incredibly rewarding to make.
Ingredients
- 2 kg beef leg bones (4.4 lb), such as femur bones, shin bones, or knuckles, cut into sections (Typically sold as sagol bones at Korean grocery stores and pre-cut crosswise.)
- 10 liters water for boiling (about 2 1/2 gallons), plus additional water for soaking and parboiling
** Expected yield: about 3.5 to 4.5 liters (3.7 to 4.8 quarts / 15 to 19 cups), depending on the number of extractions and evaporation.
How to Make Korean Bone Broth
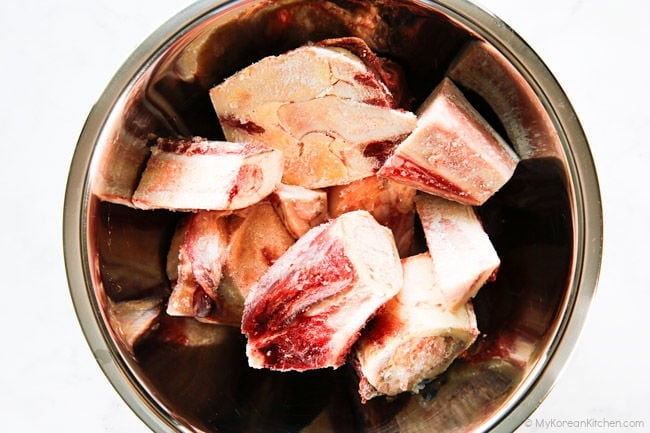
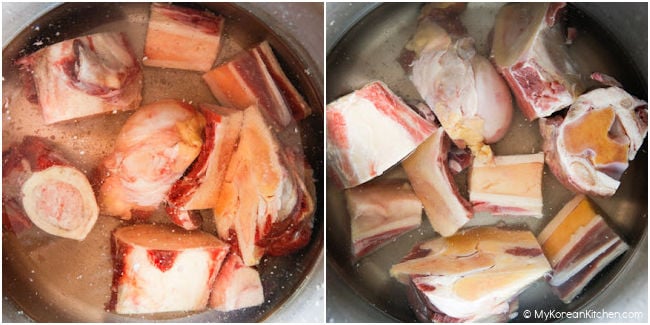
1. Soak the Bones
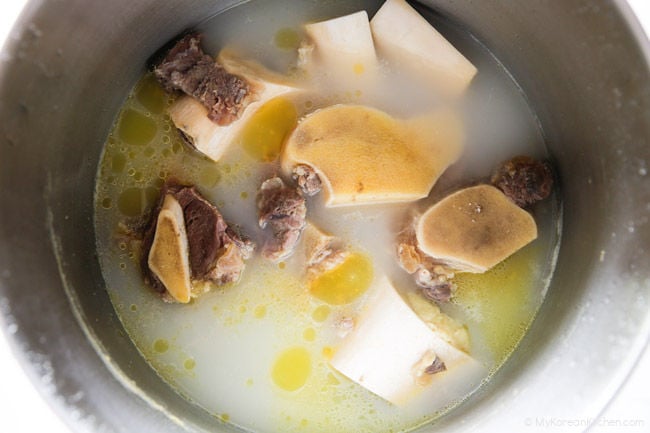
Place the beef bones in a large bowl and cover completely with cold water. Soak for 45 to 60 minutes, depending on the type and size of the bones, changing the water every 20 minutes. Some bones release more blood and may benefit from a full hour, while others are fine with a slightly shorter soak. If you are short on time, soak for at least 45 minutes. This step removes excess blood and helps produce a cleaner-tasting broth.
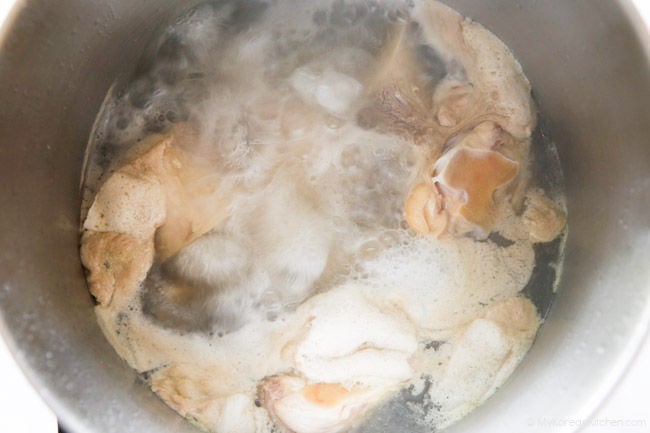
2. Parboil the Bones
Transfer the soaked bones to a large stock pot and add enough water to fully submerge them. Bring to a boil over high heat and cook for 15 to 20 minutes. Skim off any foam and impurities that rise to the surface. Discard all of the boiling water. Rinse the bones thoroughly under cold running water, and wash the pot clean as well. This stage is essential for building a clear, clean tasting base.
3. First Main Boil (Most Important Extraction)
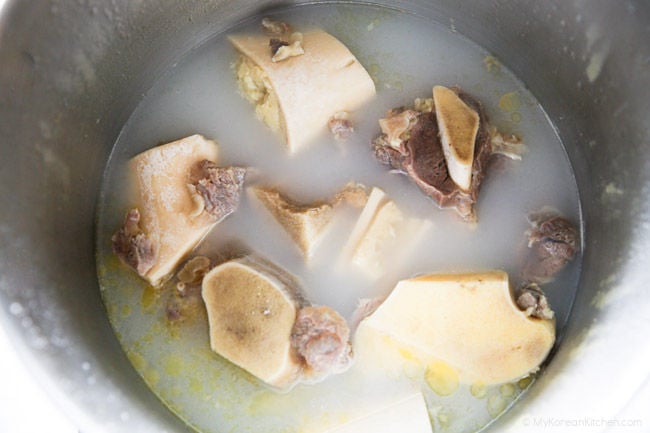
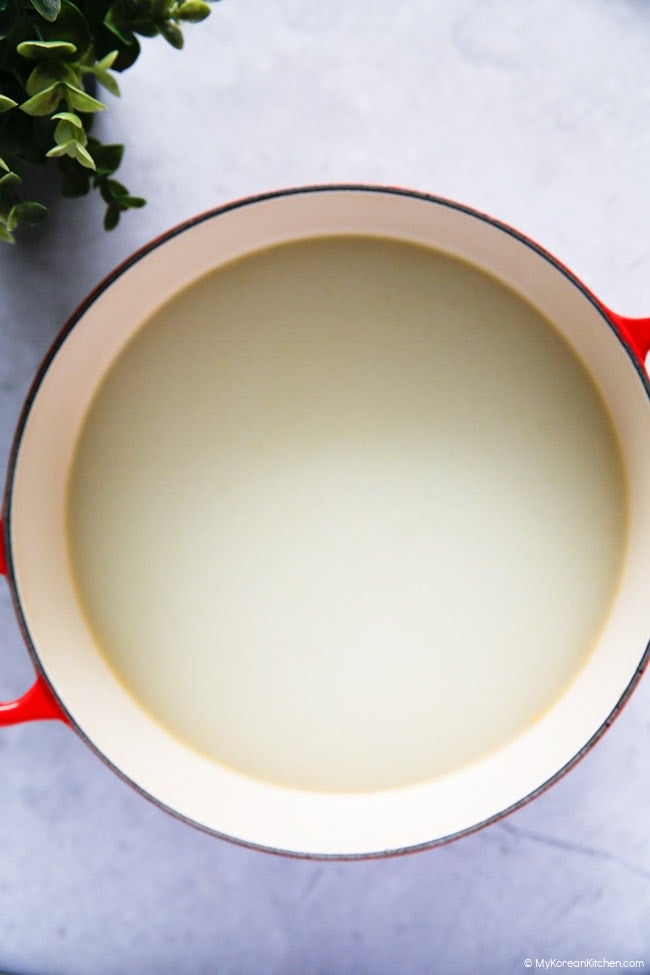
Return the cleaned bones to the pot. Add 16 cups (1 gallon / 3.8 L) of water. Bring to a boil over high heat. This should take about 10 to 15 minutes. Once the water reaches a rolling boil, continue boiling on high heat for about 20 minutes. Then reduce the heat slightly to medium-high and maintain an active, steady boil. Do not gently simmer. The broth needs to boil actively to turn milky white.
Continue boiling for another 50 to 60 minutes, for a total cooking time of about 90 to 100 minutes from when the pot first goes over the heat. Skim off any floating impurities occasionally, especially during the first 30 minutes, when most of the scum rises to the surface. Do not remove all the fat during cooking. Strain the broth into a clean pot and set aside. This is the first extraction.
4. Second Extraction
Return the same bones to the pot. Add another 16 cups (1 gallon / 3.8 L) of water. If needed, wipe the inner rim of the pot clean. Bring to a boil over high heat, then maintain an active boil for 90 to 120 minutes. Strain the second batch and combine it with the first batch. This is the second extraction.
If the broth turned milky during boiling, the bones can be extracted once more with fresh water. If it remained pale and did not turn milky, you can stop here.
5. Optional Third Extraction
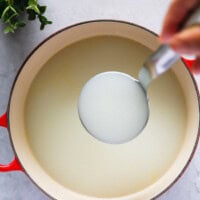
Add another 12 cups (3 quarts / 2.8 L) of water and bring to a boil over high heat. Maintain an active boil. This third extraction does not need to boil for the full 1.5 hours, as it will be lighter in body. It may appear pale brown or slightly translucent at first, then gradually turn opaque as it boils, though it will typically be lighter than the earlier batches. Boil for about 60 to 90 minutes, depending on how much body and flavor you would like to extract. Strain the third batch and combine it with the first two batches. Stir well to even out the concentration.
6. Cooling, Defatting, and Storage
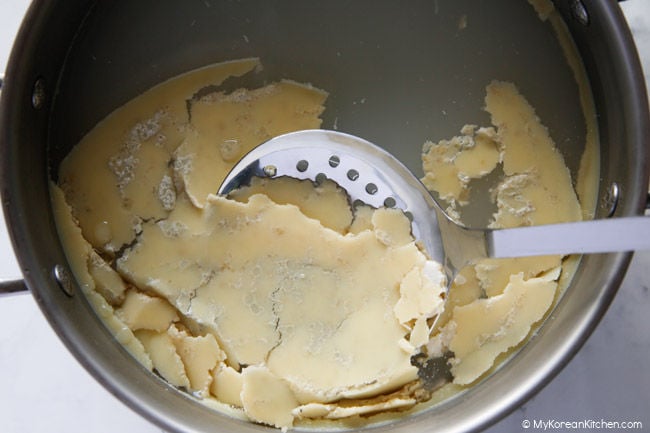
Let the broth cool slightly at room temperature. Once it has cooled further, refrigerate it until the fat rises to the top and fully solidifies. This usually takes several hours or overnight. When the fat has hardened, gently lift and remove the top layer. This will give you a cleaner, lighter-tasting broth.
The broth can be stored in an airtight container in the refrigerator for up to 3 to 4 days.
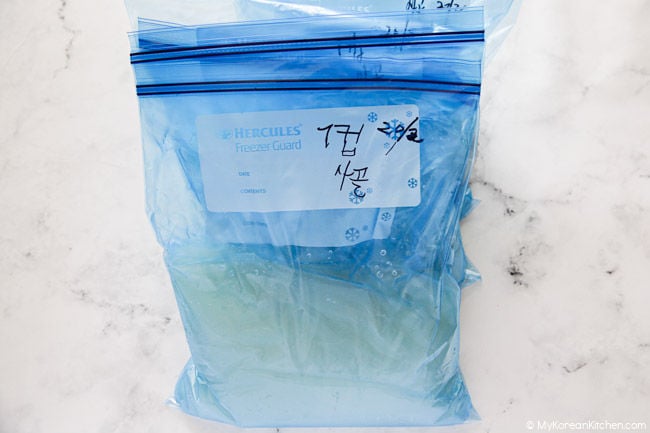
For longer storage, divide the broth into smaller portions that are easy to use later. I usually portion out about 6 to 7 cups per zip-top freezer bag, which is enough for a soup serving 4 people. Label each bag with the amount for easy reference. Double-bag to prevent leaks, then freeze. Defrost in the fridge as needed.
Cooking Tips for Milky Beef Bone Broth
- Always clean the bones after parboiling
The parboil is just to remove impurities. Pour out that water completely, rinse the bones well under cold water, and wash the pot before starting again. This step makes a big difference in keeping the broth clean and pure-tasting. - Use fresh water for each batch.
Each boiling batch should use fresh water, making sure the bones are fully submerged. I use about 16 cups (1 gallon / 3.8 L) for the first two batches, then reduce it to about 12 cups (3 quarts / 2.8 L) for the final batch. After each round, strain the broth and add it to the previously strained batches. This way, you gradually build the broth as you go. Combining the extractions gives you better control over the body and flavor, resulting in a more balanced, well-rounded broth. - Do not simmer gently. It needs to boil.
If you want that beautiful milky white broth, keep the liquid actively bubbling rather than just gently simmering. The steady movement helps the fat and gelatin mix evenly throughout the broth, transforming it from clear and brown to opaque and white. If it only simmers gently, the broth may lighten over time, but it will remain more translucent and pale and may not turn as milky. - Watch the color as your guide.
The broth often turns milky during the early part of each extraction as fat and fine marrow particles are emulsified into the liquid during a strong boil. Later batches may look lighter or more translucent at first. However, the appearance can change after chilling. Once the fat solidifies and is removed, the broth may look more opaque again, especially if it is rich in gelatin. Each batch can behave a little differently, which is completely normal.
Korean Beef Bone Broth
Ingredients
- 2 kg beef leg bones (4.4 lb), such as femur marrow bones, shin bones, or knuckles, cut into sections (Typically sold as sagol bones at Korean grocery stores and pre-cut crosswise.)
- 10 liters water for boiling (about 2 1/2 gallons) plus additional water for soaking and parboiling
Instructions
- Soak the Bones. Place the beef bones in a large bowl and cover completely with cold water. Soak for 45 to 60 minutes, depending on the type and size of the bones, changing the water every 20 minutes. Some bones release more blood and may benefit from a full hour, while others are fine with a slightly shorter soak. If you are short on time, soak for at least 45 minutes. This step removes excess blood and helps produce a cleaner-tasting broth.
- Parboil the Bones. Transfer the soaked bones to a large stock pot and add enough water to fully submerge them. Bring to a boil over high heat and cook for 15 to 20 minutes. Skim off any foam and impurities that rise to the surface. Discard all of the boiling water. Rinse the bones thoroughly under cold running water, and wash the pot clean as well. This stage is essential for building a clear, clean tasting base.
- First Main Boil (Most Important Extraction). Return the cleaned bones to the pot. Add 16 cups (1 gallon / 3.8 L) of water. Bring to a boil over high heat. This should take about 10 to 15 minutes. Once the water reaches a rolling boil, continue boiling on high heat for about 20 minutes. Then reduce the heat slightly to medium-high and maintain an active, steady boil. Do not gently simmer. The broth needs to boil actively to turn milky white.Continue boiling for another 50 to 60 minutes, for a total cooking time of about 90 to 100 minutes from when the pot first goes over the heat. Skim off any floating impurities occasionally, especially during the first 30 minutes, when most of the scum rises to the surface. Do not remove all the fat during cooking. Strain the broth into a clean pot and set aside. This is the first extraction.
- Second Extraction. Return the same bones to the pot. Add another 16 cups (1 gallon / 3.8 L) of water. If needed, wipe the inner rim of the pot clean. Bring to a boil over high heat, then maintain an active boil for 90 to 120 minutes. Strain the second batch and combine it with the first batch. This is the second extraction.If the broth turned milky during boiling, the bones can be extracted once more with fresh water. If it remained pale and did not turn milky, you can stop here.
- Optional Third Extraction. Add another 12 cups (3 quarts / 2.8 L) of water and bring to a boil over high heat. Maintain an active boil. This third extraction does not need to boil for the full 1.5 hours, as it will be lighter in body. It may appear pale brown or slightly translucent at first, then gradually turn opaque as it boils, though it will typically be lighter than the earlier batches. Boil for about 60 to 90 minutes, depending on how much body and flavor you would like to extract. Strain the third batch and combine it with the first two batches. Stir well to even out the concentration.
- Cooling, Defatting, and Storage. Let the broth cool slightly at room temperature. Once it has cooled further, refrigerate it until the fat rises to the top and fully solidifies. This usually takes several hours or overnight. When the fat has hardened, gently lift and remove the top layer. This will give you a cleaner, lighter-tasting broth.The broth can be stored in an airtight container in the refrigerator for up to 3 to 4 days.For longer storage, divide the broth into smaller portions that are easy to use later. I usually portion out about 6 to 7 cups per zip-top freezer bag, which is enough for a soup serving 4 people. Label each bag with the amount for easy reference. Double-bag to prevent leaks, then freeze. Defrost in the fridge as needed.
Nutrition Info (per serving)
The nutrition information shown is an estimate provided by an online nutrition calculator. It should not be considered a substitute for a professional nutritionist’s advice.
")

")