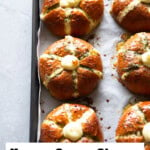
Learn how to make Korean cream cheese garlic bread at home! This recipe utilizes store-bought brioche buns to quickly whip up this delicious and addictive trendy Korean snack. I hope you give it a try soon; you’ll be hooked instantly!
Save This Recipe
What is Korean Cream Cheese Garlic Bread
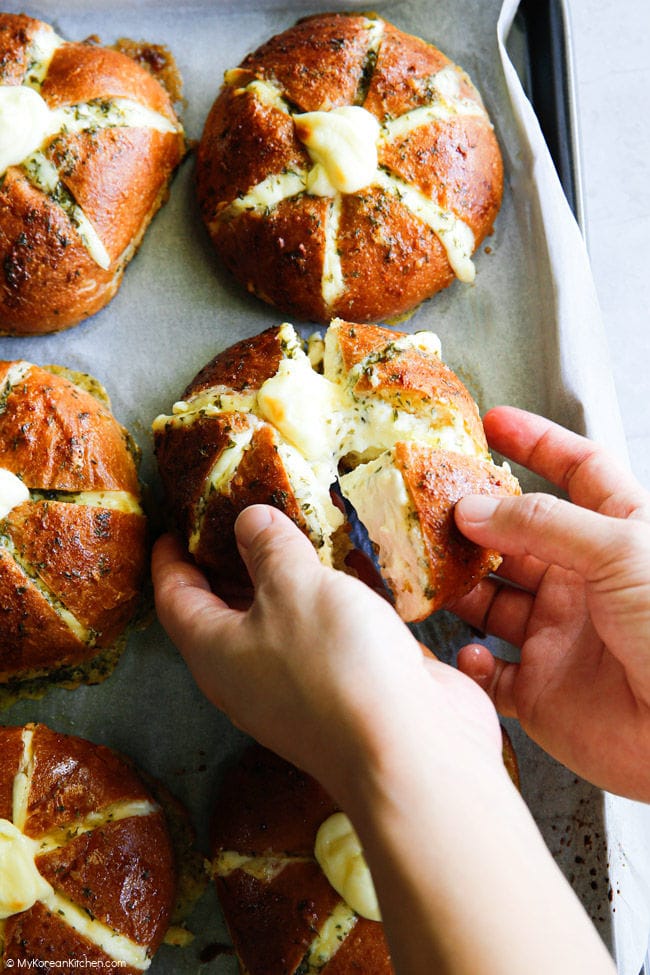
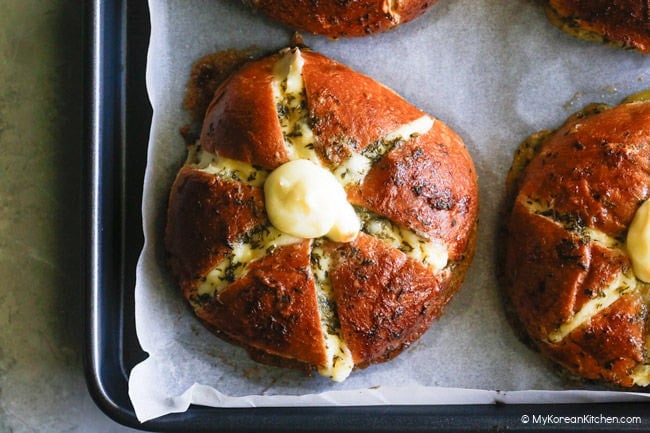
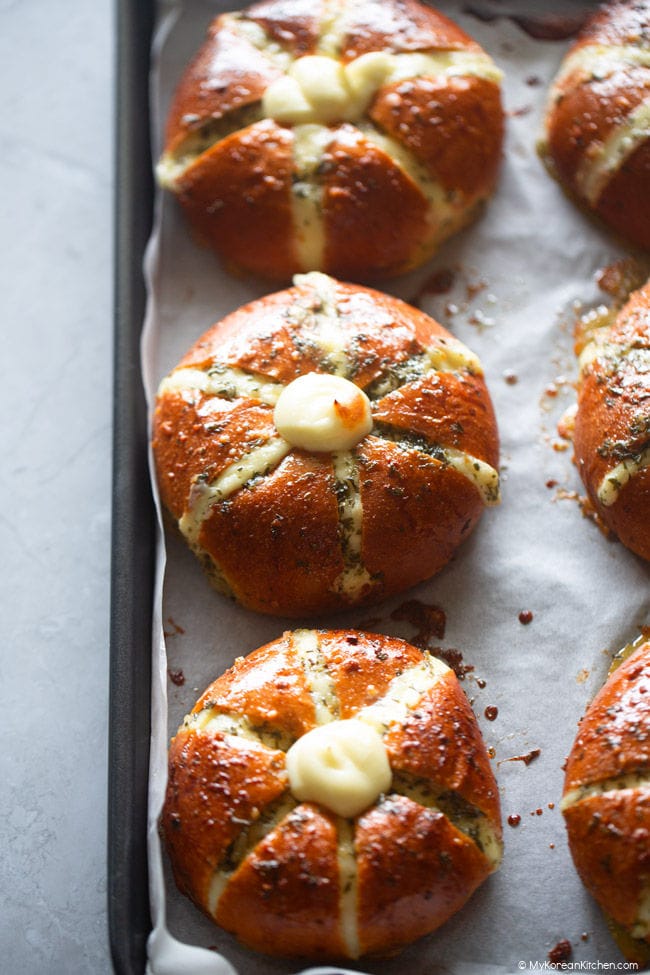
육쪽 마늘빵 (Yukjjok Maneul-Ppang), also known as 크림치즈 갈릭 브레드 (Cream Cheese Garlic Bread), has become a must-try Korean snack. Far from your ordinary garlic bread, it’s a type of pull-apart bread filled with the flavors of slightly sweet, salty, tangy cream cheese, and savory rich buttery garlic.
Its unique and intriguing flavor profile made such a splash on the food scene in Korea around 2019-2020 that people would queue up just to get a taste of this bread. When I visited Korea in 2022, I made sure to try it. It was delicious, definitely interesting, and irresistible, both visually and taste-wise.
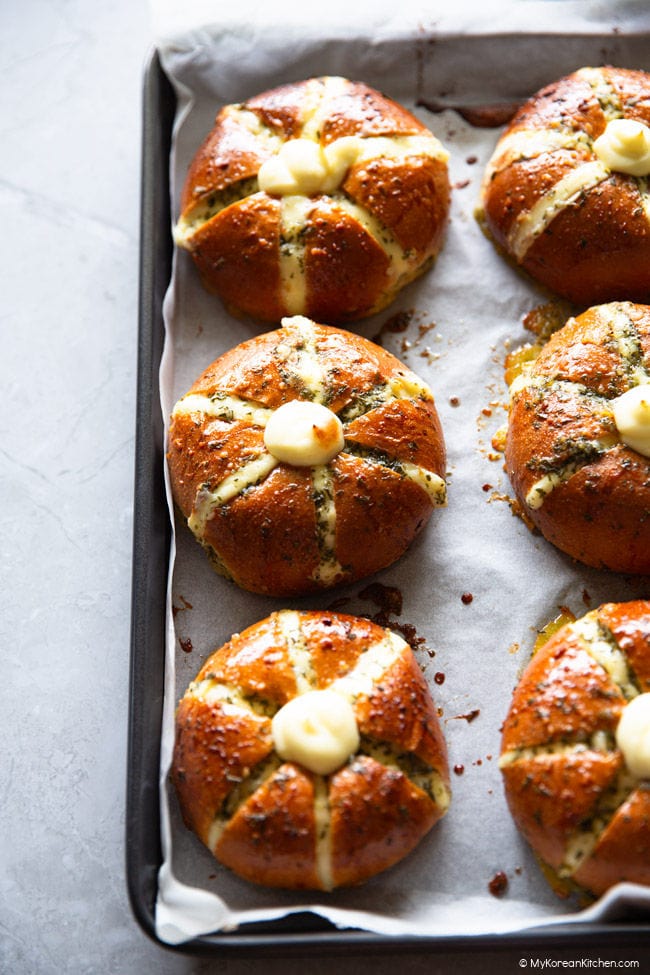
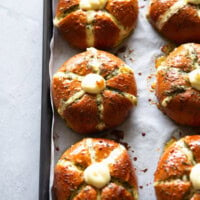
The bread is cut into a six-sided grid pattern, allowing the flavors to infuse into every bite, and it really makes a difference. You get delicious, buttery, garlicky cream cheese in every single bite! The term ‘육쪽 (Yukjjok)’ refers to the six-sided shape of the bread, while ‘마늘빵 (Maneul-Ppang)’ means garlic bread. This snack can be found in many bakeries across Korea and at some market stalls in traditional markets.
My Best Tips
Making this cream cheese garlic bread is fairly straightforward, and the recipe provided below is quite self-explanatory. However, I’ve highlighted a few points below that might be helpful when you go into more detail.
- Bread
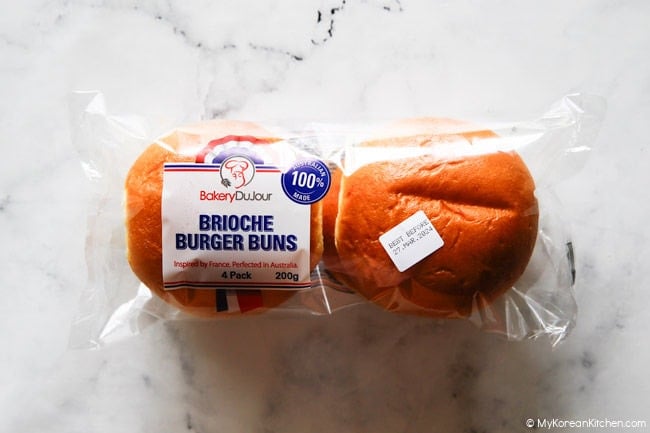
I find that brioche buns work best for this recipe. They’re light and fluffy, not doughy, and slightly sweet, making them perfect for this dish. Some brioche buns come already half-cut for burgers, etc., but I suggest you buy the ones that are not sliced and are one whole round piece for this recipe to work effectively. If you’re into baking and want to make your own brioche, check out this recipe.
- Storage
One thing I love about this bread is that it stores and reheats very well. If you’re planning on eating it in the short term, you can refrigerate it for a couple of days. If you want to eat it over a longer term, it can be frozen for up to 1 month. I stored them individually in ziplock bags.
- Reheat
There are a couple of ways to reheat leftover cream cheese garlic bread. The method I find most effective is using an air fryer, as it quickly brings out the soft cheese interior and crispy bread exterior texture.
Set the air fryer temperature to 170°C (340°F) and heat for 2-3 minutes if it was stored in the fridge, or 6 to 7 minutes if it is from the freezer, or until the center of the cream cheese is warm and soft. Keep in mind that the bread will warm up faster than the frozen cream cheese filling, so it’s worth checking the center of the bread before eating.
You can also use an oven to reheat. Reheat at 170°C (340°F) for about 5 minutes if from the fridge or 10 to 15 minutes if it is from the freezer, or until the center of the cream cheese is warm and soft.
My least favored option is reheating in a microwave. While it successfully reheats the bread, it doesn’t preserve the texture as well as the other two methods mentioned above. You can reheat it for 1 minute if it’s from the fridge, or 3 to 5 minutes if it’s from the freezer, until the center of the cream cheese is warm and soft.
Other Korean Snack Recipes You Might Enjoy Trying
If you’re a fan of Korean snacks, I highly recommend giving the following recipes a try. They’re not only delicious and fun but downright addictive. I’m sure you will fall in love with Korean food even more.
- Korean corn dog
- Rose Tteokbokki (Korean Rice Cakes in Creamy Gochujang Sauce)
- Gimmari (Fried Seaweed Roll)
- Mayak Kimbap (Mini Kimbap)
Ingredients for Korean Garlic Bread
Bread
- 6 medium-sized, plain brioche buns, uncut
Cream Cheese Filling
- 350g / 12.35 ounce cream cheese
- 3.5 Tbsp white sugar
Garlic Butter Custard
- 70g / 2.5 ounce butter, divided
- 2 Tbsp minced garlic
- 1.5 Tbsp milk
- 1 Tbsp mayonnaise
- 3 Tbsp white sugar
- 1 Tbsp dried parsley
- 1 large egg, beaten
* 1 Tbsp = 15 ml
How to Make Cream Cheese Garlic Bread
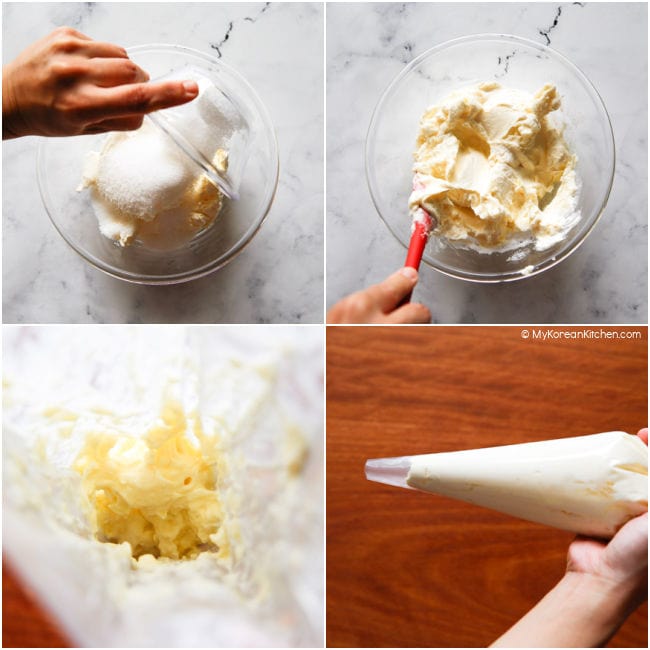
1. In a medium-sized bowl, combine the cream cheese with 3.5 tablespoons of sugar, stirring until the sugar is fully dissolved. Once ready, transfer the mixture to a piping bag. Set aside.
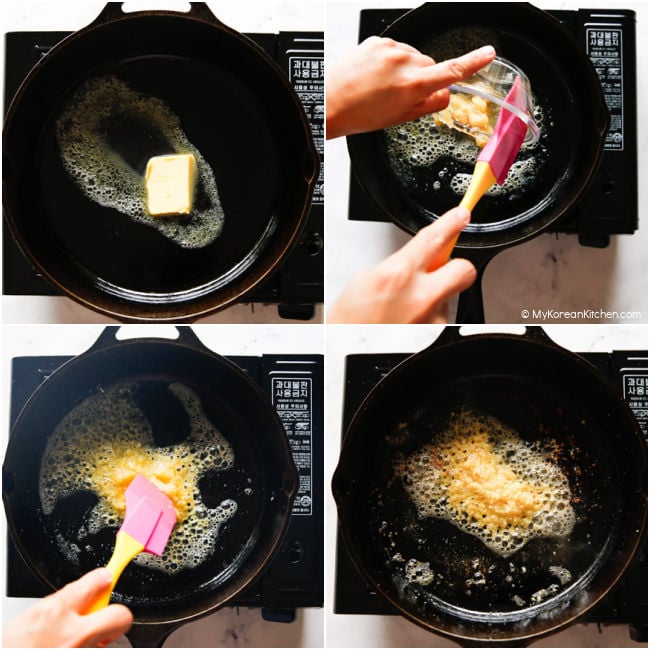
2. Warm up a pan over medium-low heat. Then, melt 20g (about 0.7 ounce) of butter in the pan and add the minced garlic. Gently sauté the mixture, making sure the garlic softens and releases its aroma without browning too much. Remove from the heat.
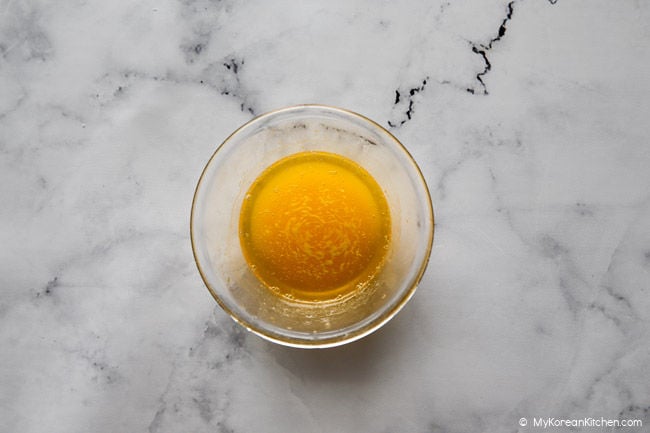
3. Place the remaining 50g (about 1.8 ounces) of butter in a small bowl and put it in the microwave. Heat until fully melted, which should take about 30 seconds. Or, melt it on the stove instead if you prefer. Check to ensure it has completely liquefied before proceeding to the next step.
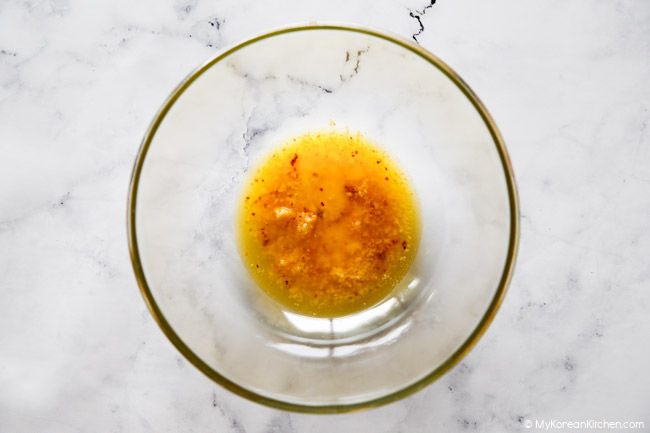
4. Preheat your oven to 180°C (356°F). Then, in a clean bowl, mix all of the garlic butter custard ingredients together: the sautéed garlic (from step 2), melted butter (from step 3), milk, mayonnaise, sugar, parsley, and egg. Stir everything well to combine, then set aside.
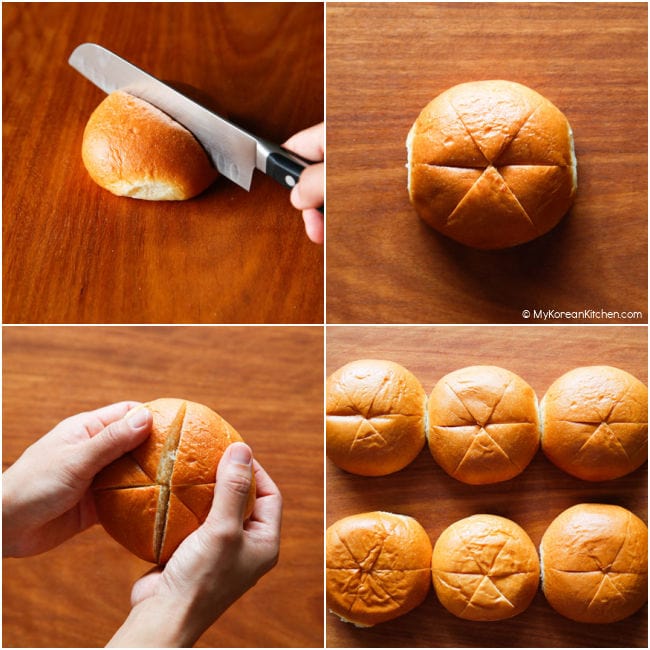
5. Slice the bread buns into six even sections, being careful not to cut all the way through. The bread should remain connected at the base, ensuring it stays as one piece. This setup is perfect for adding the cream cheese filling into the slots you’ve just prepared.
6. Place the bread on a board. Carefully pipe the cream cheese filling (prepared in step 1) into each of the sections. Repeat this process for all the bread buns.
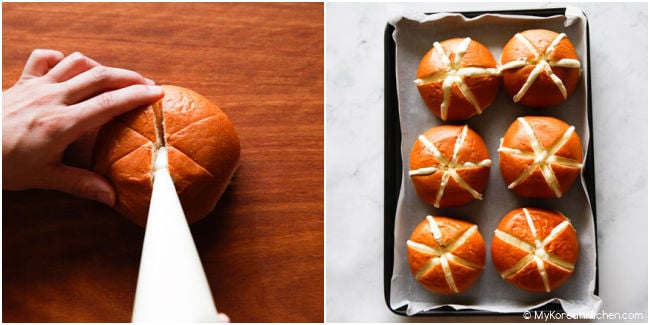
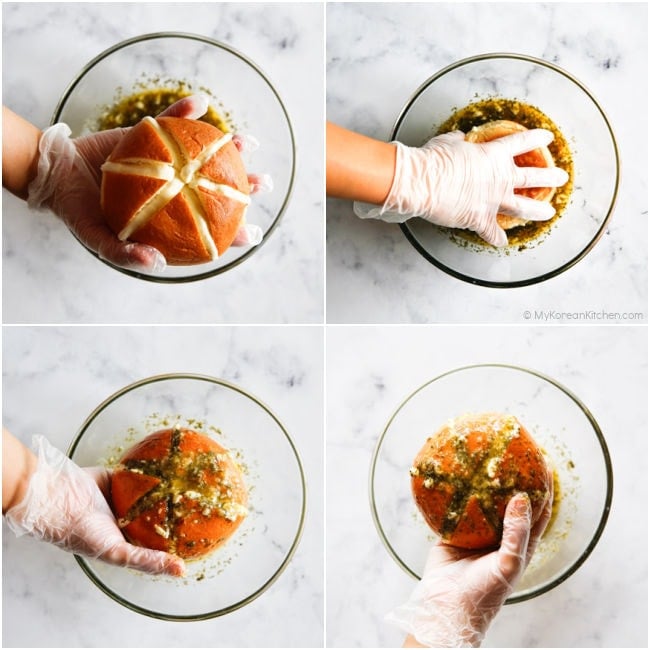
7. Dip the cream cheese-filled bread buns in the garlic butter sauce mixture (prepared in step 4). Then, carefully place the bread onto a baking tray that’s been lined with baking paper, ready for baking.
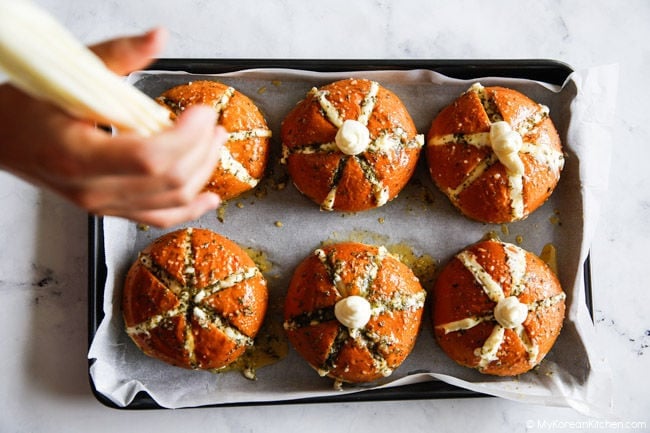
8. Apply a layer of the cream cheese filling to the center of each bread bun. (This step is performed separately from step 6 to enhance the presentation by highlighting the cream cheese in the middle, aiming for a visually appealing appearance.)
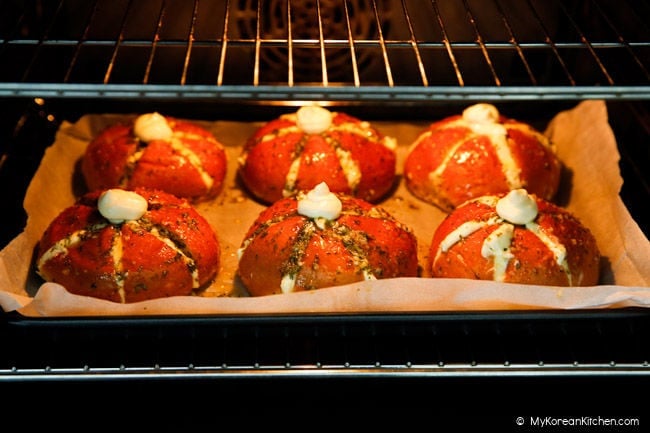
9. Bake in the oven at 180°C (356°F) for 10 minutes. Once done, remove the tray from the oven and allow it to cool down for 5 to 10 minutes.
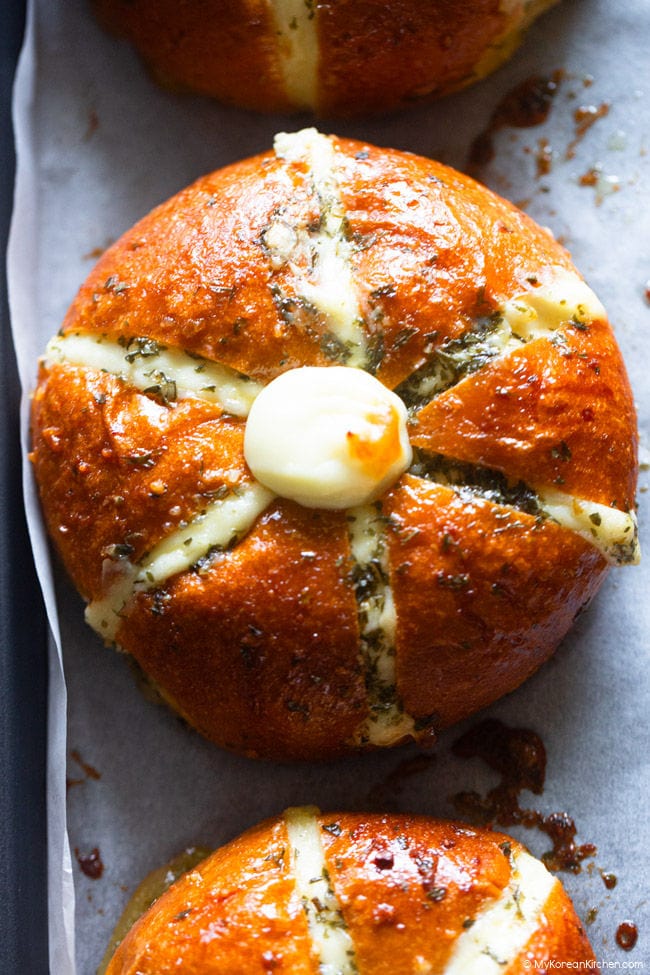
10. Serve warm or at room temperature for the best taste experience.
Love Korean food? Explore our site for more authentic Korean recipes including how to create a perfect Korean BBQ at home or other easy Korean dishes. Also, never miss a new recipe by subscribing to our newsletter, and join us in celebrating Korean cuisine!
Korean Cream Cheese Garlic Bread
Ingredients
Bread
- 6 plain brioche buns (medium-sized), uncut
Cream Cheese Filling
- 350 g cream cheese (12.35 ounce)
- 3.5 Tbsp white sugar
Garlic Butter Custard
- 70 g butter (2.5 ounce), divided
- 2 Tbsp minced garlic
- 1.5 Tbsp milk
- 1 Tbsp mayonnaise
- 3 Tbsp white sugar
- 1 Tbsp dried parsley
- 1 egg , beaten
Instructions
- In a medium-sized bowl, combine the cream cheese with 3.5 tablespoons of sugar, stirring until the sugar is fully dissolved. Once ready, transfer the mixture to a piping bag. Set aside.
- Warm up a pan over medium-low heat. Then, melt 20g (about 0.7 ounce) of butter in the pan and add the minced garlic. Gently sauté the mixture, making sure the garlic softens and releases its aroma without browning too much. Remove from the heat.
- Place the remaining 50g (about 1.8 ounces) of butter in a small bowl and put it in the microwave. Heat until fully melted, which should take about 30 seconds. Or, melt it on the stove instead if you prefer. Check to ensure it has completely liquefied before proceeding to the next step.
- Preheat your oven to 180°C (356°F). Then, in a clean bowl, mix all of the garlic butter custard ingredients together: the sautéed garlic (from step 2), melted butter (from step 3), milk, mayonnaise, sugar, parsley, and egg. Stir everything well to combine, then set aside.
- Slice the bread buns into six even sections, being careful not to cut all the way through. The bread should remain connected at the base, ensuring it stays as one piece. This setup is perfect for adding the cream cheese filling into the slots you’ve just prepared.
- Place the bread on a board. Carefully pipe the cream cheese filling (prepared in step 1) into each of the sections. Repeat this process for all the bread buns.
- Dip the cream cheese-filled bread buns in the garlic butter sauce mixture (prepared in step 4). Then, carefully place the bread onto a baking tray that’s been lined with baking paper, ready for baking.
- Apply a layer of the cream cheese filling to the center of each bread bun. (This step is performed separately from step 6 to enhance the presentation by highlighting the cream cheese in the middle, aiming for a visually appealing appearance.)
- Bake in the oven at 180°C (356°F) for 10 minutes. Once done, remove the tray from the oven and allow it to cool down for 5 to 10 minutes.
- Serve warm or at room temperature for the best taste experience.
Notes
- 1 Tbsp = 15 ml
Storage & Reheat Tips
You can refrigerate it for a couple of days. If you want to eat it over a longer term, it can be frozen for up to 1 month. Store the buns individually in ziplock bags. To reheat, set the air fryer temperature to 170°C (340°F) and heat for 2-3 minutes if it was stored in the fridge, or 6 to 7 minutes if it is from the freezer, or until the center of the cream cheese is warm and soft. If using an oven, reheat at 170°C (340°F) for about 5 minutes if from the fridge or 10 to 15 minutes if it is from the freezer, or until the center of the cream cheese is warm and soft.Nutrition Info (per serving)
The nutrition information shown is an estimate provided by an online nutrition calculator. It should not be considered a substitute for a professional nutritionist’s advice.


")