Indulge in the ultimate summer treat with this delightful Mango Bingsu (Mango Shaved Ice)!
This mouth-watering dessert offers a mountain of finely shaved ice that is both creamy and sweet. Its snow-like texture melts in your mouth, providing a refreshing and satisfying treat on a hot summer day.
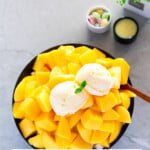
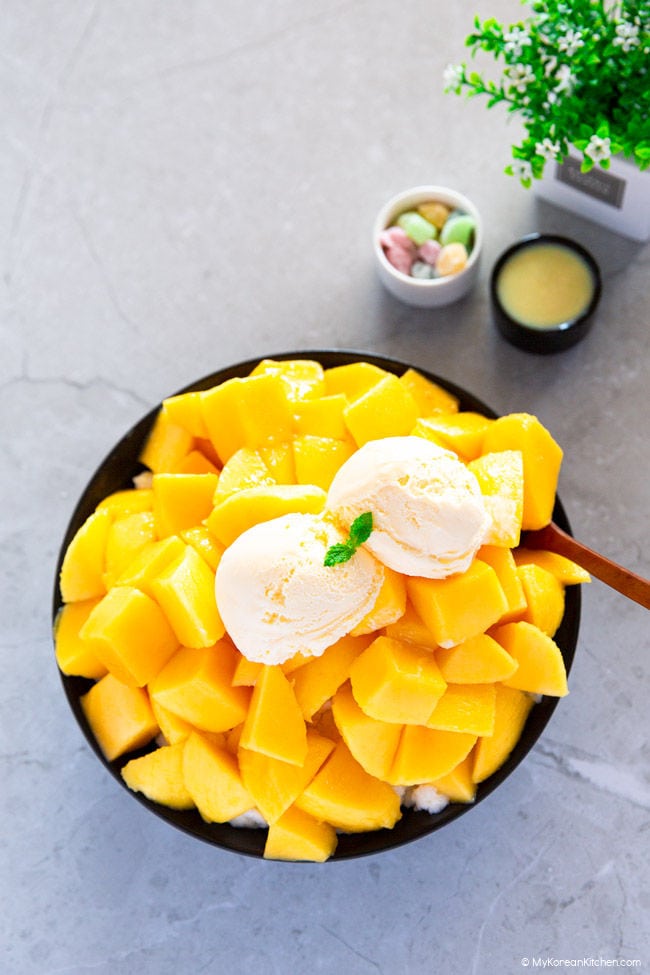
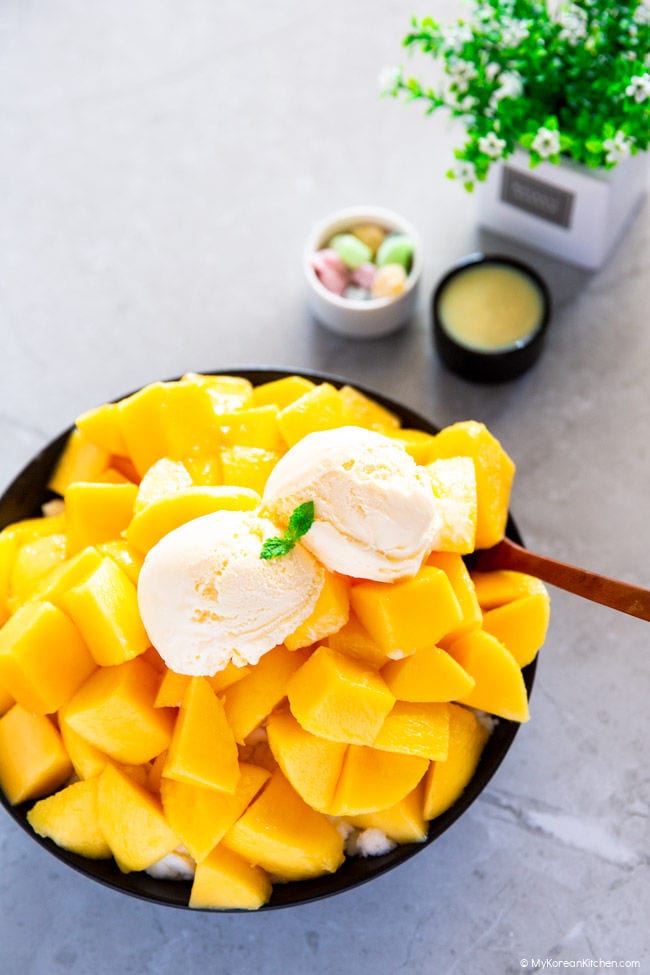
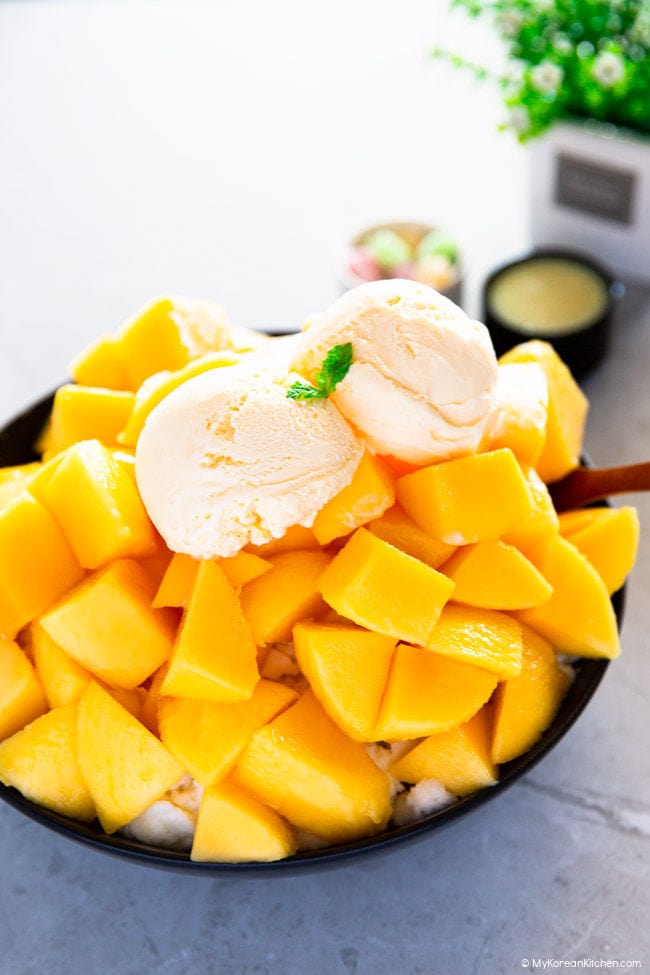
Topped generously with luscious mango slices and heavenly sweet condensed milk, this dessert will take you on a journey to paradise!
What is Mango Bingsu
“Mango bingsu”, also pronounced as “mango bingsoo” (망고빙수), is a popular Korean dessert. It is mango shaved ice, which is essentially a fruity twist on the traditional Korean dessert, Patbingsu.
It is typically served in a large bowl, and the dessert starts with a generous mound of shaved ice, which is then topped with a glorious heap of juicy, ripe mango pieces. To add more texture and flavor, it is commonly enjoyed with a variety of additional toppings (e.g. vanilla ice cream, mochi, and cheesecake pieces) that enhance its already delightful taste.
Overall, this dessert is perfect for hot, sunny days when you’re in the mood for something cool and refreshing.

Should You DIY or Buy Mango Bingsu?
Mango bingsu is a popular summer treat that you can find at various cafes in Korea, from franchise chains like Sulbing (설빙) to upscale hotels like Shilla (신라). The price for this sweet and refreshing dessert can vary depending on where you go, ranging from $10 to upwards of $60, based on the establishment’s level of luxury.
Since mangoes are in season during the summer, it’s no surprise that mango bingsu is commonly found during the warmer months. However, if you find yourself craving this delicious treat during cooler seasons, don’t worry! Some dedicated cafes offer it year-round, allowing you to enjoy it whenever you please. Just keep in mind that they might use frozen mango instead of fresh during off-season months.
That’s exactly why I highly recommend whipping up some homemade mango bingsu! Not only is it incredibly easy and enjoyable to make, but it’s also much easier on your wallet compared to dining out at fancy dessert places.
My Top Tips for Making Mango Bingsu
Tools
You’ll be pleasantly surprised to discover that you can whip up delicious shaved ice treats without splurging on expensive appliances. All you need are a few basic tools, like a rolling pin (or pestle) and a ziplock bag, and you’re good to go!
To prevent damage to the bag and any leakage of ice, be cautious when rolling or breaking up the frozen contents. Avoid applying too much pressure, as this could tear the bag.
On a side note, when I attempted to use my trusty KitchenAid’s ice-shaving attachment in one of my tests, I noticed that the ice melted too quickly, resulting in a slushy mess before I could add any of my scrumptious toppings. It seems that this particular attachment may be more suitable for water-based ice, rather than milk-based ice.
Chilled Bowl
Pop the serving bowl in a freezer bag and give it a solid one-hour chill session in the freezer before crafting your bingsu. This icy hack will help slow down the shaved ice meltdown, ensuring your bingsu stays cool and delicious longer.
Mango
There are various types of mangoes available in the market. While any type of mango will work, some are better suited for this Korean dessert than others.
In Korea, popular mangoes used for bingsu are Apple mango, it has a sweet, yet tangy flavor with a hint of apple taste.
If you’re in the US, consider using Ataulfo mangoes, also known as honey or champagne mangoes. These mangoes have a creamy texture and are less fibrous than other varieties, making them perfect for blending into a smooth puree for your bingsu.
In Australia, I love using R2E2 mango as it has a massive amount of flesh compared to others. Kensington Pride and Calypso mango are also good, but these are small and have less flesh, so you may need to use more mangoes to produce the needed volume.
Sweetened Condensed Milk
One of the key ingredients to making mango bingsu so scrumptious is sweetened condensed milk.
You can find this in either a can or a handy squeeze bottle. If you’re on a budget, the canned version is more cost-effective when making the shaved ice. But when it comes to topping off your bingsu, reach for the squeeze bottle! It allows for easy glazing over the shaved ice, creating the perfect balance of sweetness and creaminess.
Other Toppings
If you are looking for a way to add some excitement to your traditional mango bingsu recipe, look no further than mini mochi (sweet rice cakes) and cheesecake cubes! These unique toppings not only add a pop of color to your dessert, but also a fun texture that will keep you coming back for more.
To create a mango cheese bingsu, simply add in some creamy cheesecake cubes to your traditional mango bingsu. The combination of sweet mango, rich cheesecake, and refreshing shaved ice creates a beautiful flavor profile that is sure to impress.
If you’re not familiar with mini mochi rice cakes, they are a popular topping in Asian desserts. You can usually find them at Japanese or Korean grocers, or even at bubble tea shops. These small rice cakes have a delightful chewy texture that pairs perfectly with the shaved ice in your bingsu.
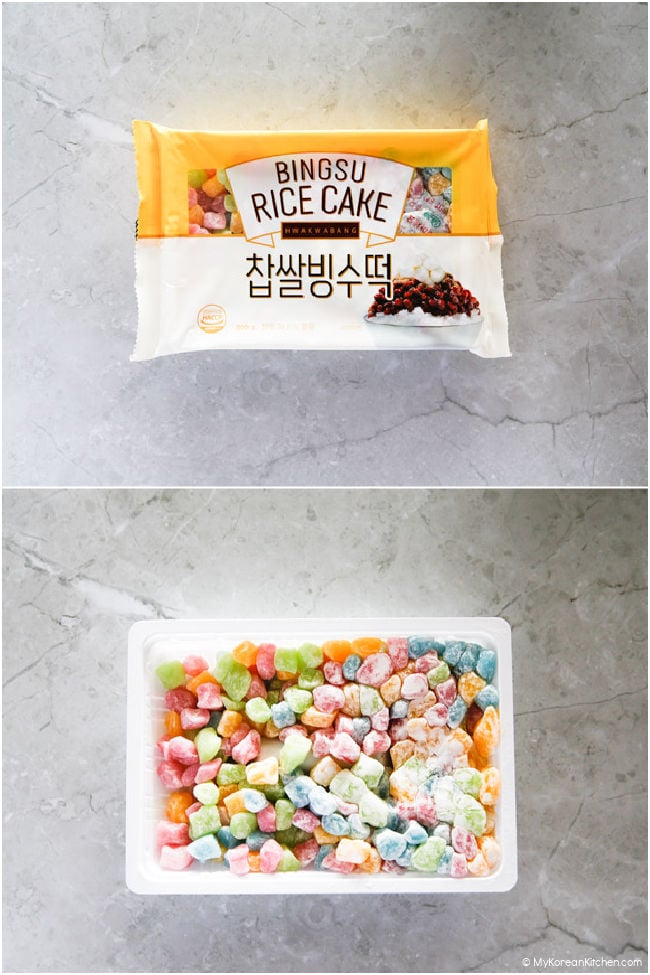
To use mini mochi as a topping for your mango bingsu, simply sprinkle them on top of the shaved ice or layer them between the shaved ice.
Other Irresistible Korean Summer Dessert Recipes
Are you ready to explore the world of Korean summer treats beyond mango bingsu? We’ve got your cravings covered! Check out my mouthwatering list of other must-try Korean summer dessert recipes below!
- Injeolmi Bingsu (Milk Shaved Ice with Rice Cakes)
- Patbingsu (Traditional Korean Shaved Ice)
- Jolly Pong Shake (Cereal Milkshake)
- Korean Watermelon Punch
Ingredients for Mango Bingsu
Main
- 1 3/4 cup whole milk
- 1/3 cup water
- 1/3 cup sweetened condensed milk
- 3 large mangoes (1.3kg / 2.9 pounds), chilled – The weight of a mango includes the seed.
- 2 Tbsp raw sugar
- 1 Tbsp lemon juice
Topping
- sweetened condensed milk, to taste
- 2 scoops of vanilla ice cream
- (optional) mini mochi (sweet rice cakes)
- (optional) Philadelphia cheesecake cubes
*1 Tbsp = 15 ml, 1 Cup = 250 ml
How to Make Mango Bingsu
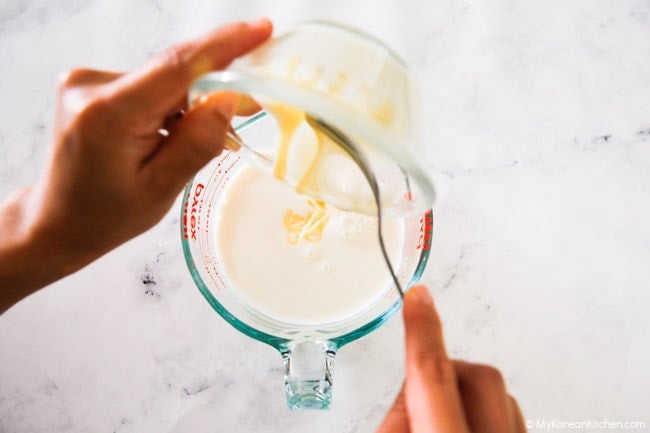
1. Prepare a large jug. Combine milk, water, and sweetened condensed milk in the jug. Stir the mixture thoroughly until the condensed milk is fully incorporated and evenly distributed.
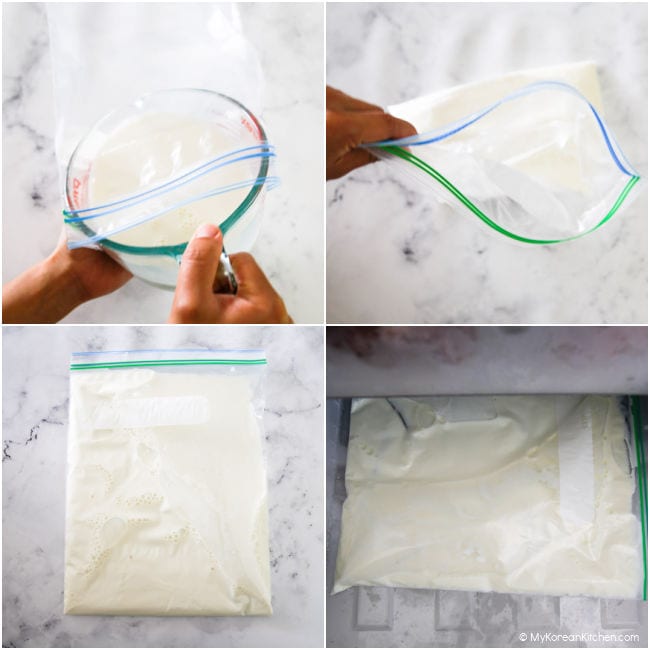
2. Gather a large zip-lock plastic bag or an ice cube tray. (Ensure you have a food processor, powerful blender, or shaved ice machine if you are using an ice cube tray to freeze the ingredients.) Carefully pour the milk mixture from step 1. into your chosen container – either the zip-lock bag or the ice cube tray. For optimal freezing, leave the mixture in the freezer for a minimum of six hours. When using a zip-lock plastic bag, make sure to lay it flat while freezing. Doing so will make it easier to break the ice later.
3. Carefully dice the mangoes into small, even-sized pieces. Place the visually appealing diced mangoes in a medium-sized bowl. These will later serve as a delightful topping for your bingsu. Cover the bowl and refrigerate to keep them fresh.
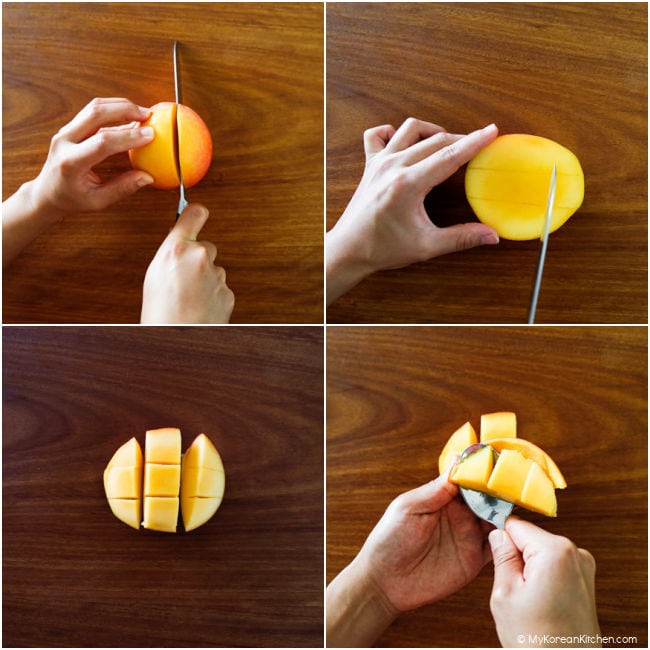
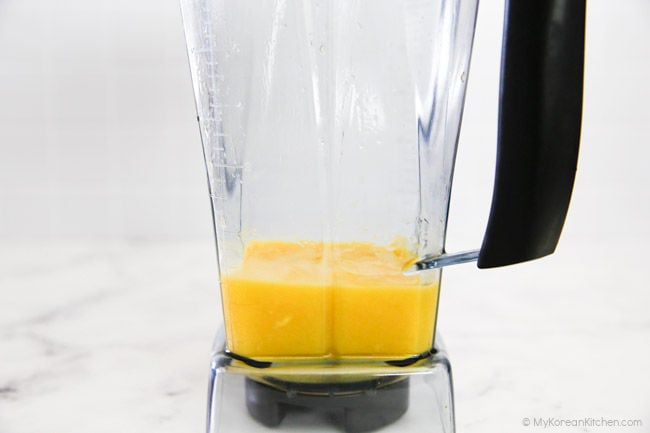
Gather the remaining smaller and less attractive mango pieces (approximately 300g / 10.5 ounces) and place them in a blender. Blend until they reach a smooth, puree-like consistency: this puree will be used to glaze over your bingsu at the end.
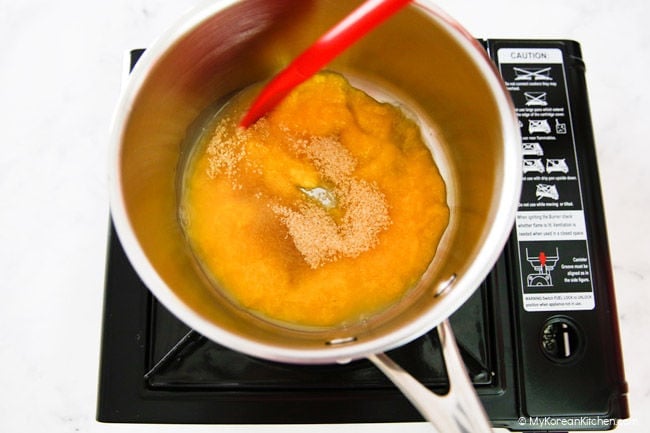
4. Prepare a saucepan and add the mango puree, raw sugar, and lemon juice. Gently cook the mixture over low heat for 1-2 minutes, stirring occasionally, until the sugar has fully dissolved. Once ready, transfer the syrup to the refrigerator to cool and let the flavors blend together.
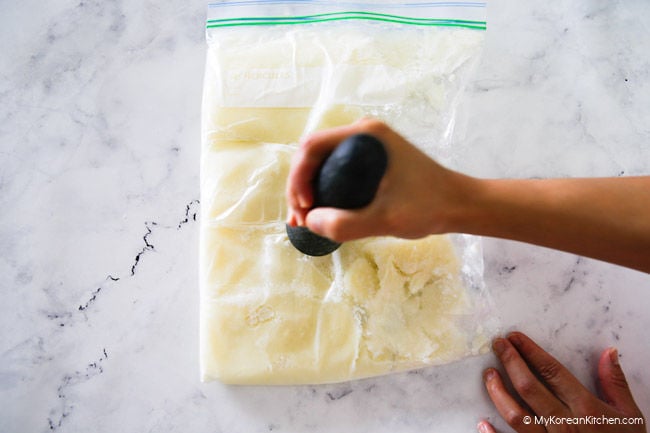
5. Prepare shaved ice/crushed ice by taking out the zip-lock plastic bag from the freezer and breaking up the ice inside it using a pestle, rolling pin, or your hands. This will help to create a shaved ice effect for the bingsu.
Alternatively, if you have frozen the ice mixture in ice cubes in step 2, remove them from the freezer and place them in a food processor or shaved ice machine. Next, grind the ice for a few seconds in the processor or shaved ice machine, until it reaches your desired level of fineness. Whether you prefer a fine, snow-like consistency or a coarser texture, the key is to pulse the ice in short bursts to prevent it from melting or clumping together.
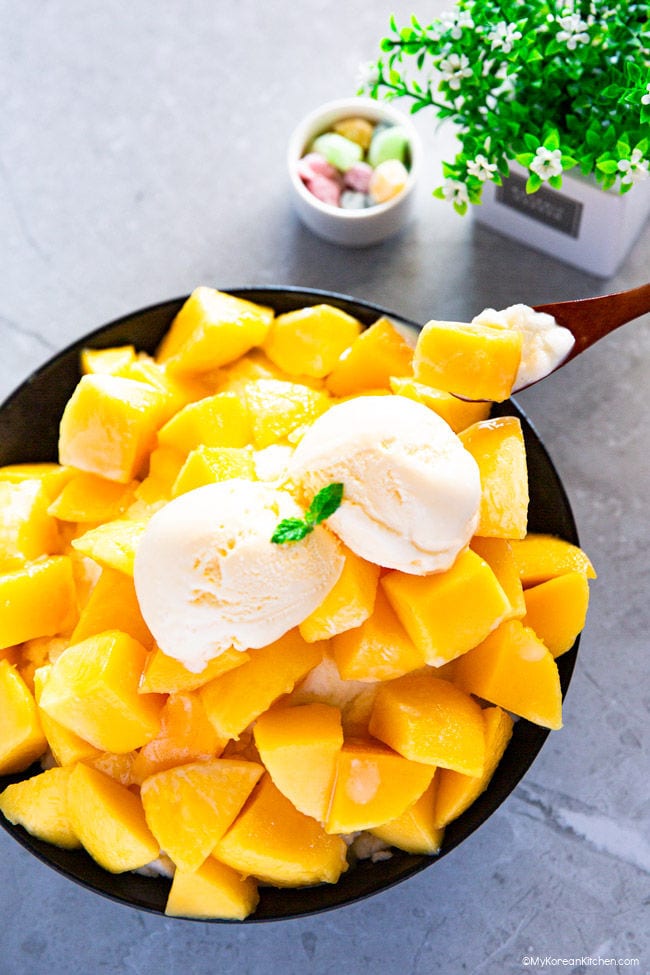
6. Prepare all the necessary ingredients for assembling and place them nearby. Then, layer the ingredients in the following order in a serving bowl: Begin by placing half of the milk shaved ice made in step 5 at the bottom of the bowl.
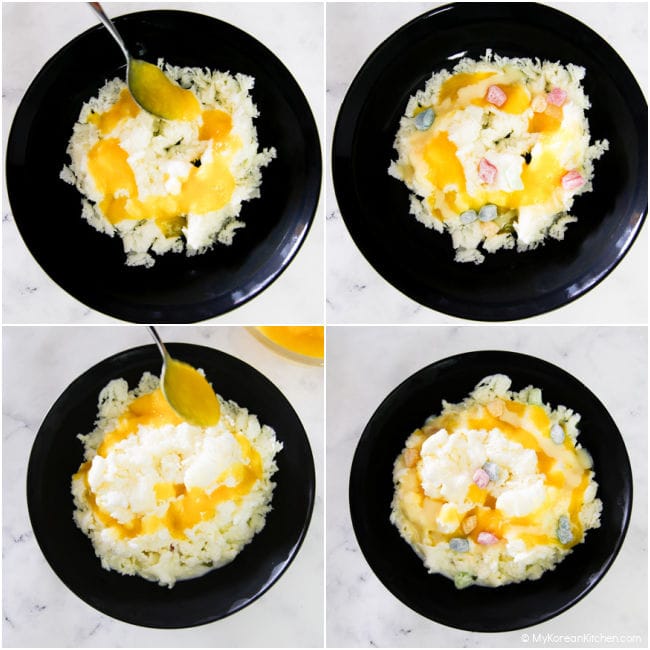
On top of the ice, sprinkle a bit of mini mochi (if desired), followed by a drizzle of sweetened condensed milk and mango syrup prepared in step 4. Repeat these layers with the remaining ingredients until you reach the top of the bowl.
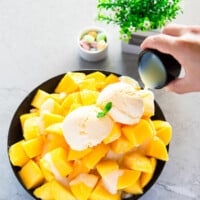
Finally, add a generous amount of diced fresh mango (prepared in step 3) and any other toppings you desire, such as ice cream or cheesecake cubes. Then, glaze around with mango syrup and sweetened condensed milk to add more sweetness and creaminess. Serve immediately and enjoy!
Love Korean food? Browse even more delicious ideas from my collection of easy Korean recipes. Don’t forget to subscribe to my newsletter to stay updated on new recipes, what the MKK community is cooking, and K-Dramas!
Mango Bingsu (Mango Shaved Ice)
Ingredients
MAIN
- 1 3/4 cup whole milk
- 1/3 cup water
- 1/3 cup sweetened condensed milk
- 3 mangoes (1.3kg / 2.9 pounds), chilled – The weight of a mango includes the seed.
- 2 Tbsp raw sugar
- 1 Tbsp lemon juice
TOPPING
- sweetened condensed milk , to taste
- 2 scoops vanilla ice cream
- mini mochi (sweet rice cakes), (optional)
- Philadelphia cheesecake cubes (optional)
Instructions
- Prepare a large jug. Combine milk, water, and sweetened condensed milk in the jug. Stir the mixture thoroughly until the condensed milk is fully incorporated and evenly distributed.
- Gather a large zip-lock plastic bag or an ice cube tray. (Ensure you have a food processor, powerful blender, or shaved ice machine if you are using an ice cube tray to freeze the ingredients.) Carefully pour the milk mixture from step 1. into your chosen container – either the zip-lock bag or the ice cube tray. For optimal freezing, leave the mixture in the freezer for a minimum of six hours. When using a zip-lock plastic bag, make sure to lay it flat while freezing. Doing so will make it easier to break the ice later.
- Carefully dice the mangoes into small, even-sized pieces. Place the visually appealing diced mangoes in a medium-sized bowl. These will later serve as a delightful topping for your bingsu. Cover the bowl and refrigerate to keep them fresh.Gather the remaining smaller and less attractive mango pieces (approximately 300g / 10.5 ounces) and place them in a blender. Blend until they reach a smooth, puree-like consistency: this puree will be used to glaze over your bingsu at the end.
- Prepare a saucepan and add the mango puree, raw sugar, and lemon juice. Gently cook the mixture over low heat for 1-2 minutes, stirring occasionally, until the sugar has fully dissolved. Once ready, transfer the syrup to the refrigerator to cool and let the flavors blend together.
- Prepare shaved ice/crushed ice by taking out the zip-lock plastic bag from the freezer and breaking up the ice inside it using a pestle, rolling pin, or your hands. This will help to create a shaved ice effect for the bingsu.Alternatively, if you have frozen the ice mixture in ice cubes in step 2, remove them from the freezer and place them in a food processor or shaved ice machine. Next, grind the ice for a few seconds in the processor or shaved ice machine, until it reaches your desired level of fineness. Whether you prefer a fine, snow-like consistency or a coarser texture, the key is to pulse the ice in short bursts to prevent it from melting or clumping together.
- Prepare all the necessary ingredients for assembling and place them nearby. Then, layer the ingredients in the following order in a serving bowl: Begin by placing half of the milk shaved ice made in step 5 at the bottom of the bowl.On top of the ice, sprinkle a bit of mini mochi (if desired), followed by a drizzle of sweetened condensed milk and mango syrup prepared in step 4. Repeat these layers with the remaining ingredients until you reach the top of the bowl.Finally, add a generous amount of diced fresh mango (prepared in step 3) and any other toppings you desire, such as ice cream or cheesecake cubes. Then, glaze around with mango syrup and sweetened condensed milk to add more sweetness and creaminess. Serve immediately and enjoy!
Nutrition Info (per serving)
The nutrition information shown is an estimate provided by an online nutrition calculator. It should not be considered a substitute for a professional nutritionist’s advice.

")
")