Your comprehensive guide to making the most delicious bulgogi (Korean BBQ beef) at home! With this, you can make mildly sweet, savory, smoky, juicy and tender delicious bulgogi. Are you excited?
WHAT IS BULGOGI
Literally speaking, bulgogi (불고기) means “fire meat”. It is often made with tender parts of beef, pork or chicken. However, in general terms, unless specified, bulgogi is made with beef.
Undoubtedly it is one of the most well-known Korean traditional foods and it has been around for thousands of years. Naturally, the cooking method of bulgogi evolved over time and it varies by region too.
However, to narrow our focus down, we will be talking about the most common way of making beef bulgogi in modern times.
WHAT CUT OF BEEF DO I USE
As I briefly mentioned above, the tender parts of beef are ideal to use in bulgogi. And commonly used ones are top sirloin and beef tenderloin.
During my research though, I discovered that different countries have different naming conventions for these cuts, which made me rather confused!
Anyway, I love making my bulgogi with scotch fillet (known as rib eye in the US). It is a tad more expensive than other popular steak cuts, but not as expensive as eye fillet (known as beef tenderloin in the US).
Scotch fillet / rib eye is known to have more flavor and juicy texture than other steak cuts. It also has a good amount of marbling, so cooking it over a grill or pan frying is quite suitable for this cut.
HOW TO CUT BULGOGI BEEF
Until recently, I’ve been exclusively using pre-cut bulgogi from a Korean grocer. Yes, you can buy this meat that’s already sliced from a Korean grocer / Korean butcher. Just watch out for the label “bulgogi meat” in the fridge / freezer section.
But I just became so unhappy with the degrading quality of meat I’ve been getting from my local Korean grocer. The meat wasn’t fresh and it had too much gristle, so it was rather unpleasant to eat.
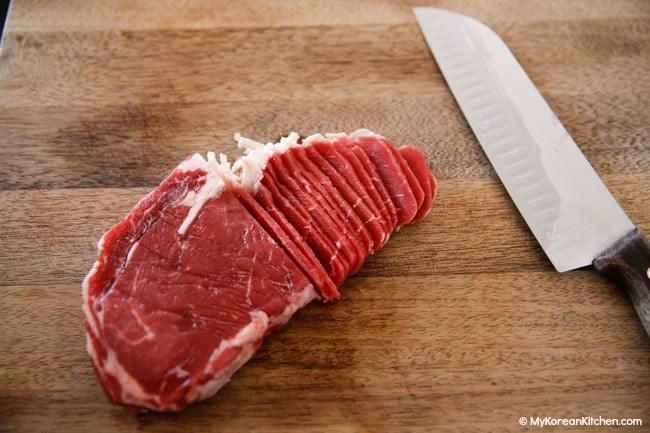
So I decided to cut the meat myself with my choice of meat (scotch fillet / rib eye fillet as I mentioned above) and this is what I do with it. (Tip – It’s worth sharpening your knife before you start this process!)
1. Take the meat out from the packaging. Wrap each fillet individually with cling wrap. Place the wrapped meat on to a metal baking tray.
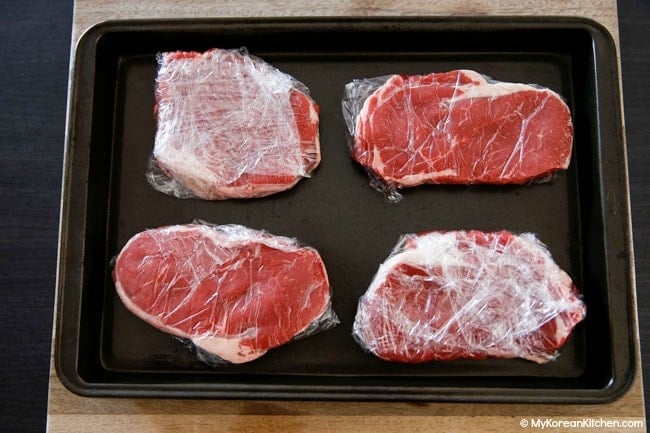
2. Put the tray into the freezer and let the meat partially freeze for about 2 to 2.5 hours. (The time can vary depending on your freezer setting, the thickness and size of the meat). The meat is ready if your knife goes through smoothly and you’re not having difficulties in thinly slicing it. If you do, you should put the meat back into the freezer and freeze it a bit longer.
3. Remove the meat from the freezer and remove the cling wrap. Slice the meat thinly across the grain. Ideal thickness is 2mm to 3mm (1/8 inch). Now the meat is ready to be marinated with bulgogi sauce!
TENDERIZING BEEF
As you can read from above, I use pear or apple in my bulgogi sauce. I use them as a meat tenderizer but also as a sweetness enhancer.
While the most commonly used fruit in bulgogi marinating process is Korean pear / Asian pear / Nashi pear, it is not an easy fruit to get to if you don’t live in Korea. So I often use red apple varieties (e.g. pink lady, red delicious, royal gala, fuji etc.) combined with pureed onion and it has been working really well for me.
Some Koreans also use kiwi or pineapple but you will have to make sure you don’t overuse these as these are stronger tenderizing agents than pear.
If you marinate the meat for too long with these, the colour and the texture of the meat can change substantially in an undesirable way. (I’m speaking from my own experience here!)
COOKING
- GRILLING vs. PAN FRYING
Bulgogi can be cooked with vegetables over a stove (in a pan / skillet) or it can be cooked on a bbq grill without any vegetables. As you can imagine, they will give slightly different flavors.
Pan fried bulgogi (with vegetables) will naturally release some juice, which you can use to mix with a bowl of steamed rice. Many people love this idea! This method is also great if you’re making bulgogi as a meal prep.
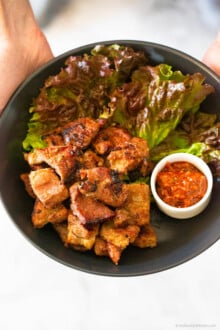
On the other hand, char-grilled bulgogi (on a bbq) won’t build any juice as it will drip into the grill plate, but the extra flavor of slightly burnt charcoal, juice and the fat gives an irresistibly pleasant Korean bbq experience!
- ADDING SMOKY FLAVOR (WHILE PAN FRYING)
Can you believe that you can add smoky flavor to your bulgogi even when you cook bulgogi in a pan? I won’t hold you long.
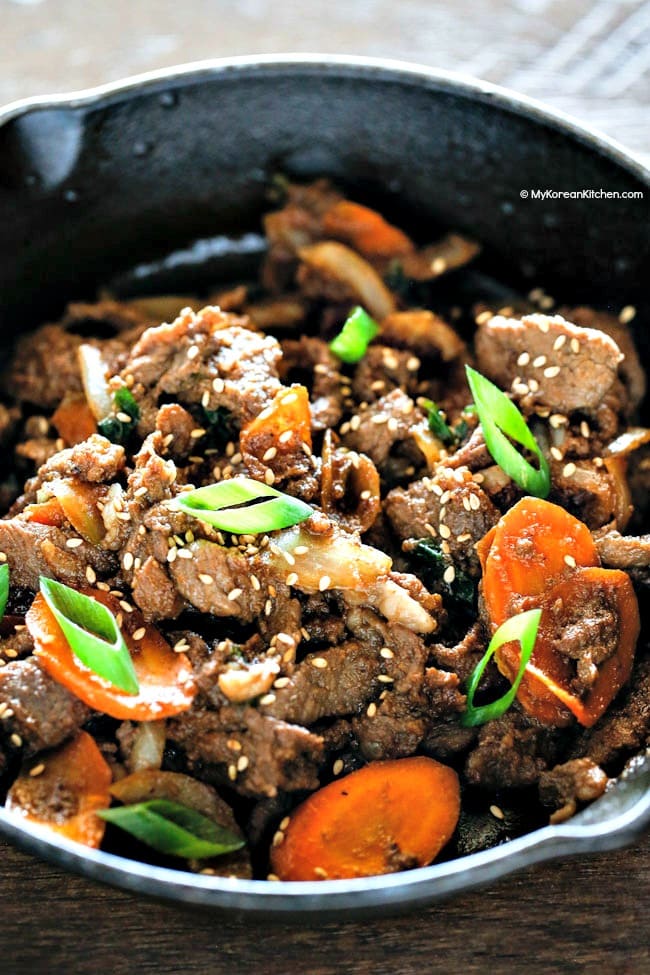
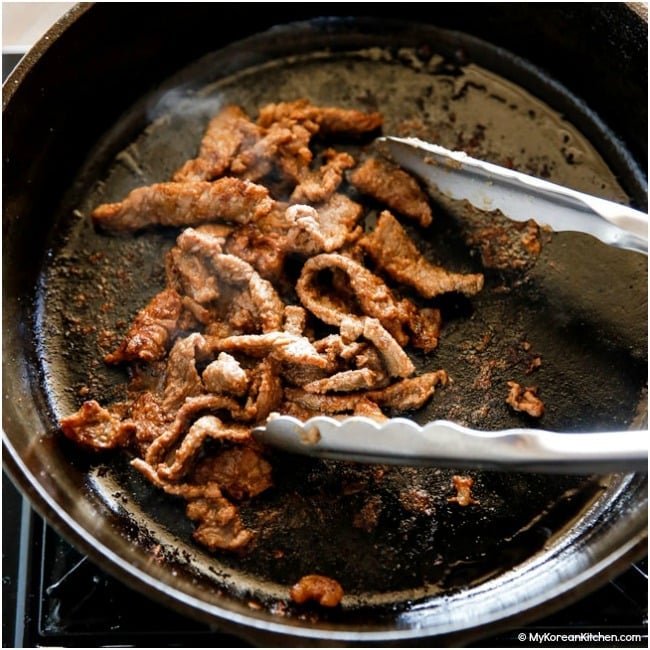
The secret is cooking in a well seasoned cast iron skillet and cooking in a small batch of meat without over crowding the pan.
Because, when you over crowd the pan / skillet with the meat and/or vegetables, too much juice gets released from them. And the smoky effect gets diminished.
But you can stop that happening by cooking bulgogi in a smaller batch. Cooking without any vegetables will also help that too.
Also, another secret is, heating up the skillet high before you add the meat, so that as soon as the meat touches the pan, it starts sizzling, searing and caramelizing. This additional flavor really does make the bulgogi even more tasty!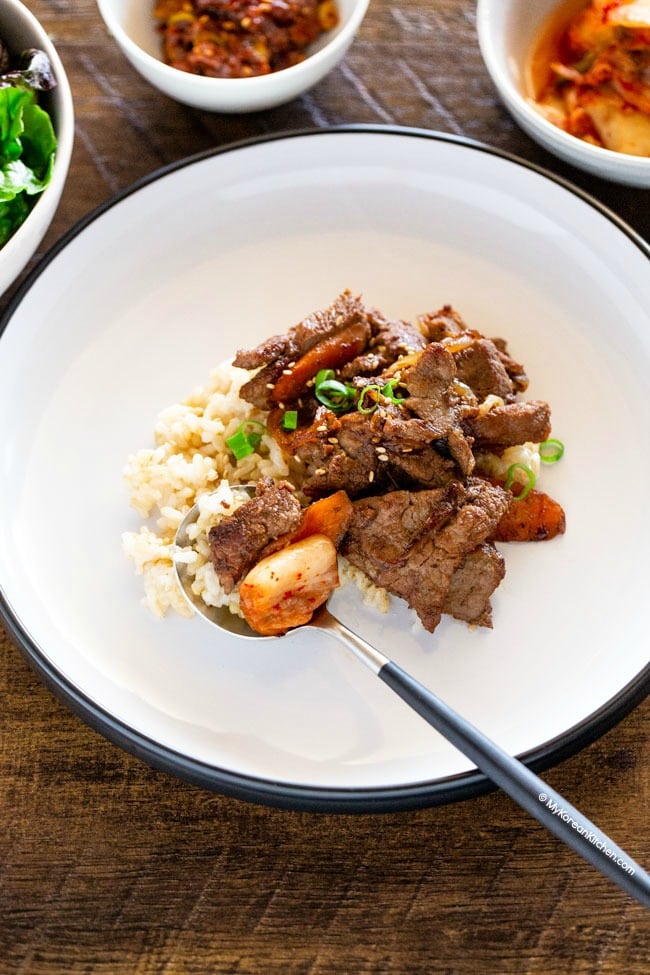
INGREDIENTS
MAIN
- 800 g / 1.76 pounds rib eye or top sirloin (or any tender prime beef cut), thinly sliced, 2mm to 3mm (1/8 inch) thickness
- 1 onion (130 g / 4.6 ounces), optional, peeled & thinly sliced
- 2 stalks green onion (55 g / 2 ounces), optional, thinly sliced
- 1/2 carrot (55 g / 2 ounces), optional, peeled & thinly sliced
- 1 Tbsp toasted sesame oil
- 1 Tbsp toasted sesame seeds
- 1 Tbsp cooking oil (I used rice bran oil)
BULGOGI MARINADE
- 6 Tbsp soy sauce (I use regular Kikkoman soy sauce)
- 3 Tbsp brown sugar
- 2 Tbsp rice wine (mirin)
- 1 asian pear or red apple (155 g / 5.5 ounces)
- 1/2 onion (80 g / 2.8 ounces)
- 1 Tbsp minced garlic
- 1 tsp minced ginger
- 1/8 tsp ground black pepper
* 1 Tbsp = 15 ml
** If you want to learn more about Korean cooking ingredients, check my essential Korean cooking ingredients list!
HOW TO MAKE BEST BULGOGI
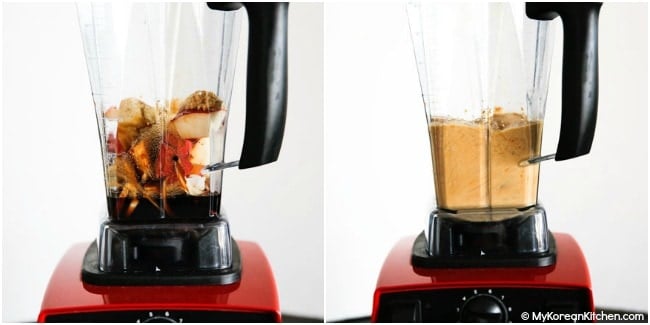
1. Blend the marinade ingredients in a mixer or food processor until smooth. Set aside.
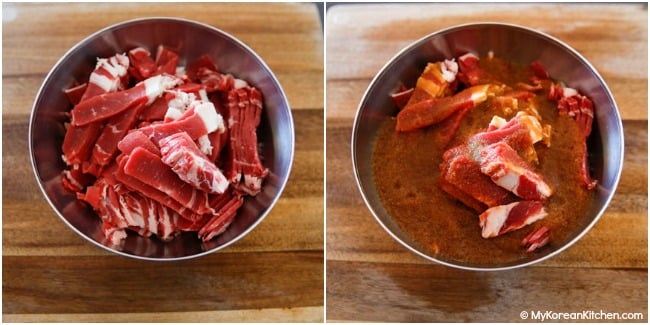
2. Place the thinly sliced meat in a mixing bowl and pour the marinade over it. Mix them well together while gently massaging the meat with your hands. (Wearing a food prep glove is very handy here!)
Add the sesame oil and mix it into the meat. (I prefer adding the sesame oil separately as opposed to mixing it in the marinade sauce. I read somewhere that the oil can prevent the other sauce getting absorbed effectively into the meat.)
Cover the bowl with cling wrap (or move the marinated meat into a glass container with a lid) and marinate the meat for at least 4 hours in the fridge. (If you have more time, you can also marinate it overnight to deepen the flavour even more).
3. Preheat a skillet / bbq grill on medium high heat until well heated. Add the cooking oil and spread it well. Add the meat (and vegetables) and cook it on medium high to high heat for 3 to 5 mins (until the meat and vegetables cook to your desired doneness). Toss in the sesame seeds and stir them quickly.
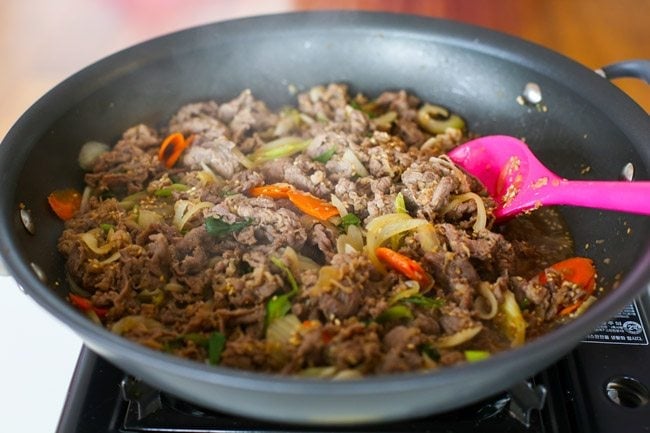
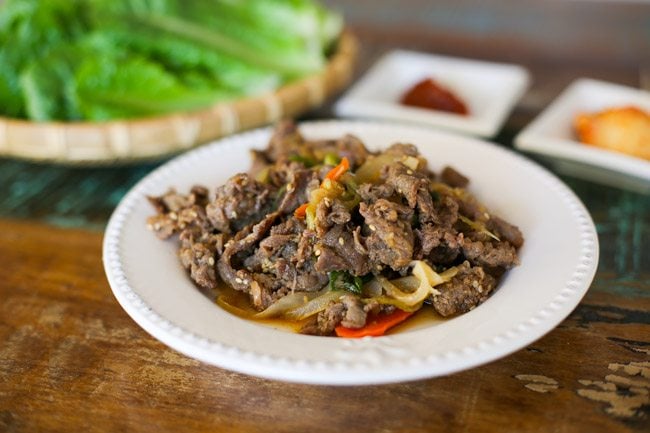
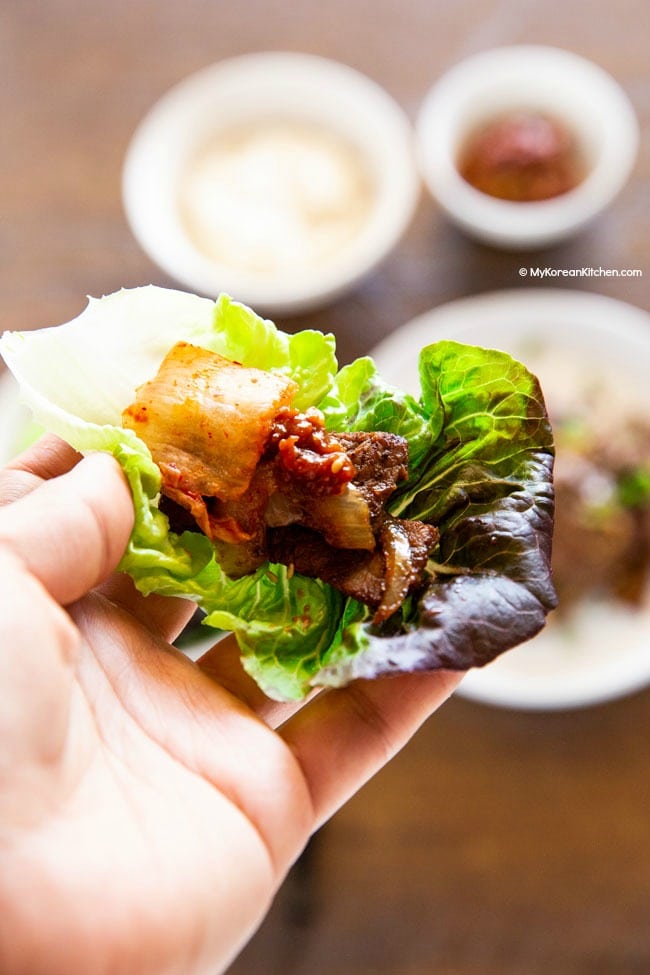
4. Serve the bulgogi with steamed rice and other Korean side dishes. You can also use some lettuce leaves and perilla leaves to wrap the bulgogi. Don’t forget to pair it with some Korean ssamjang (Korean bbq dipping sauce) and some kimchi (spicy kimchi or white kimchi) too!
HOW TO STORE
Store cooked bulgogi in the fridge for a few days. For uncooked, marinated bulgogi, keep it fresh in the fridge for 3 to 4 days, or it can be frozen for a few weeks, ensuring it’s placed in an airtight container.
VARIATIONS
These are some creative ways to enjoy your favorite bulgogi at home. Sounds delicious!
- Bulgogi Spring Rolls (Perfect party finger food)
- Bulgogi Tacos (Great for DIY party)
- Bulgogi Rice Burger (Learn how to make rice buns as well!)
- Bulgogi Pizza (The most popular pizza in Korea)
- Bulgogi Jeongol (aka Korean Beef Stew)
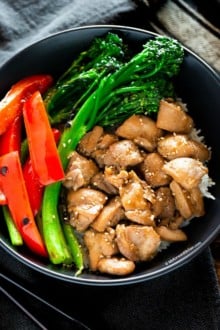
- Chicken Bulgogi (If you prefer chicken)
A KOREAN BBQ LOVERS ULTIMATE HANDBOOK
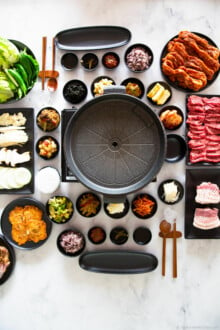
If you’re ready to take your Korean BBQ game to the next level, make sure to check out my post, “Your Ultimate Guide to Authentic Korean BBQ at Home“. This post breaks down the nitty-gritty of Korean BBQ, ensuring you become a master of mouthwatering flavors right in your own kitchen.
How I Make It: Step-by-Step Recipe Video
Bulgogi (Korean BBQ Beef)
Ingredients
MAIN
- 800 g rib eye (1.76 pounds) or top sirloin (or any tender prime beef cut), thinly sliced, 2mm to 3mm (1/8 inch) thickness
- 1 onion (130 g / 4.6 ounces), optional, peeled & thinly sliced
- 2 stalks green onion (55 g / 2 ounces), optional, thinly sliced
- 1/2 carrot (55 g / 2 ounces), optional, peeled & thinly sliced
- 1 Tbsp toasted sesame oil
- 1 Tbsp toasted sesame seeds
- 1 Tbsp cooking oil (I used rice bran oil)
Instructions
- Blend the marinade ingredients in a mixer or food processor until smooth. Set aside.
- Place the thinly sliced meat in a mixing bowl and pour the marinade over it. Mix them well together while gently massaging the meat with your hands. (Wearing a food prep glove is very handy here!)Add the sesame oil and mix it into the meat. (I prefer adding the sesame oil separately as opposed to mixing it in the marinade sauce. I read somewhere that the oil can prevent the other sauce getting absorbed effectively into the meat.)Cover the bowl with cling wrap (or move the marinated meat into a glass container with a lid) and marinate the meat for at least 4 hours in the fridge. (If you have more time, you can also marinate it overnight to deepen the flavour even more).
- Preheat a skillet / bbq grill on medium high heat until well heated. Add the cooking oil and spread it well. Add the meat (and optional vegetables) and cook it on medium high to high heat for 3 to 5 mins (until the meat and vegetables cook to your desired doneness). Toss in the sesame seeds and stir them quickly.
- Serve the bulgogi with steamed rice and other Korean side dishes. You can also use some lettuce leaves and perilla leaves to wrap the bulgogi. Don't forget to pair it with some Korean ssamjang (Korean bbq dipping sauce) and some kimchi (spicy kimchi or white kimchi) too!
Notes
HOW TO STORE
Store cooked bulgogi in the fridge for a few days. For uncooked, marinated bulgogi, keep it fresh in the fridge for 3 to 4 days, or it can be frozen for a few weeks, ensuring it's placed in an airtight container.Nutrition Info (per serving)
The nutrition information shown is an estimate provided by an online nutrition calculator. It should not be considered a substitute for a professional nutritionist’s advice.


