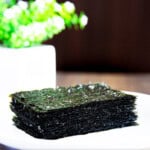
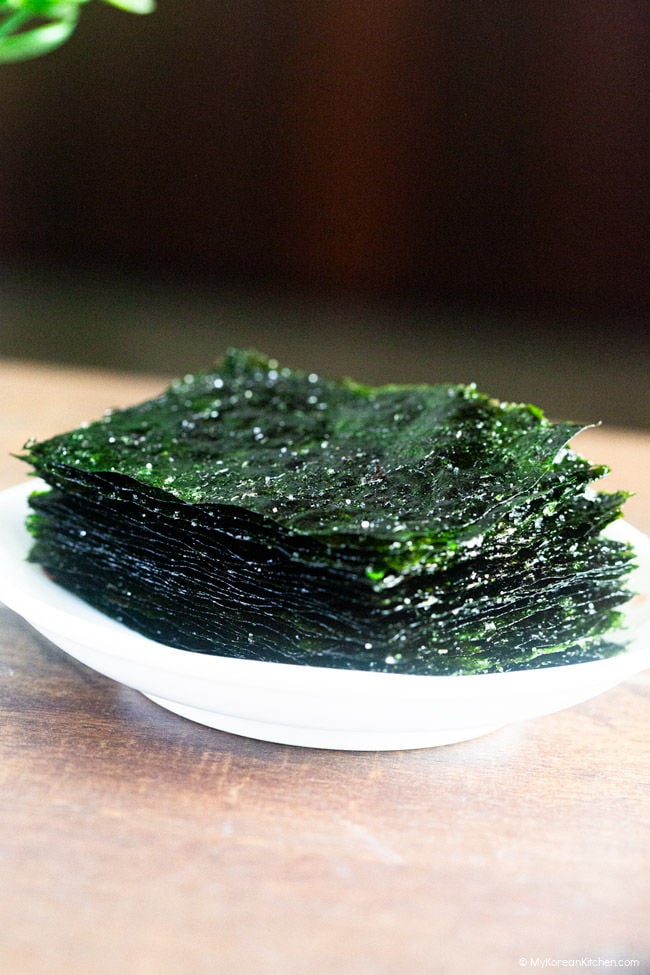
This roasted seaweed is the perfect harmony of irresistible crunch and savory goodness. It offers an effortless way to elevate your meals or satisfy your snack cravings. These roasted seaweed sheets are very easy to make and sure to be a hit with your taste buds!
What Makes This Recipe Special?
This roasted seaweed (gim gui, 김구이) recipe was recently featured in Season 1 of Culinary War on Netflix. It’s known as Imokase Style Seasoned Seaweed! The judges described the dish as ‘crazy good’!
Frankly speaking, I was very skeptical—it’s only seaweed! But after trying it myself, I was convinced—I finished three bowls of rice in one sitting! These roasted seaweed sheets are sure to be a hit with your taste buds. I hope I’ve convinced you to try them!
Perfecting Your Roasted Seaweed
Seaweed
I’ve worked with three types of dried seaweed for this recipe, based on what was available in my area.
The first type was roasted seaweed made specifically for Korean gimbap (also known as kimbap or seaweed rice rolls). The second was a sushi roll seaweed, which I found in the Asian aisle of a general grocery store.
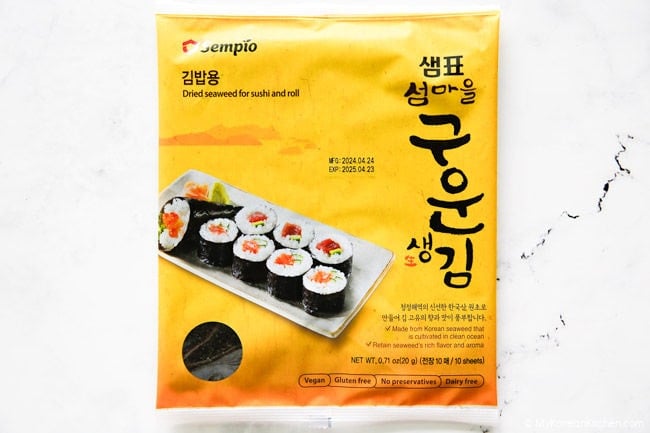
Unfortunately, neither was ideal as the original recipe calls for raw dried seaweed, commonly used in Korea. I was hoping to find Dol-gim (돌김), Jaeraegim (재래김), or Paraegim (파래김). These types are prized for their thin, soft texture and crispiness when roasted. For context, Jaeraegim was the type used by Imokase in the cooking contest.
Then I got lucky. I found Gopchang-gim (곱창김), a type of Dol-gim. Known as ‘tripe seaweed,’ it is considered a premium variety in Korea due to its rarity—it only grows for about 20 days a year. It stands out for its signature wavy, woven appearance and rougher texture.
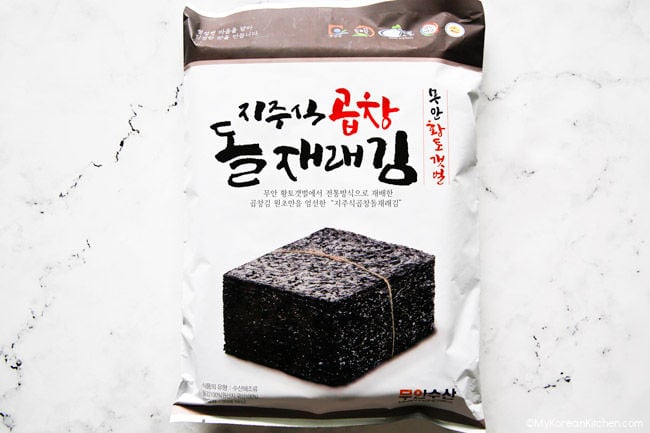
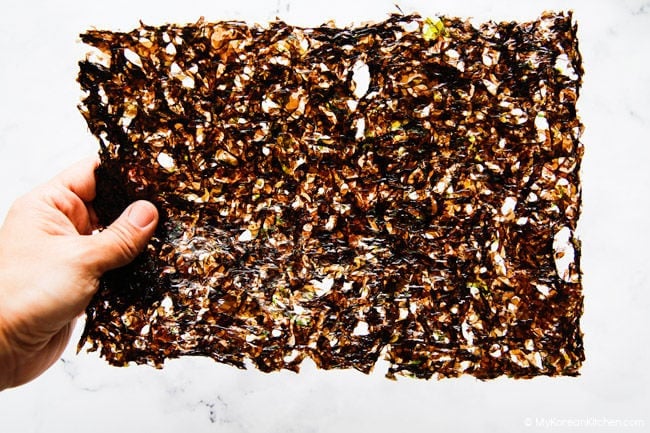
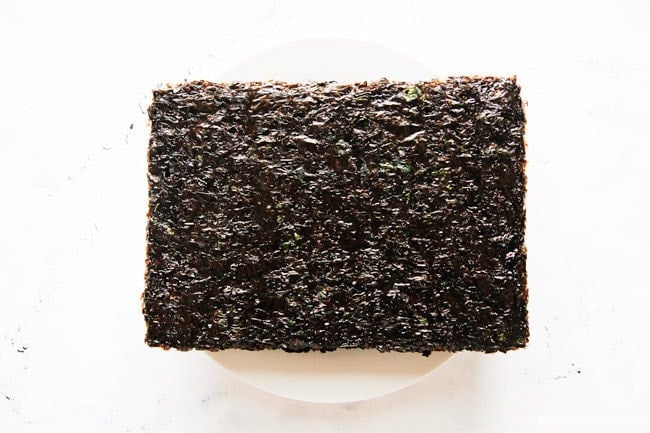
If you’re replicating this recipe, stick with Korean-branded seaweed for its delicate texture and superior flavor. Non-Korean brands tend to be thicker and tougher, which doesn’t work as well. Also, roasted seaweed for kimbap is an acceptable alternative, although slightly thicker.
When using pre-roasted seaweed, keep in mind it requires less roasting time since it’s already partially cooked. Raw dried seaweed, on the other hand, provides a clearer visual cue as it changes from a purpleish hue to dark green or black when roasted. However, pre-roasted seaweed’s color remains mostly unchanged, which can make it tricky to judge doneness based on appearance alone.
Price-wise, kimbap seaweed is affordable, around $4–$5 for 10 sheets, while premium options like Gopchang-gim are pricier—my pack of 20 sheets cost about $12–$14.
Oil

When making roasted seaweed, most Koreans use cooking oils like olive, canola, or other vegetable oils, and mix in a small amount of sesame or perilla oil. This is because sesame and perilla oils oxidize quickly, and adding other oils helps slow that process. Plus, vegetable oils have a higher smoke point, which makes them better for preventing the seaweed from burning during roasting.
That said, this recipe takes a different approach. It uses a 1:1 ratio of perilla oil and sesame oil to create a flavor that’s earthy, nutty, and irresistibly rich. Perilla oil adds a gentle, herbal earthiness, while sesame oil brings a deeper, bold nuttiness. Together, they form a harmonious blend that’s aromatic and balanced, elevating the flavor of roasted seaweed to the next level.
Salt
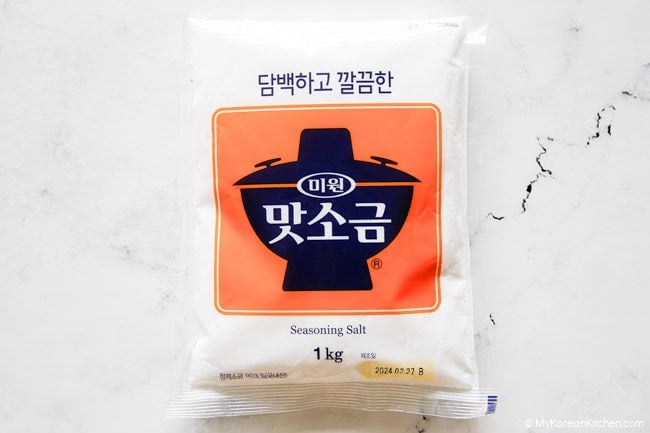
This recipe uses seasoned salt called Matsogeum (맛소금), a blend of salt and flavor enhancers like MSG. I don’t typically cook with MSG—except for instant noodles, where it’s hard to avoid—but I have to say, this seaweed turned out amazing with it. If MSG isn’t your thing, you can easily swap Matsogeum for fine salt.
Use it to taste, but to give you an idea, I used less than 1/4 teaspoon of seasoned salt for 10 sheets of dried seaweed. If the primary purpose is to eat it with rice, it can be slightly saltier than otherwise.
How to Serve
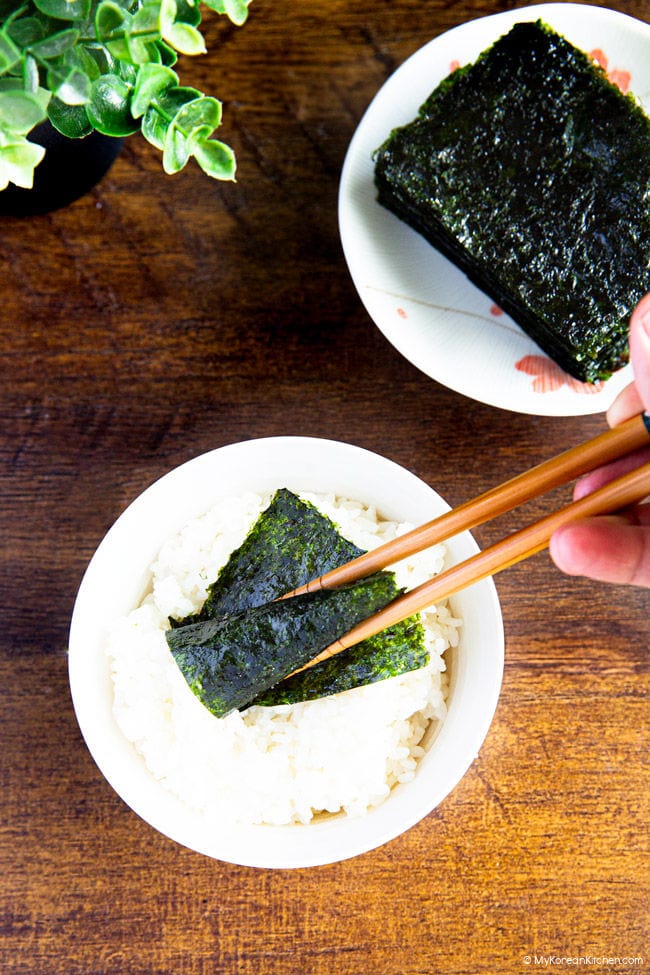
You can enjoy it as a light, guilt-free snack or pair it with steamed rice and your favorite sides to create an authentic Korean dining experience. While roasted seaweed is typically served as a Korean side dish, many people, especially outside of Korea, enjoy it as a standalone snack—though that’s still unfamiliar to me. For me, roasted seaweed is best enjoyed as part of a meal, accompanied by rice and kimchi!
When it comes to rice pairings, I prefer white rice, such as short-grain or sushi rice, with roasted seaweed. The black and white contrast is visually appealing and makes the meal more appetizing. Plus, the fluffy texture of white rice complements roasted seaweed better than other rice grains. Short or medium-grain varieties, like Korean or sushi rice, work best for wrapping since they stick together better than long-grain rice.
Ingredients
- 10 sheets dried seaweed, preferably a Korean brand (see main post for details)
- 1 Tbsp sesame oil
- 1 Tbsp perilla oil
- Korean seasoned salt (matsogeum) or fine salt, to taste
* 1 Tbsp = 15 ml
* * Depending on the condition of your seaweed or if it’s on the thicker side, you might need to use more oil. If that’s the case, add more sesame oil and perilla oil in equal parts.
*** I used a 12-inch (30 cm) skillet for this recipe, which fit most brands of seaweed.
How to Make Roasted Seaweed
Prepare the Seaweed: Lay the dried seaweed sheets on a clean, dry surface. The rougher side should face up.
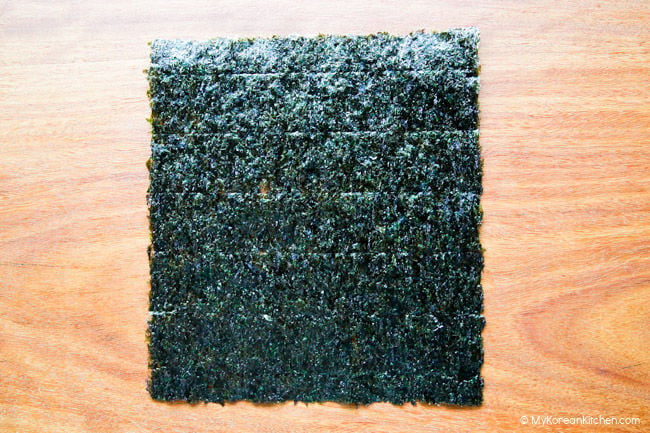
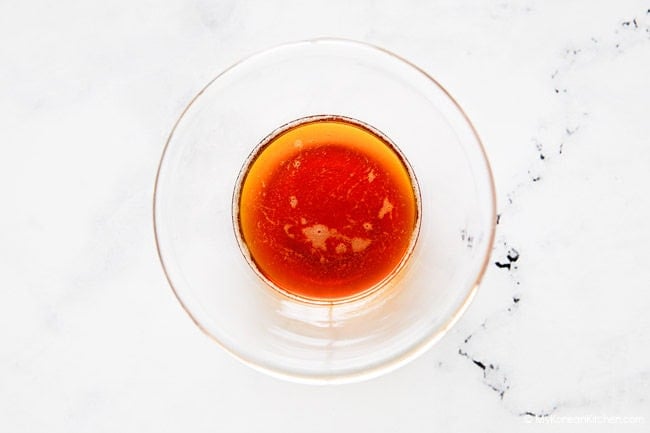
Make the Oil Mix: In a small bowl, combine the sesame oil and perilla oil in equal parts.
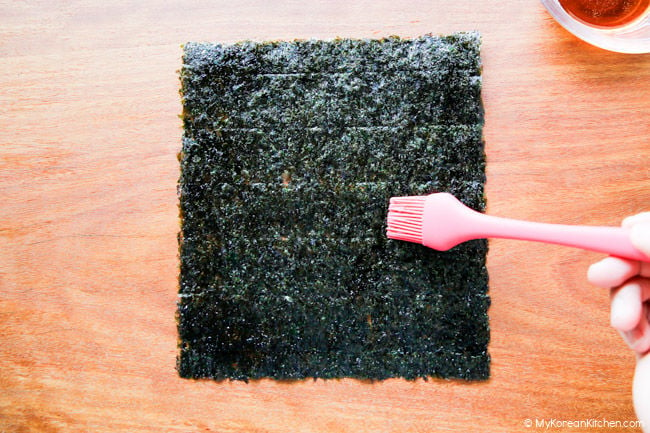
Season the Seaweed: Using a brush, lightly coat one side of the seaweed sheet with the oil mixture. (Some Koreans also use disposable cooking gloves to spread the oil by hand.) Be careful not to oversoak the sheets; a thin layer is sufficient. Lightly sprinkle the salt over the oiled seaweed. This process typically involves pinching the salt and sprinkling it in a zigzag direction as you move down the seaweed sheet.
Roast the Seaweed: Heat a frying pan over medium to medium-low heat (this may vary depending on your heat source). Place the seaweed sheet on the pan, cooking one at a time. Roast each sheet for about 15–20 seconds, then flip using a spatula or tongs and roast the other side for another 15–20 seconds, or until crisp. It might take a bit longer if it’s raw dried seaweed. Keep an eye on the color change as a quick guide.
It’s also beneficial to press down the seaweed with the spatula, particularly around the corners, so you don’t miss any spots. Transfer the roasted seaweed onto a cooling rack (like a biscuit rack) as you progress. Repeat the process for all sheets.
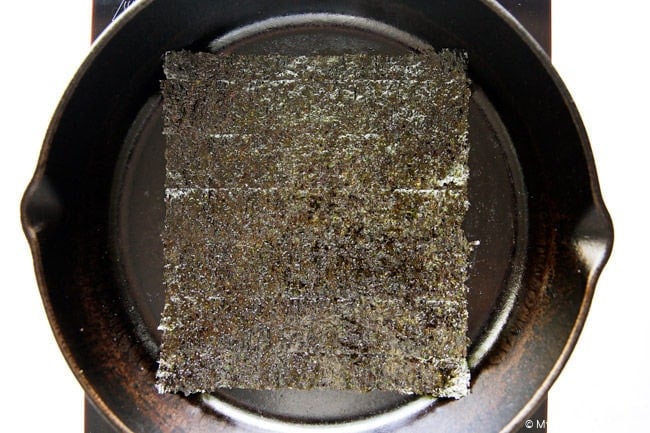
If the seaweed starts to burn, turn off the heat and continue roasting using the residual heat in the skillet. This works especially well with a cast iron skillet, as it retains heat for longer. Once the pan has cooled slightly, you can reheat it and continue roasting the remaining sheets.
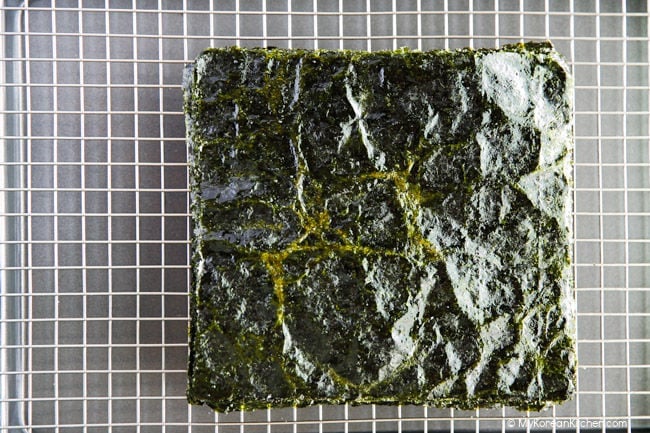
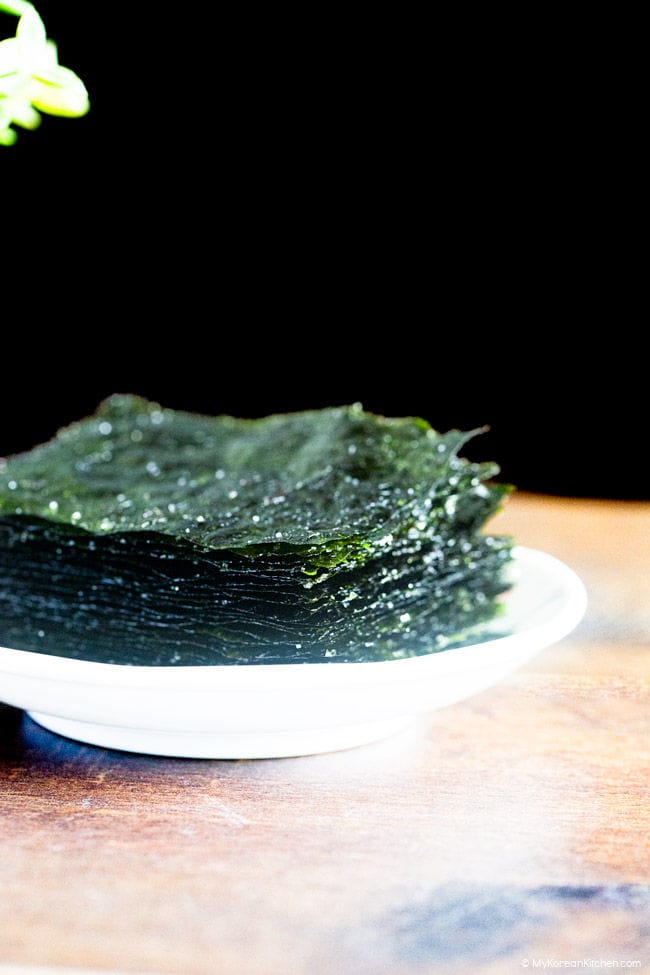
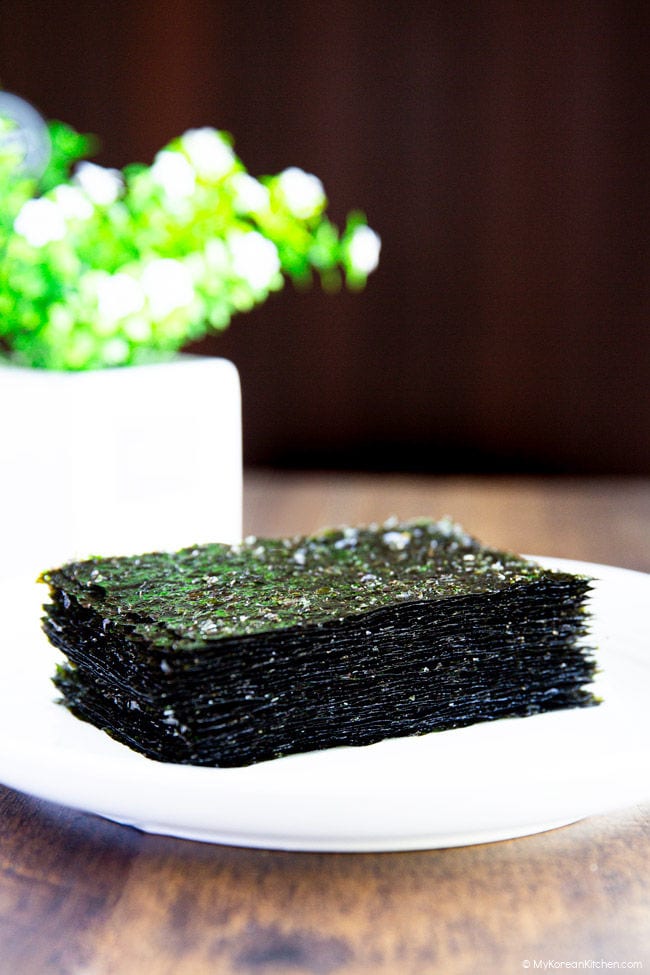
Cut the Seaweed: Place the seasoned seaweed sheets on a cutting board. Stack them neatly, then cut the stack in half. Restack the pieces and cut again into halves or thirds, depending on your desired size. (Tip: Align the sheets carefully and press down firmly with a knife to ensure clean cuts.) Serve as a side dish or enjoy as a snack.
How to Store
To keep roasted seaweed fresh and crisp, store it in an airtight container at room temperature. Place the container in a cool, dry spot away from direct sunlight to protect it from moisture and air. Under these conditions, the seaweed will stay fresh for 3 to 4 days. Keep in mind, frequent opening of the container can expose the seaweed to air and moisture, causing it to gradually lose its crispness.
For longer storage, divide the roasted seaweed into small portions and pack them into individual sandwich-sized ziplock bags. Place the smaller bags into a larger ziplock bag for added protection, and put it in the freezer. Take out portions as needed—no defrosting required! The seaweed will stay fresh for up to 1 month or longer.
Other Seaweed Recipes You Might Like
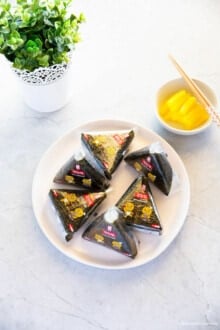
Seaweed is an incredibly versatile ingredient that brings a unique flavor and texture to many dishes. If you enjoyed this recipe, here are some other seaweed-based creations you might love to try!
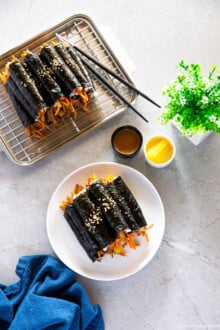
- Gimmari (Fried Seaweed Roll)
- Bulgogi Kimbap
- Rolled Seaweed and Egg Omelette
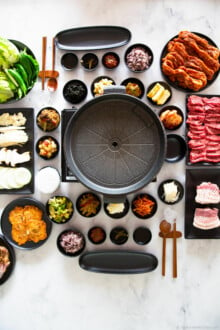
Love Korean food? Explore our site for more authentic Korean recipes including how to create a perfect Korean BBQ at home or other easy Korean recipes. Also, never miss a new recipe by subscribing to our newsletter, and join us in celebrating Korean cuisine!
Roasted Seaweed
Ingredients
- 10 sheets dried seaweed , preferably a Korean brand (see main post for details)
- 1 Tbsp sesame oil
- 1 Tbsp perilla oil
- Korean seasoned salt (matsogeum) or fine salt, to taste
Instructions
- Prepare the Seaweed: Lay the dried seaweed sheets on a clean, dry surface. The rougher side should face up.
- Make the Oil Mix: In a small bowl, combine the sesame oil and perilla oil in equal parts.
- Season the Seaweed: Using a brush, lightly coat one side of the seaweed sheet with the oil mixture. (Some Koreans also use disposable cooking gloves to spread the oil by hand.) Be careful not to oversoak the sheets; a thin layer is sufficient. Lightly sprinkle the salt over the oiled seaweed. This process typically involves pinching the salt and sprinkling it in a zigzag direction as you move down the seaweed sheet.
- Roast the Seaweed: Heat a frying pan over medium to medium-low heat (this may vary depending on your heat source). Place the seaweed sheet on the pan, cooking one at a time. Roast each sheet for about 15–20 seconds, then flip using a spatula or tongs and roast the other side for another 15–20 seconds, or until crisp. It might take a bit longer if it’s raw dried seaweed. Keep an eye on the color change as a quick guide.It’s also beneficial to press down the seaweed with the spatula, particularly around the corners, so you don’t miss any spots. Transfer the roasted seaweed onto a cooling rack (like a biscuit rack) as you progress. Repeat the process for all sheets.If the seaweed starts to burn, turn off the heat and continue roasting using the residual heat in the skillet. This works especially well with a cast iron skillet, as it retains heat for longer. Once the pan has cooled slightly, you can reheat it and continue roasting the remaining sheets.
- Cut the Seaweed: Place the seasoned seaweed sheets on a cutting board. Stack them neatly, then cut the stack in half. Restack the pieces and cut again into halves or thirds, depending on your desired size. (Tip: Align the sheets carefully and press down firmly with a knife to ensure clean cuts.) Serve as a side dish or enjoy as a snack.
Notes
- 1 Tbsp = 15 ml
- Depending on the condition of your seaweed or if it’s on the thicker side, you might need to use more oil. If that’s the case, add more sesame oil and perilla oil in equal parts.
- I used a 12-inch (30 cm) skillet for this recipe, which fit most brands of seaweed.
Storage
To keep roasted seaweed fresh and crisp, store it in an airtight container at room temperature. Place the container in a cool, dry spot away from direct sunlight to protect it from moisture and air. Under these conditions, the seaweed will stay fresh for 3 to 4 days. Keep in mind, frequent opening of the container can expose the seaweed to air and moisture, causing it to gradually lose its crispness. For longer storage, divide the roasted seaweed into small portions and pack them into individual sandwich-sized ziplock bags. Place the smaller bags into a larger ziplock bag for added protection, and put it in the freezer. Take out portions as needed—no defrosting required! The seaweed will stay fresh for up to 1 month or longer.Nutrition Info (per serving)
The nutrition information shown is an estimate provided by an online nutrition calculator. It should not be considered a substitute for a professional nutritionist’s advice.
