
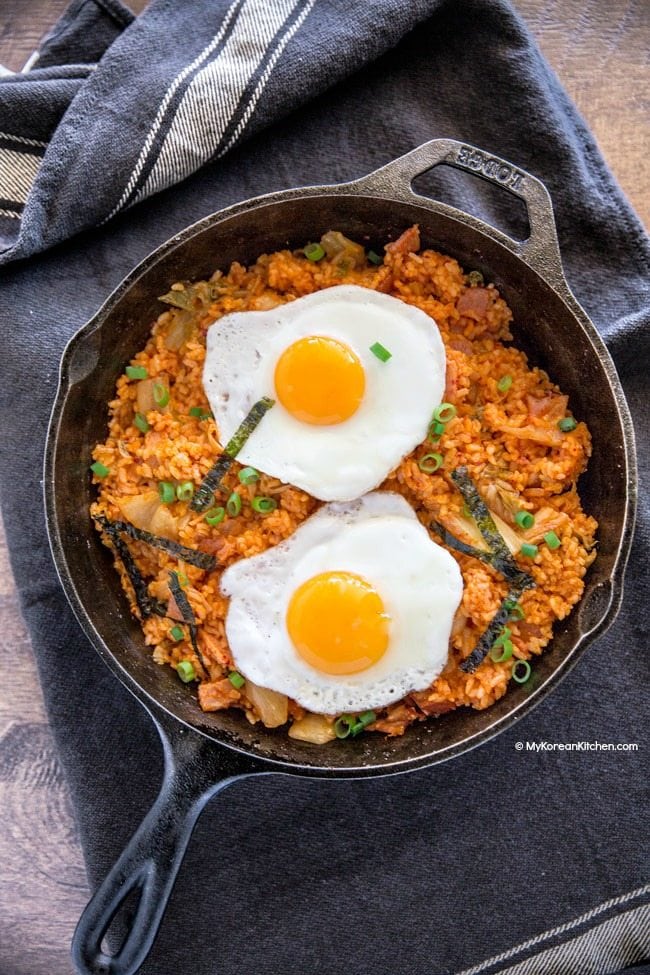
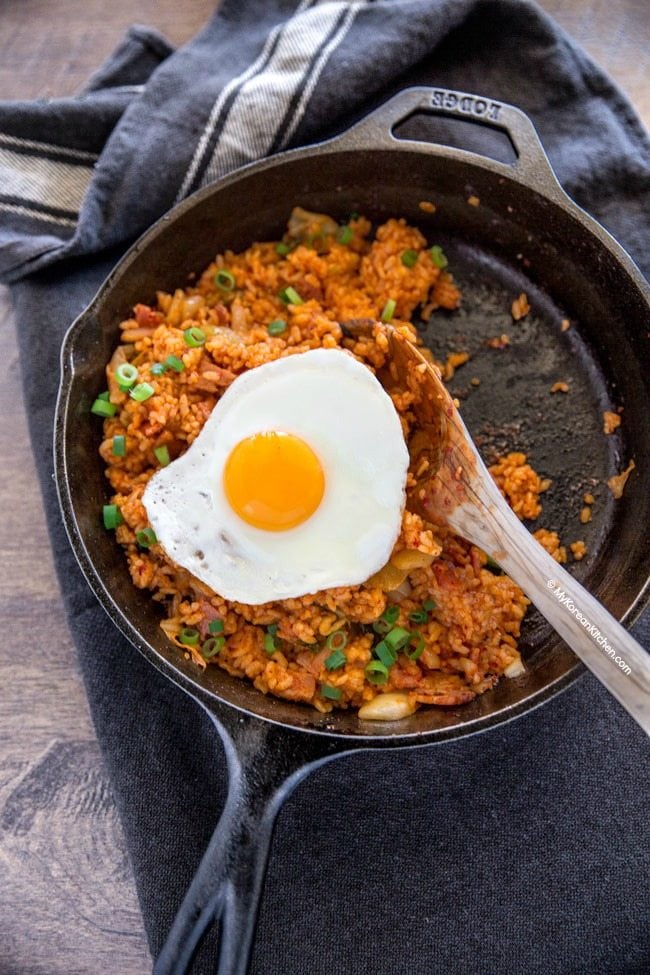
Easy kimchi fried rice recipe! Kimchi and rice is stir fried with smoky bacon and spicy kimchi juice. It’s simply delicious!
Save This Recipe
What is Kimchi Fried Rice
Kimchi Fried Rice, also known as Kimchi Bokkeumbap (김치 볶음밥) in Korean, is a popular type of Korean fried rice. It is predominantly made by stir frying kimchi (a traditional Korean side dish of fermented spicy napa cabbage) and rice, along with various seasonings.
But wait, the magic doesn’t end there! This versatile dish takes humble fried rice to new heights by incorporating additional ingredients such as diced meat and vegetables, enhancing its texture, flavor, and nutritional value.
So, when I whip up my kimchi fried rice, I typically toss in bacon and mushrooms – enoki mushrooms, to be precise. The bacon infuses the dish with a delightful smoky flavor, while the enoki mushrooms add a pleasing crunch. And here’s a fun fact: my husband, a meat-lover through and through—just like most men—won’t even touch my kimchi fried rice unless it’s brimming with meat! 😂
At its core, kimchi fried rice is a beloved classic comfort food and a staple in Korean cuisine. It delivers a flavorful and savory dish with a distinctive taste that surprises you with occasional tangy bites. Truly, it’s a perfect showcase of the transformative power of kimchi!
Best Rice for Kimchi Fried Rice
Kimchi fried rice is a fantastic dish for utilizing leftover rice.
You’ve probably heard that one or two-day-old rice fries better. Let me clarify this concept. Freshly cooked rice tends to be moist and soft, and when stir-fried, it can become gluggy – not an appealing texture for a stir fry dish!
However, if you’re skilled at managing the water content, you can also use freshly cooked rice. Simply prepare the rice to be intentionally drier by adding slightly less water during the rice cooking process.
How to Season Kimchi Fried Rice
The final tip I want to share today revolves around the ideal way to season kimchi fried rice: by using well-fermented kimchi juice (from a kimchi container).
You’ll be amazed to discover that kimchi juice, straight from your kimchi container, serves a unique purpose. It’s packed with flavor – tangy, spicy, and slightly sweet (unless overripe), which adds a significant depth to dishes like fried rice.
Usually, I don’t add anything else to my kimchi fried rice – not even gochujang (Korean chili paste) or gochugaru (Korean chili flakes) – unless I’m running low on kimchi juice or desire an additional spice kick. Of course, you are free to add either of them according to your preference. If you do, they will undoubtedly provide an extra hint of spice!
Exploring Exciting and Delicious Recipes Using Kimchi
Kimchi fried rice is a crowd favorite when it comes to using up that matured kimchi in your fridge, standing strong alongside other Korean staples like kimchi jjigae (kimchi stew) and kimchi pancake.
For those who prefer a twist on the “traditional”, check out my tuna kimchi fried rice, which swaps the usual bacon for tuna, introducing an unexpected, yet delightfully satisfying protein source.
If you like something strong and saucy, my kimchi udon recipe is a must-try. Beware though, it’s known to be quite addictive!
And if you’re still hungry for more creative ways to incorporate kimchi into your meals, don’t miss out on my compilation, 14 Delicious Ways to Eat Kimchi!
Ingredients for Kimchi Fried Rice (Kimchi Bokkeumbap, 4 servings)
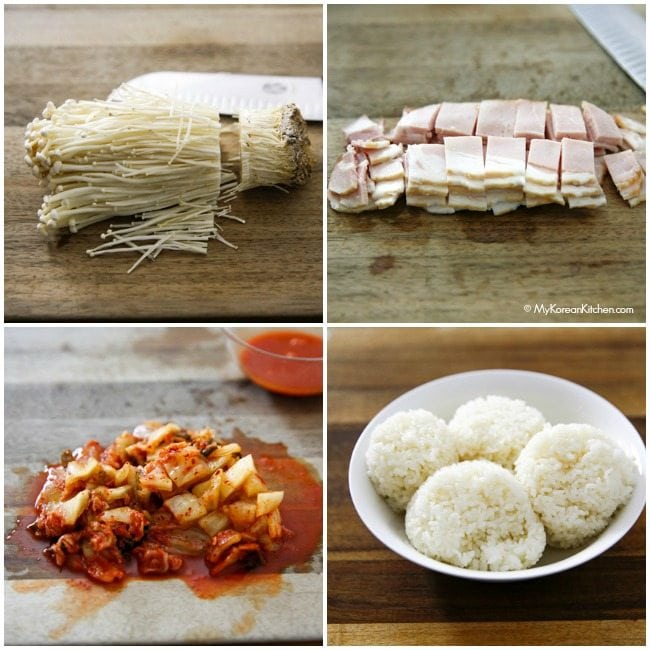
- 1 cup kimchi (*see notes), cut into thumbnail size pieces
- 150g / 5.3 ounces bacon, cut into thumbnail size pieces
- (optional) 1 pack enoki mushrooms (200g, 7 ounces), root removed, rinse the mushrooms in cold water and drain.
- 3 cups steamed white short/medium grain rice – if it is freshly cooked, leave it out for 5 to 10 mins at room temperature to cool down before cooking.
- 4 x-large eggs, cooked sunny side up or per your preference
- 1/2 tsp minced garlic
- 1/4 cup kimchi juice (*see notes) – this liquid is from the bottom of the kimchi container
- 1/2 Tbsp sesame oil
- 1/2 Tbsp cooking oil
- 1 to 2 Tbsp roasted sesame seeds, to garnish
- (optional) 1/2 stalk green onion, thinly sliced
- (optional) roasted seasoned seaweed, shredded
Note
- Ideally the kimchi is at least 2 weeks old. If not, add 1/2 tsp rice vinegar into the kimchi juice to make it sour.
- Obtaining 1/4 cup of kimchi juice can be difficult if your kimchi is fairly new. In that case, use 2 1/2 Tbsp kimchi juice and 1 Tbsp gochujang instead. If you want it to be not spicy, you can add 1 Tbsp soy sauce instead of gochujang.
- 1 Tbsp = 15 ml, 1 Cup = 250 ml
- If you want to learn more about Korean ingredients, check my essential Korean cooking ingredients list!
How to Make Kimchi Fried Rice
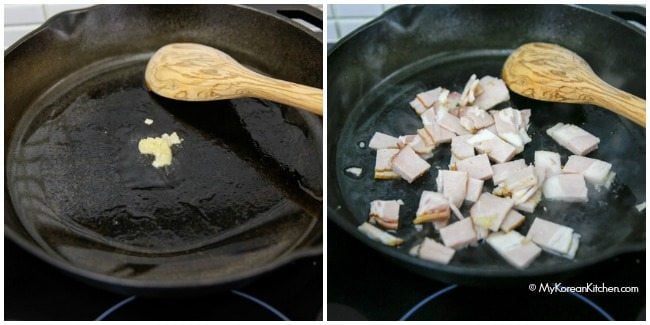
1. On medium high heat preheat a pan/wok and once heated, add the cooking oil and spread it well with a spatula.
2. Add garlic to the pan and stir for 10 seconds. Next, add bacon and stir until half-cooked.
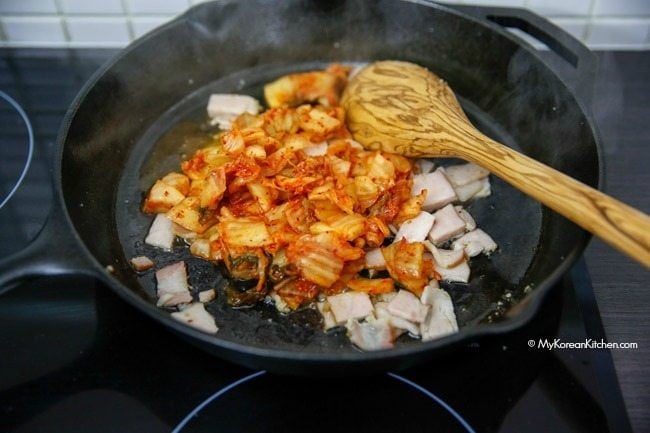
3. Add the kimchi to the pan, stirring until it’s 80% cooked.
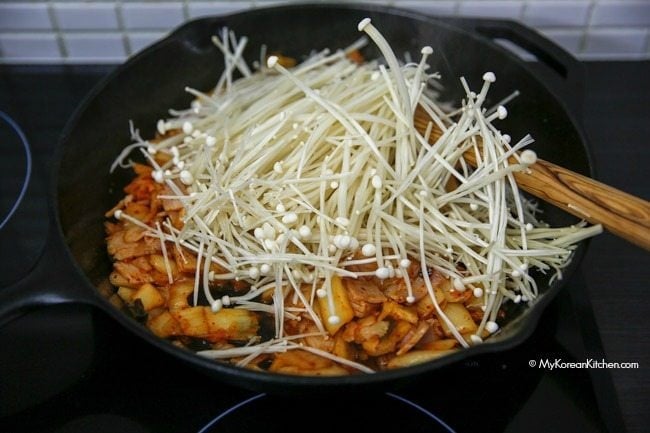
4. (Optional) Add the mushrooms and mix them well for a few seconds. Reduce the heat to medium-medium low.
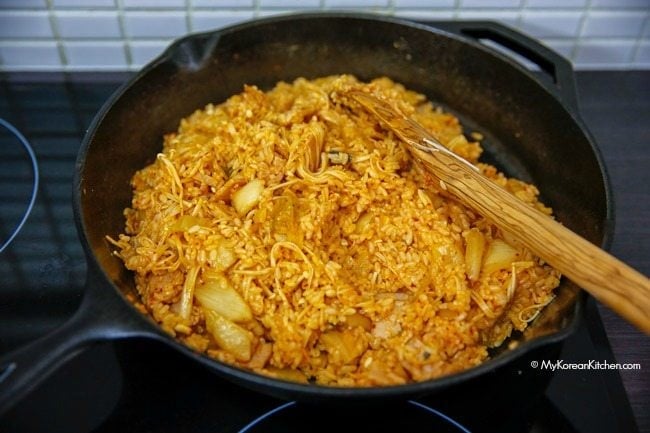
5. Add the rice and the kimchi juice. Mix all of them together well and thoroughly.

6. Add the sesame oil and mix them well. Remove the pan from the heat.
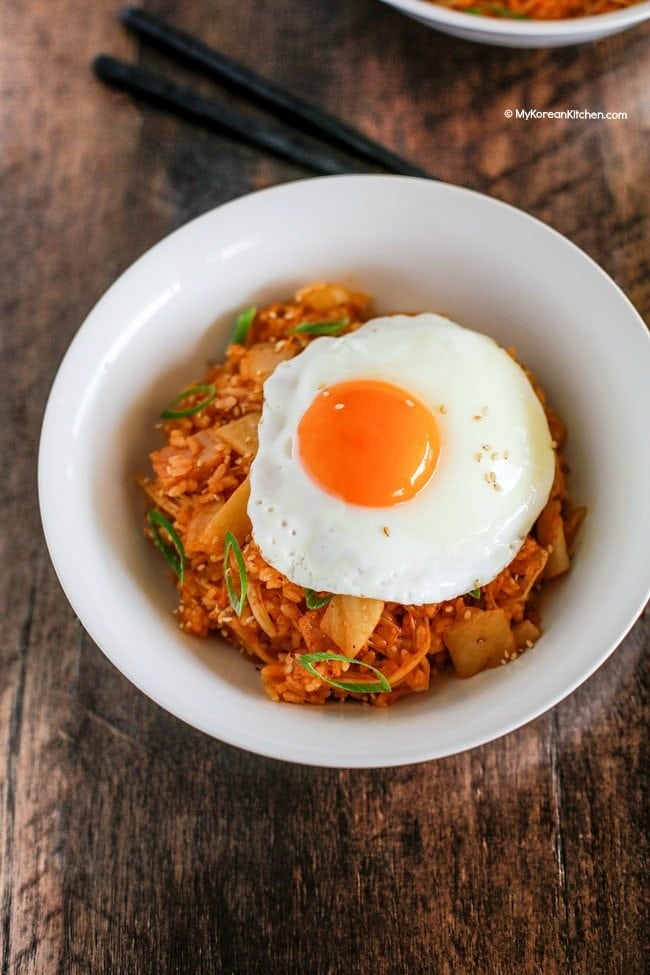
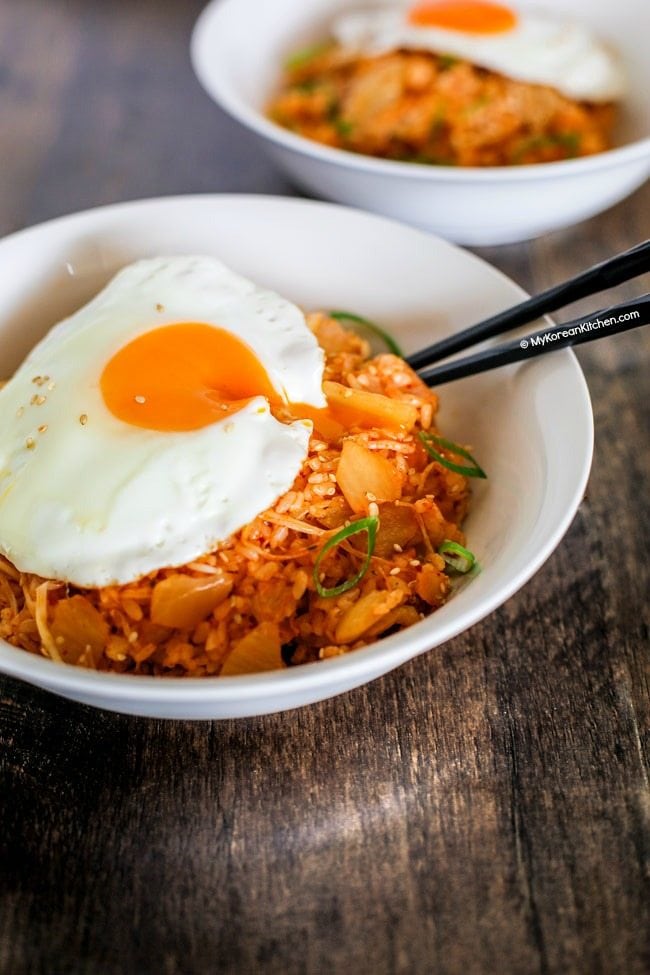
7. Serve the kimchi fried rice on a plate. Garnish with the sesame seeds, green onions, and seaweed strips (all optional). Place the cooked egg on top. Enjoy!
Love Korean food? Browse even more delicious ideas from my collection of easy Korean recipes. Don’t forget to subscribe to my newsletter to stay updated on new recipes, what the MKK community is cooking, and K-Dramas!

Kimchi Fried Rice
Ingredients
- 1 cup kimchi (*see note), cut into thumbnail size pieces
- 150 g bacon (5.3 ounces), cut into thumbnail size pieces
- 1 pack enoki mushrooms (200 g / 7 ounces ), root removed, rinsed and drained (optional)
- 3 cups steamed short grain rice (or medium grain rice), – if it is freshly cooked, leave it out for 5 to 10 mins at room temperature to cool down before cooking
- 4 x-large eggs cooked sunny side up or per your preference
- 1/2 tsp minced garlic
- 1/4 cup Kimchi juice (*see note) – this liquid is from the bottom of the kimchi container
- 1/2 Tbsp sesame oil
- 1 Tbsp cooking oil
- 1 Tbsp toasted sesame seeds to garnish
- 1/2 stalk green onion to garnish, thinly sliced (optional)
- roasted seasoned seaweed , shredded (optional)
Instructions
- On medium high heat preheat a pan/wok and once heated, add the cooking oil and spread it well with a spatula.
- Add garlic to the pan and stir for 10 seconds. Next, add bacon and stir until half-cooked.
- Add the kimchi to the pan, stirring until it's 80% cooked.
- (Optional) Add the mushrooms and mix them well for a few seconds. Reduce the heat to medium-medium low.
- Add the rice and the kimchi juice. Mix all of them together well and thoroughly.
- Add the sesame oil and mix them well. Remove the pan from the heat.
- Serve the kimchi fried rice on a plate. Garnish with the sesame seeds, green onions, and seaweed strips (all optional). Place the cooked egg on top. Enjoy!
Notes
- Ideally kimchi is at least 2 weeks old. If not, add 1/2 tsp rice vinegar into the kimchi juice to make it sour.
- Obtaining 1/4 cup of kimchi juice can be difficult if your kimchi is fairly new. In that case, use 2 1/2 Tbsp kimchi juice and 1 Tbsp gochujang instead. If you want it to be not spicy, you can add 1 Tbsp soy sauce instead of gochujang.
- 1 Tbsp = 15 ml, 1 Cup = 250 ml
Nutrition Info (per serving)
The nutrition information shown is an estimate provided by an online nutrition calculator. It should not be considered a substitute for a professional nutritionist’s advice.

")
