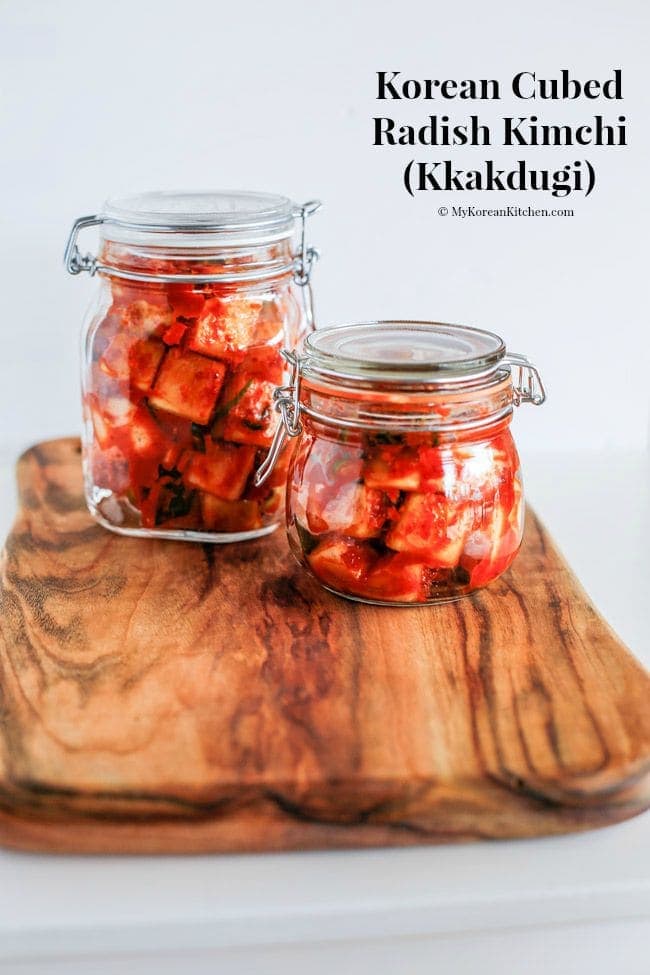
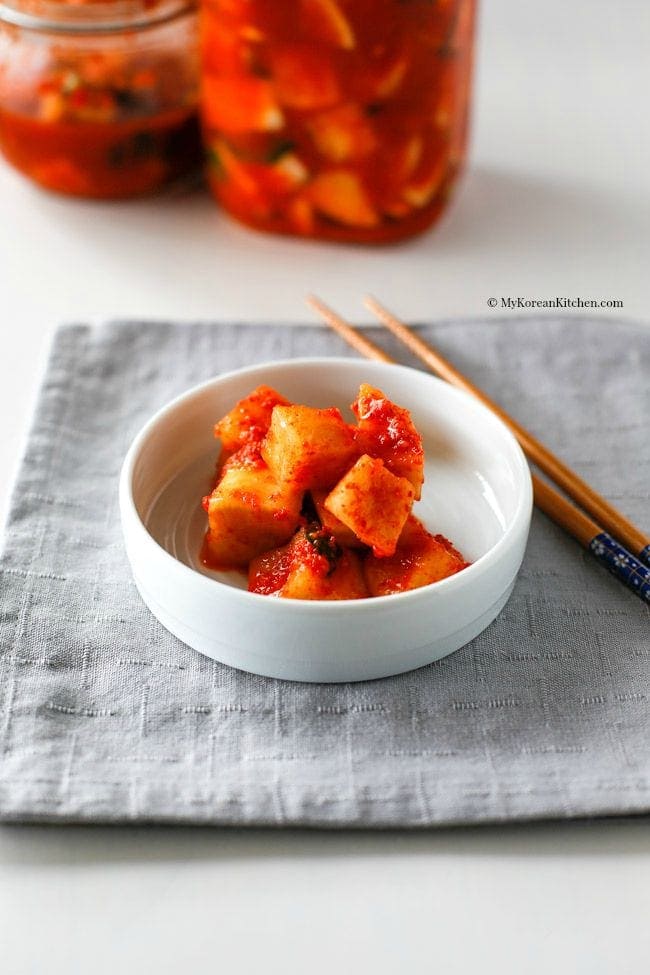
Crunchy and delicious Korean radish kimchi (Kkakdugi) recipe!
Radish kimchi is one of my favorite types of kimchi (김치). When I was a child, I always preferred radish kimchi over regular napa cabbage kimchi. Because it has a crunchy texture and a subtle sweet note to it.
You can easily buy this kimchi from a Korean grocery store, but they never gave me the taste or the texture that I grew up with.
Save This Recipe
So I decided to make some myself. I even asked my mum for her advice on how to make tasty Kkadugi and she gave me some pointers on what to add.
And, I’m very happy with how it turned out. It’s crunchy and not too salty nor not too sweet. It has a well balanced taste and I might dare to say it was pretty close to my mum’s version. 😉
What is Radish Kimchi (Kkakdugi)
Radish kimchi is a kimchi made out of radish and its Korean name is Kkakdugi (깍두기). The name originates from kkakduk sseolgi (깍둑설기) in Korean. It describes the motion of cutting food in cubes.
Many Koreans say Kkakdugi made in mid to late autumn (October to December) tastes best as it is the Korean traditional radish harvest season.
Korean radishes picked during this time have the most natural sweet taste and also are firmer. I even remember snacking on raw radishes when my mum was slicing them in her kitchen.
Kkakdugi is commonly paired with these main dishes: Korean ox bone soup (Seollengtang, 설렁탕), Beef short rib soup (Galbitang, 갈비탕) and Korean knife cut noodles (Kalguksu, 칼국수).
I hope you give my radish kimchi recipe a try soon!
Ingredients for Radish Kimchi
Main
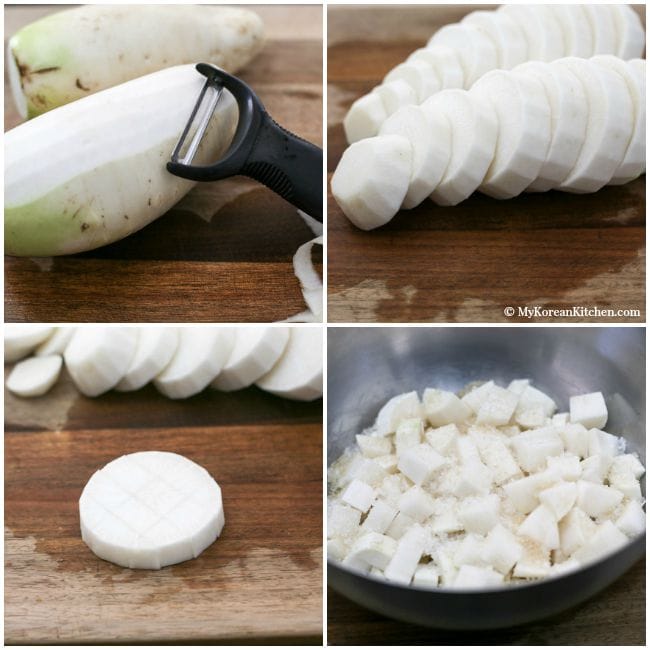
- 1.1kg (2.5 pounds) Korean radish (or other variety of white daikon radish) – rinsed and skin peeled
- 3 stalks (50g, 1.8 ounces) green onion – rinsed
- 2 Tbsp raw sugar
- 2 Tbsp rock salt (or Korean coarse salt)
Radish Kimchi Base
- 1/2 small brown onion (70g, 2.5 ounces), skin peeled, cut into small pieces to blend
- 1/2 small red apple (50g, 1.8 ounces), seed and core removed, cut into small pieces to blend
- 3 Tbsp Korean fish sauce (I used anchovy sauce)
- 1 Tbsp Minced garlic
- 1/2 Tbsp Minced ginger
- 4 Tbsp Korean chili flakes (gochugaru)
- 1/4 cup water
- 1 Tbsp rice flour
*1 Tbsp = 15ml, 1 cup = 250ml
** If you’re unsure of the above Korean ingredients, find out more about them from my other post “30 Essential Korean cooking ingredients“.
How to Make Radish Kimchi
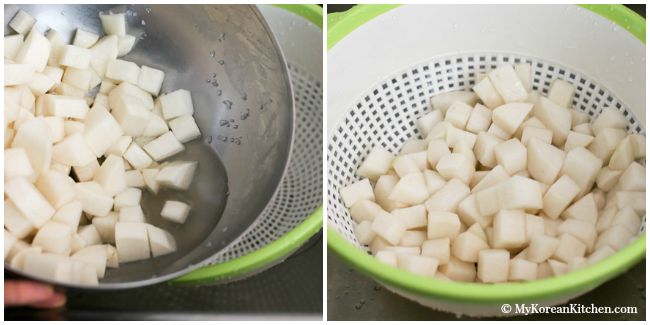
1. Cut the radish into medium sized cubes. (It could be smaller or bigger if that’s what you prefer. Just be mindful that the radish will shrink as they go through the fermentation process.) Put the cubed radish into a large mixing bowl and add the sugar and the salt and mix them well. Leave it for 1 hour at room temperature.
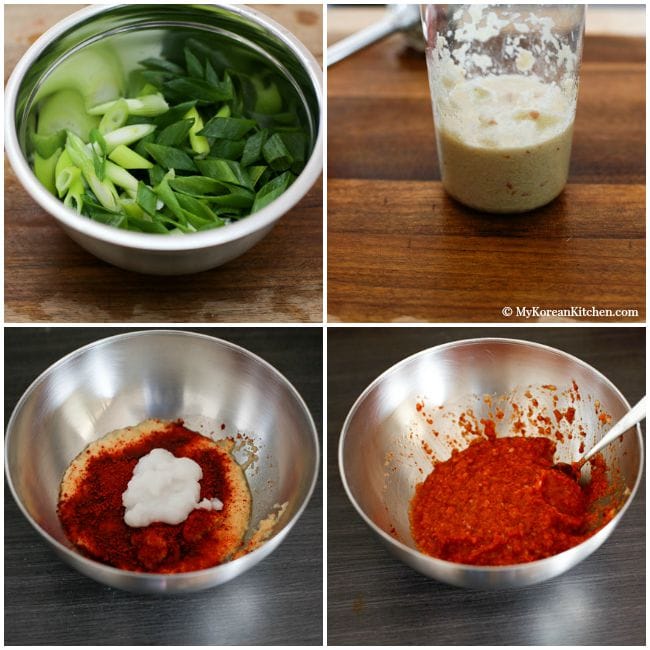
2. While waiting, chop the green onion into small pieces and make the kimchi base. Blend the onion and apple with the fish sauce in a blender. (It can take a few minutes as the liquid isn’t as much as the solids.) Make the rice porridge by mixing the water and the rice flour in a bowl and heating them up for 1 min in a microwave. (It could be shorter or longer depending on the output power of your microwave). It should give you a mildly runny porridge texture. Mix all the kimchi base ingredients (*except for 2 Tbsp of Korean chili flakes) in a medium sized bowl.
3. After one hour, rinse the radish in cold running water a couple of times and drain any excess water for 5 mins.
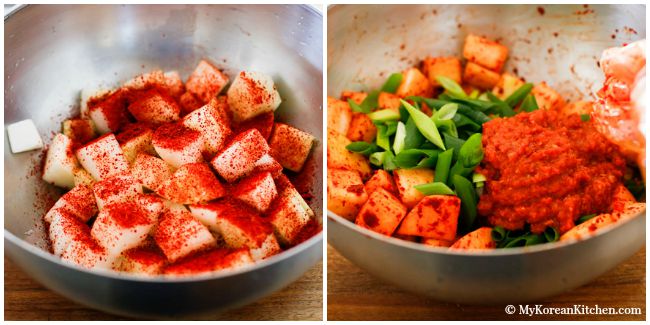
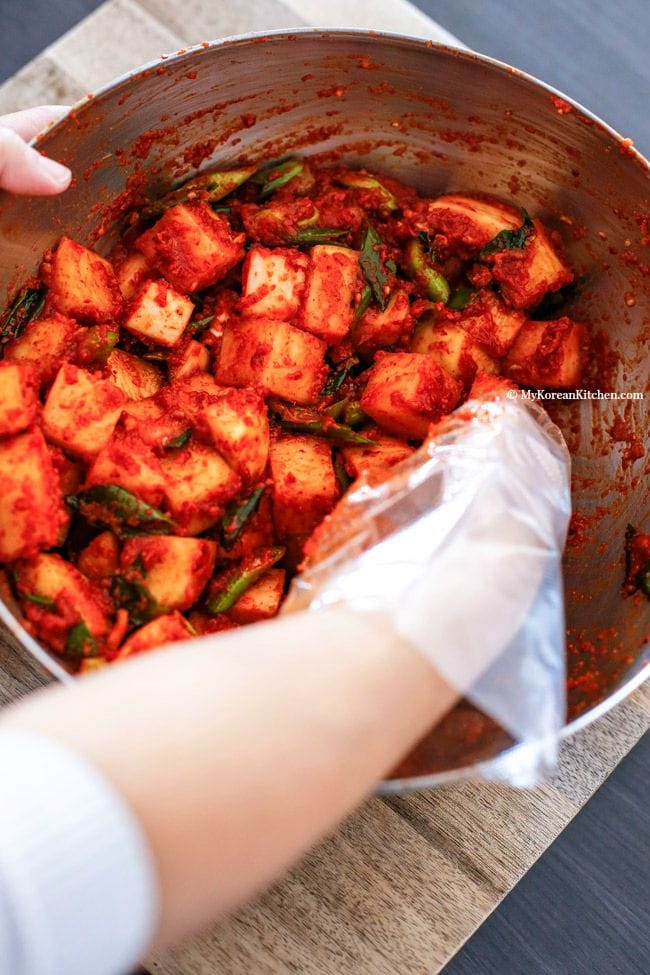
4. Put the radish into a clean mixing bowl and add 2 Tbsp of Korean chili flakes. (Put a food prep glove on.) Mix the chili flakes with the radish evenly. (By adding this chili flakes separately and earlier than rest of the kimchi base, you are giving a nice vibrant colour to the radish. Also, my mum believes that it will help the kimchi base to smear well into the radish). Add the chopped green onion and the kimchi base and mix them evenly and thoroughly.
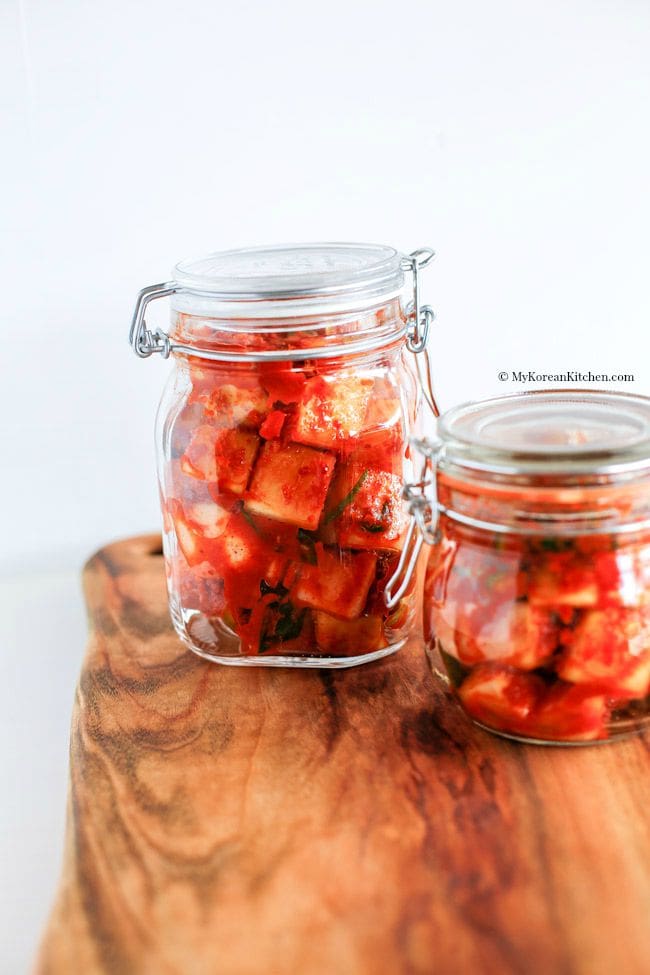
5. Move the seasoned radish into an air tight glass container (1.5L glass jar for the above-listed quantity) and leave it at room temperature for between 6 to 24 hours depending on the temperature (I left mine out for 1 day with early spring temperature.). After that keep it in the fridge. (The best temperature for storing any kimchi is 6 degree Celsius (42.8F).)
Note
- Rice flour is used to make the kimchi base stickier so that it holds onto the radish well. Also, it is used as a bait for probiotics. (Apparently, this helps them to breed well, and kimchi with more probiotics tastes best.) If you don’t have rice flour, you can use sweet glutinous rice flour or even all purpose flour. I haven’t tried with them, but some Koreans use them as alternatives.
- If you think adding the chili flakes separately in step 4 is cumbersome, you can mix them with the rest of kimchi base in step 2.
- The radish kimchi should start to taste nice from Day 3. You could start eating it a bit earlier but then you will notice that the radish is still a bit raw. It needs to go through the fermentation process to become more tasty.
- Is this recipe too hard? Or want some quick radish kimchi? Then try my shredded daikon radish salad recipe!
How I Make It: Step-by-Step Recipe Video
Discover More! Explore our site for authentic Korean recipes, from mastering the perfect Korean BBQ at home to creating delicious banchan (side dishes) and other easy Korean recipes to try today!

Korean Radish Kimchi (Kkakdugi)
Ingredients
MAIN
- 1.1 kg Korean radish (2.5 pounds), or daikon radish, rinsed and skin peeled
- 3 stalks green onion (50 g / 1.8 ounces), rinsed
- 2 Tbsp raw sugar
- 2 Tbsp rock salt or Korean coarse salt
RADISH KIMCHI BASE
- 1/2 small brown onion (70 g / 2.5 ounces), skin peeled, cut into small pieces to blend
- 1/2 small red apple (50 g / 1.8 ounces), seed and core removed, cut into small pieces to blend
- 3 Tbsp Korean fish sauce , I used anchovy sauce
- 1 Tbsp minced garlic
- 1/2 Tbsp minced ginger
- 4 Tbsp Korean chili flakes (gochugaru)
- 1/4 cup water
- 1 Tbsp rice flour
Instructions
- Cut the radish into medium sized cubes. (It could be smaller or bigger if that’s what you prefer. Just be mindful that the radish will shrink as they go through the fermentation process.) Put the cubed radish into a large mixing bowl and add the sugar and the salt and mix them well. Leave it for 1 hour at room temperature.
- While waiting, chop the green onion into small pieces and make the Kimchi base. Blend the onion and apple with the fish sauce in a blender. (It can take a few minutes as the liquid isn’t as much as the solids.) Make the rice porridge by mixing the water and the rice flour in a bowl and heating them up for 1 min in a microwave. (It could be shorter or longer depending on the output power of your microwave). It should give you a mildly runny porridge texture. Mix all the Kimchi base ingredients (*except for 2 Tbsp of Korean chili flakes) in a medium sized bowl.
- After one hour, rinse the radish in cold running water a couple of times and drain any excess water for 5 mins.
- Put the radish into a clean mixing bowl and add 2 Tbsp of Korean chili flakes. (Put a food prep glove on.) Mix the chili flakes with the radish evenly. (By adding this chili flakes separately and earlier than rest of the Kimchi base, you are giving a nice vibrant colour to the radish. Also, my mum believes that it will help the Kimchi base to smear well into the radish). Add the chopped green onion and the Kimchi base and mix them evenly and thoroughly.
- Move the seasoned radish into an air tight glass container (1.5L glass jar for the above-listed quantity) and leave it at room temperature for between 6 to 24 hours depending on the temperature (I left mine out for 1 day with early spring temperature.). After that keep it in the fridge. (The best temperature for storing any Kimchi is 6 degree Celsius (42.8F).)
Nutrition Info (per serving)
The nutrition information shown is an estimate provided by an online nutrition calculator. It should not be considered a substitute for a professional nutritionist’s advice.
")

